Homemade Coffee Ice Cream
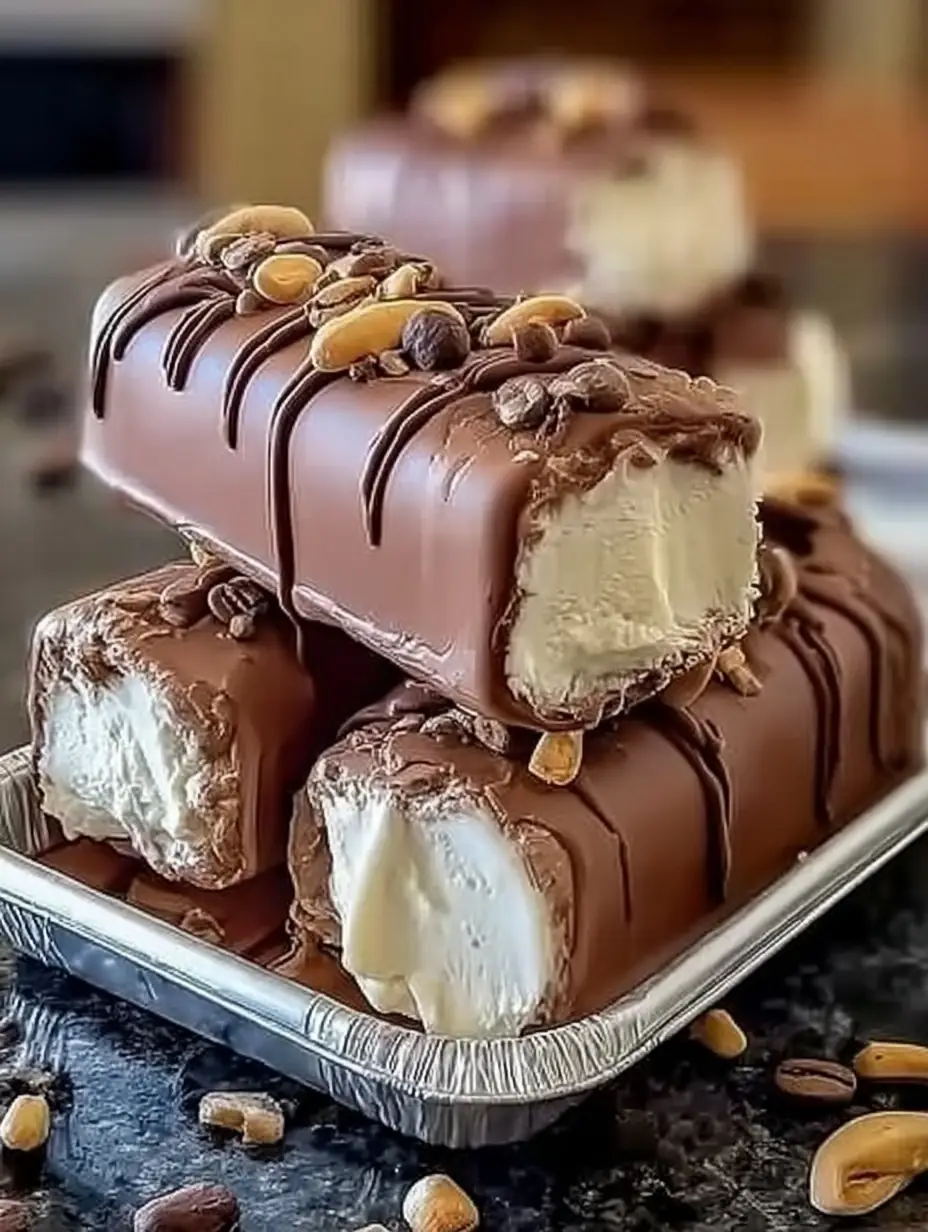
This complete guide covers everything you need to master homemade coffee ice cream: a full ingredients breakdown with substitution ideas, timing details, step-by-step instructions with barista-worthy tips, comprehensive nutritional information, healthier ingredient swaps, creative serving suggestions, common mistakes to avoid, proper storage techniques, and answers to frequently asked questions. Whether you’re a coffee obsessive or simply craving a make-ahead frozen treat for summer, this recipe belongs in your permanent rotation.
Ingredients List
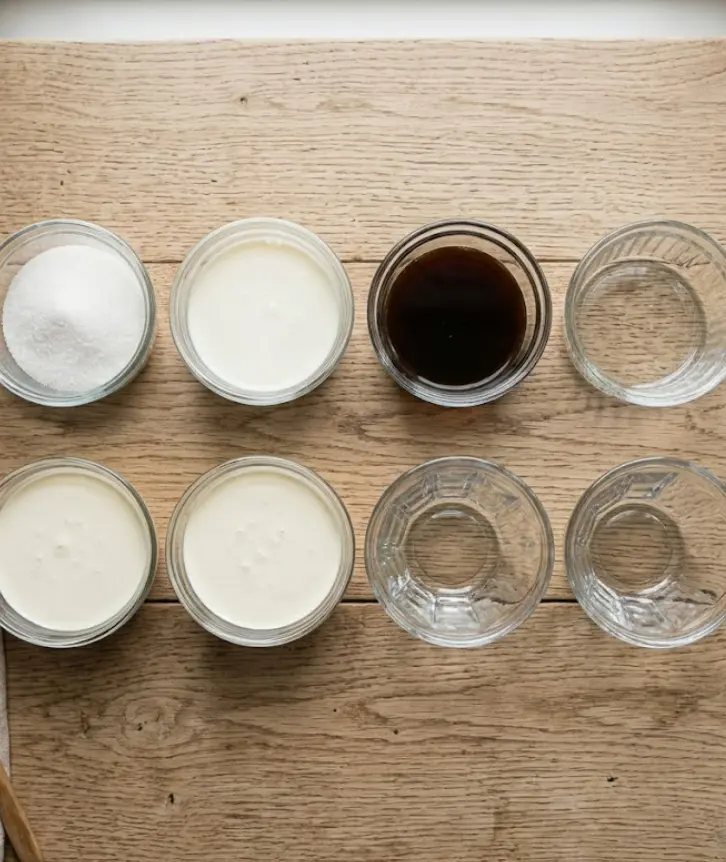
The magic of this homemade coffee ice cream lies in its simplicity—just four ingredients create an incredibly rich, flavorful base:
- 480 ml heavy cream (2 cups) — Gives the ice cream its rich, luxurious texture and helps achieve that signature scoopable, creamy consistency without ice crystals.
- 240 ml whole milk (1 cup) — Adds creaminess and a silky quality while balancing the heaviness of the cream for a lighter mouthfeel.
- 150 g granulated sugar (¾ cup) — Sweetens the base and plays a crucial role in texture, as sugar lowers the freezing point to prevent overly hard ice cream.
- 120 ml brewed coffee (½ cup) — Use your favorite brew for enhanced flavor; a bold, dark roast delivers the most pronounced coffee taste.
Suggested substitutions:
- Espresso boost: Replace brewed coffee with 60 ml of strong espresso plus 60 ml water for a more intense, less diluted coffee flavor.
- Dairy-free version: Swap heavy cream and whole milk for full-fat coconut cream and oat milk for a creamy, plant-based alternative.
- Lower sugar: Reduce sugar to 100–120 g and add a touch of monk fruit sweetener, though this may slightly affect texture and scoopability.
- Flavor variations: Add 1 tsp vanilla extract, a pinch of cinnamon, or fold in mini chocolate chips or crushed chocolate-covered espresso beans during the last few minutes of churning.
- Instant coffee alternative: If you don’t have brewed coffee on hand, dissolve 2–3 tablespoons of instant espresso powder directly into the warm milk mixture.
These flexible swaps let you customize this creamy coffee ice cream to match your exact flavor preferences and dietary needs.
Timing
Prep Time: 10 minutes
Churning/Freezing Time: 4 hours
Total Time: 4 hours 10 minutes
This homemade coffee ice cream recipe is remarkably efficient compared to traditional custard-based ice creams, which typically require making a stovetop custard (15–20 minutes of active cooking), cooling the base for several hours before churning, and then additional freezing time—often totaling 6–8 hours or more. By skipping the egg custard step entirely, this recipe cuts hands-on prep time by roughly 90% while still delivering rich, creamy results. The bulk of the “cook time” is simply hands-off freezing, making this ideal for busy home cooks who want minimal active effort.
Step-by-Step Instructions
Step 1: Whisk Together Your Ice Cream Base
In a large mixing bowl, combine the heavy cream, whole milk, granulated sugar, and brewed coffee. Whisk vigorously until the sugar is completely dissolved—this typically takes 1–2 minutes. You shouldn’t feel any graininess when rubbing a small amount of the mixture between your fingers.
Pro tip: For the boldest coffee flavor, let your brewed coffee cool slightly before mixing, and consider using a coffee roast that’s a notch stronger than what you’d drink black, since the cream and sugar will mellow the intensity once frozen.
Step 2: Churn to Soft-Serve Consistency
Pour the whisked mixture into your ice cream maker and churn according to the manufacturer’s instructions. Most machines take 20–30 minutes to transform the liquid base into a thick, soft-serve consistency. You’ll notice the mixture becoming visibly lighter in color and increasing in volume as air is incorporated.
Actionable trick: Make sure your ice cream maker’s freezer bowl has been fully frozen for at least 24 hours beforehand (if using a bowl-style machine)—this single step makes the biggest difference in achieving properly churned, creamy texture rather than a slushy result.
Step 3: Transfer and Freeze Until Firm
Transfer the soft-serve consistency ice cream into an airtight container, pressing a piece of parchment or plastic wrap directly onto the surface to prevent ice crystals from forming. Freeze for at least 4 hours, or until solid enough to scoop.
Personalized tip: If you love mix-ins like chocolate chips, toffee bits, or chopped chocolate-covered espresso beans, fold them in during the last few minutes of churning rather than after freezing, ensuring even distribution throughout every scoop.
Step 4: Scoop, Serve, and Enjoy
Once firm, remove the container from the freezer and let it sit at room temperature for 5 minutes to soften slightly for easier scooping. Scoop into bowls or cones and enjoy your rich, creamy homemade coffee ice cream immediately.
Nutritional Information
Each serving of this homemade coffee ice cream contains approximately 250 calories, making it a satisfying yet reasonably portioned frozen dessert. Here’s the estimated breakdown per serving (1/6 of recipe):
- Calories: 250
- Total Fat: 20–22 g (primarily from heavy cream)
- Saturated Fat: 13–14 g
- Carbohydrates: 15–17 g
- Sugars: 15 g
- Protein: 2–3 g
- Caffeine: Approximately 15–20 mg per serving (varies based on coffee strength used)
Data insights: Compared to premium store-bought coffee ice cream brands, which often range from 260–320 calories per serving with numerous stabilizers and additives, this homemade version offers comparable richness with a clean, short ingredient list. The moderate caffeine content makes it an enjoyable treat without being overly stimulating, though those sensitive to caffeine should note it’s still present, especially in an evening dessert. The high fat content from heavy cream contributes to the ultra-smooth, scoopable texture that no-egg recipes sometimes struggle to achieve.
Healthier Alternatives for the Recipe
You can adapt this homemade coffee ice cream to fit various dietary goals without sacrificing that rich coffee flavor:
- Lower fat version: Replace half the heavy cream with additional whole milk or evaporated milk to reduce overall fat content while maintaining creaminess, though texture will be slightly less rich.
- Dairy-free/vegan option: Use full-fat coconut milk and coconut cream in place of dairy. The coconut flavor pairs surprisingly well with coffee, creating a unique tropical-coffee twist.
- Lower sugar alternative: Substitute half the granulated sugar with a monk fruit or erythritol blend designed for freezing (regular sugar substitutes can sometimes create an icier texture).
- Protein-boosted version: Blend in 20–30 g of collagen peptides or unflavored protein powder into the base before churning for added protein without altering flavor significantly.
- Decaf option: Swap regular brewed coffee for decaf to enjoy the same rich flavor profile without the caffeine, perfect for an after-dinner treat or those sensitive to stimulants.
These thoughtful swaps ensure everyone—from keto dieters to dairy-free households—can enjoy a version of this creamy coffee ice cream.
Serving Suggestions
Serve this homemade coffee ice cream in chilled bowls with a drizzle of caramel or chocolate sauce for an affogato-inspired treat. For true coffee lovers, pour a hot shot of espresso directly over a scoop for a delicious hot-cold contrast dessert.
Creative ideas: Sandwich the ice cream between two chocolate chip cookies for an elevated coffee ice cream sandwich, or layer it in a parfait glass with crushed graham crackers and whipped cream for a mocha-inspired trifle. Top with chocolate-covered espresso beans, toasted pecans, or a dusting of cocoa powder for extra texture and visual appeal. This ice cream also pairs beautifully with warm desserts like brownies or apple pie for a delightful temperature contrast.
Common Mistakes to Avoid
- Not fully dissolving the sugar — Undissolved sugar creates a gritty texture. Whisk thoroughly until completely smooth before churning.
- Using weak coffee — Since the coffee flavor mellows once frozen, using a mild brew results in disappointingly faint coffee taste. Opt for a bold, dark roast or espresso.
- Skipping the pre-frozen bowl step — If using a bowl-style ice cream maker, failing to freeze it for a full 24 hours results in soupy, under-churned ice cream.
- Not pressing plastic wrap onto the surface — Skipping this step allows ice crystals to form, leading to a grainy texture after freezing.
- Serving straight from the freezer — Rock-hard ice cream is difficult to scoop and less enjoyable. Always let it soften for 5 minutes before serving.
Storing Tips for the Recipe
Store this homemade coffee ice cream in an airtight, freezer-safe container with plastic wrap or parchment pressed directly against the surface to minimize ice crystal formation. Properly stored, it maintains best quality and texture for up to 2 weeks in the freezer, though it can last up to a month with minimal quality loss. Avoid storing near strong-smelling foods, as ice cream easily absorbs odors. For make-ahead convenience, prepare the base up to 2 days in advance and refrigerate before churning, allowing flavors to meld even further.
Conclusion
This homemade coffee ice cream delivers rich, creamy, café-quality flavor using just four simple ingredients and no eggs required. With only 10 minutes of active prep, it’s the perfect make-ahead treat for coffee lovers craving a refreshing, indulgent dessert any night of the week.
Ready to churn up a batch? Try this homemade coffee ice cream recipe this weekend and share your favorite mix-ins or toppings in the comments below! Leave a review, let us know how it turned out, and subscribe for more easy frozen dessert recipes and coffee-inspired treats delivered straight to your inbox.
FAQs
Do I need an ice cream maker to make this recipe?
Yes, an ice cream maker is recommended for the best creamy texture. Without one, you can try the “freeze and stir” method every 30 minutes for several hours, though results will be less smooth.
Can I use instant coffee instead of brewed coffee?
Absolutely. Dissolve 2–3 tablespoons of instant coffee or espresso powder into the milk mixture as a convenient substitute when brewed coffee isn’t available.
Why is my homemade coffee ice cream icy instead of creamy?
This usually happens from insufficient churning, a freezer bowl that wasn’t fully frozen, or skipping the plastic wrap layer during storage, which allows ice crystals to form.
Can I make this coffee ice cream without heavy cream?
Heavy cream is essential for the rich, creamy texture. Substituting with lower-fat options will result in a less luxurious, icier final product, though half-and-half can work in a pinch.
Homemade Coffee Ice Cream
Ingredients
Equipment
Method
- In a mixing bowl, combine the heavy cream, whole milk, granulated sugar, and brewed coffee. Whisk until the sugar is completely dissolved.
- Pour the mixture into an ice cream maker and churn according to the manufacturer’s instructions until it’s creamy and at a soft-serve consistency.
- Transfer the ice cream to an airtight container and freeze for at least 4 hours or until solid.
- Once firm, scoop the ice cream into a bowl, serve, and enjoy your homemade coffee ice cream!