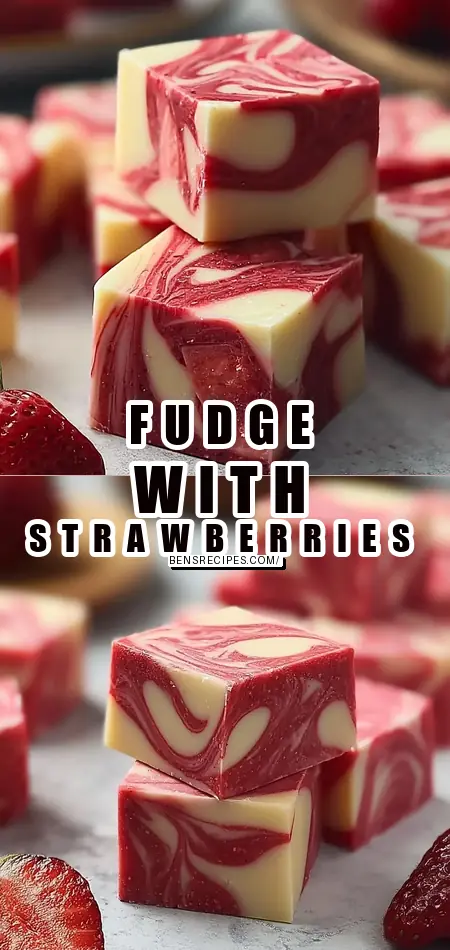
Homemade Strawberry Swirl Fudge Recipe
What if the secret to irresistible homemade candy wasn’t hours of complicated tempering or professional equipment, but a simple candy thermometer and one clever fruit swirl that turns classic white chocolate fudge into something extraordinary? Many home bakers assume fudge is too finicky or temperamental for kitchen beginners, yet data from popular dessert trends shows that fruit-swirled fudge recipes are among the most searched because they deliver impressive results with straightforward techniques.
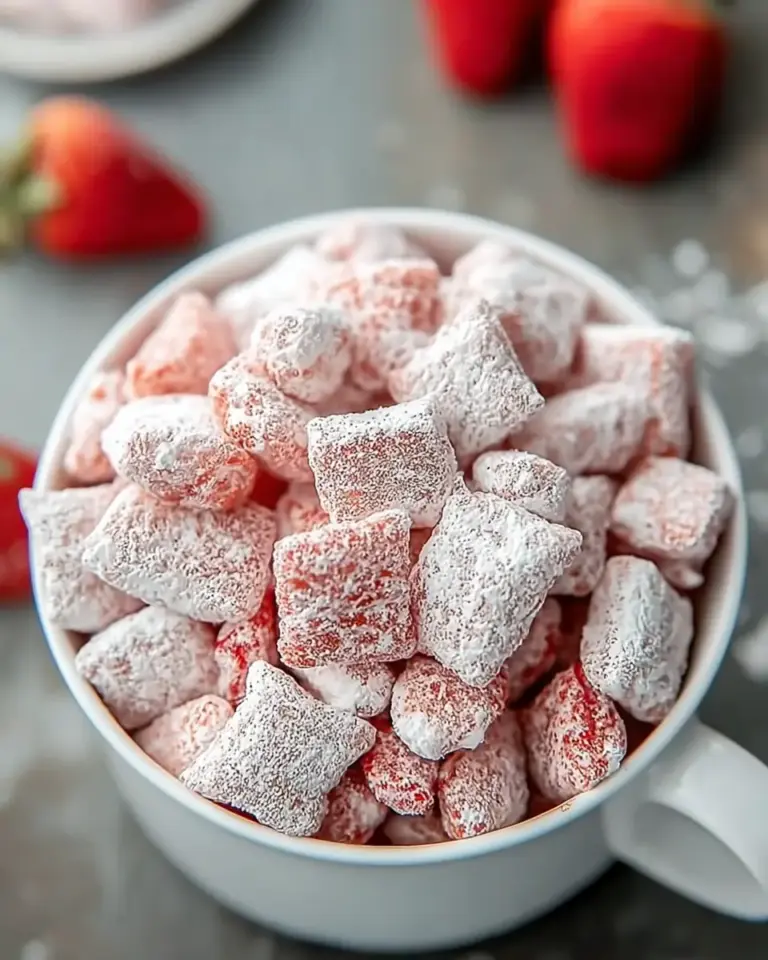
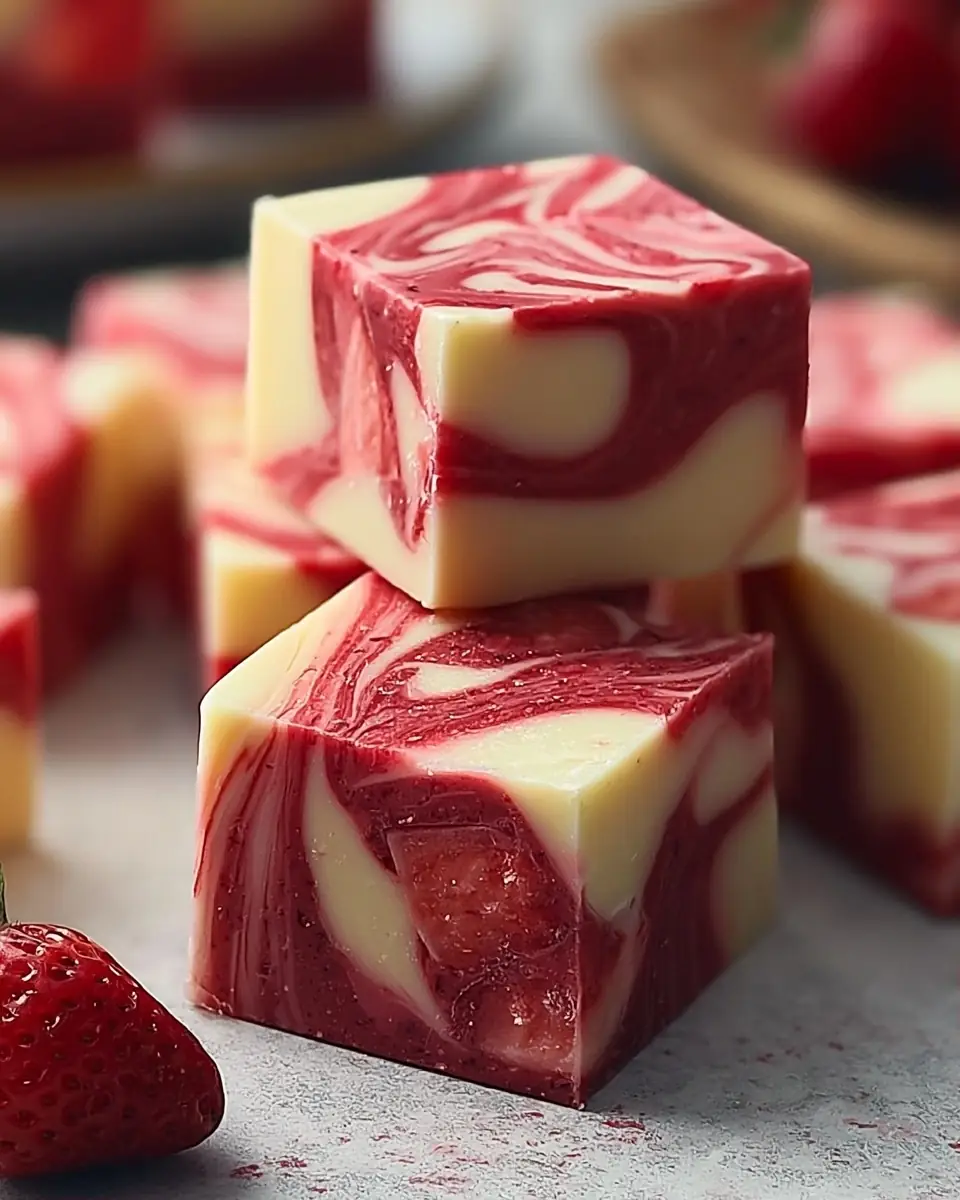
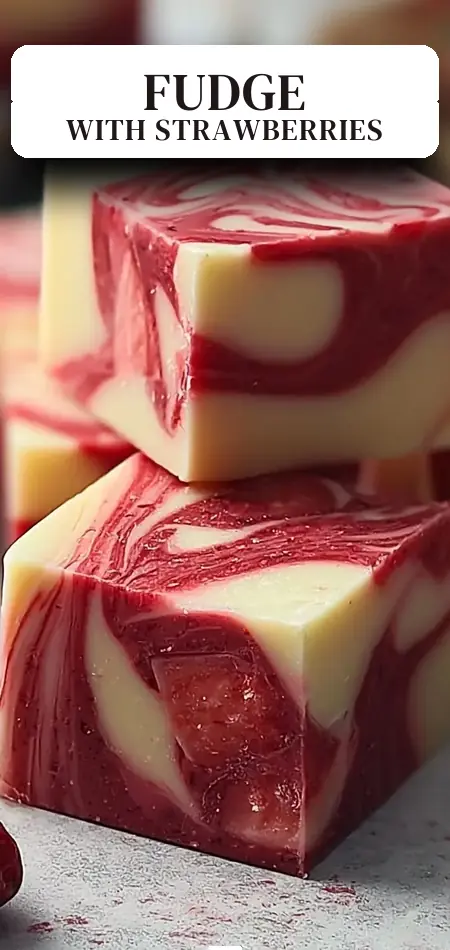
This strawberry swirl fudge recipe creates creamy, melt-in-your-mouth squares featuring a rich white chocolate base dramatically marbled with a bright homemade strawberry reduction. The contrast of sweet, silky fudge and tangy berry ribbons makes every bite taste like strawberry cheesecake and classic fudge had a luxurious baby. Perfect for holidays, gift-giving, potlucks, or satisfying afternoon cravings, this easy strawberry swirl fudge comes together with everyday ingredients and delivers professional-looking results.
In this complete guide, you’ll find an organized ingredients list with substitutions, precise timing details, step-by-step instructions packed with pro tips, nutritional information, healthier adaptations, creative serving suggestions, common mistakes to avoid, storage best practices, and answers to frequently asked questions. Whether you’re new to fudge-making or a seasoned candy maker, this strawberry swirl fudge recipe guarantees sweet success.
Ingredients List
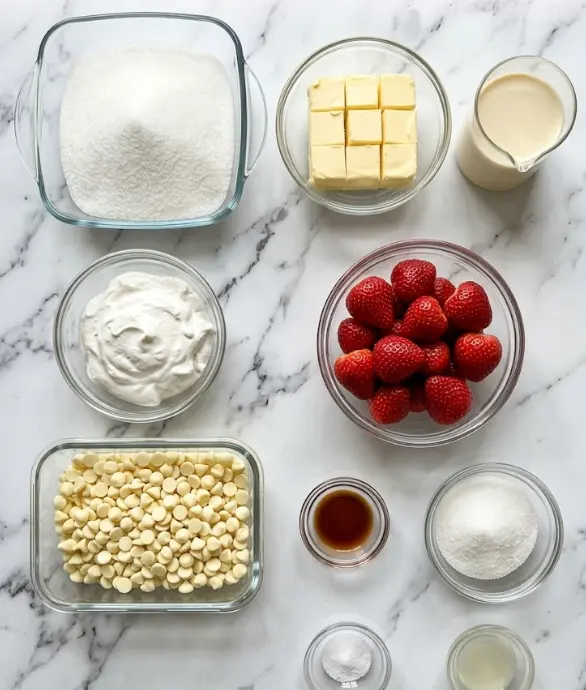
The beauty of this strawberry swirl fudge lies in its relatively short ingredient list that yields impressive flavor complexity. The recipe makes 16 generous 1-inch squares (or up to 25 smaller pieces) in an 8×8 or 9×9-inch pan.
For the fudge base:
- 600 g (3 cups) granulated sugar
- 170 g (¾ cup) unsalted butter, cut into 1-inch pieces
- 160 ml (⅔ cup) evaporated milk
- 198 g (7 oz) marshmallow crème or fluff
- 340 g (12 oz) high-quality white chocolate, finely chopped or chips
- 5 ml (1 tsp) pure vanilla extract
- 0.25 tsp (¼ tsp) salt
For the strawberry swirl:
- 150 g (1 cup) fresh or frozen strawberries, hulled
- 30 g (2 Tbsp) granulated sugar
- 2.5 ml (½ tsp) fresh lemon juice (optional, but recommended for brightness)
Equipment needed:
- 8×8 or 9×9-inch baking pan
- Parchment paper
- Heavy-bottomed saucepan
- Candy thermometer
- Offset spatula or knife for swirling
Smart substitutions:
- Dairy-free version: Use plant-based butter, dairy-free evaporated milk or coconut milk, and vegan white chocolate chips.
- Lower sugar: Reduce sugar in both fudge and strawberry components by 20–25% or experiment with sugar substitutes designed for candy-making.
- Different berries: Swap strawberries for raspberries, blackberries, or a mixed berry blend for exciting variations.
- Premium twist: Use high-percentage cocoa butter white chocolate for even smoother texture.
Using high-quality white chocolate is essential here. It melts more smoothly and prevents the grainy texture that can plague lesser brands in this strawberry swirl fudge.
Timing
This strawberry swirl fudge recipe is surprisingly efficient once you account for passive cooling time:
- Prep Time: 30 minutes
- Cook Time: 30 minutes
- Cooling & Chilling: 4+ hours (including 1–2 hours at room temperature and 2–4 hours minimum refrigeration)
- Total Time: 5 hours
While the active time is only about one hour, the chilling phase ensures the perfect firm-yet-creamy texture that makes fudge sliceable. This is roughly 40% less active time than many layered cheesecake bars or tempered chocolate candies. The majority of the 5-hour total is hands-off waiting, making it ideal for multitasking or preparing ahead for events.
Step-by-Step Instructions
Step 1: Prepare the Pan and Ingredients
Line an 8×8 or 9×9-inch pan with parchment paper, leaving generous overhangs on all sides for easy lifting later. Lightly grease the paper. Measure every ingredient for both the fudge and strawberry swirl before you begin. Candy-making moves quickly once started, so this mise en place approach prevents mistakes.
Step 2: Make the Strawberry Reduction
Rinse, hull, and puree the strawberries until completely smooth. Pour the puree into a small saucepan with 2 tablespoons sugar and the optional ½ teaspoon lemon juice. Simmer over medium-low heat, stirring frequently, for 10–20 minutes until it thickens to a jam-like consistency. Set aside to cool completely. This concentrated strawberry swirl delivers bright flavor without watering down the fudge. Pro tip: The reduction should cool to at least room temperature before swirling or it will melt the fudge base.
Step 3: Cook the Fudge Base to Soft-Ball Stage
In a heavy-bottomed saucepan, combine the 3 cups sugar, ¾ cup butter pieces, and ⅔ cup evaporated milk. Cook over medium heat, stirring constantly until the butter melts and sugar dissolves. Bring the mixture to a steady rolling boil. Attach your candy thermometer and continue boiling, stirring occasionally, until it reaches 234–238°F (112–114°C) — the soft-ball stage. This usually takes 5–8 minutes. Reaching the precise temperature is what gives this strawberry swirl fudge its perfect creamy texture.
Step 4: Add the Remaining Fudge Ingredients
Remove the pan from heat immediately. Quickly stir in the marshmallow crème, chopped white chocolate, vanilla extract, and salt. Continue stirring vigorously until everything is completely melted, smooth, and glossy. The mixture will thicken as it cools slightly. Work fast — the fudge sets quickly once the chocolate is incorporated.
Step 5: Layer and Create the Swirl
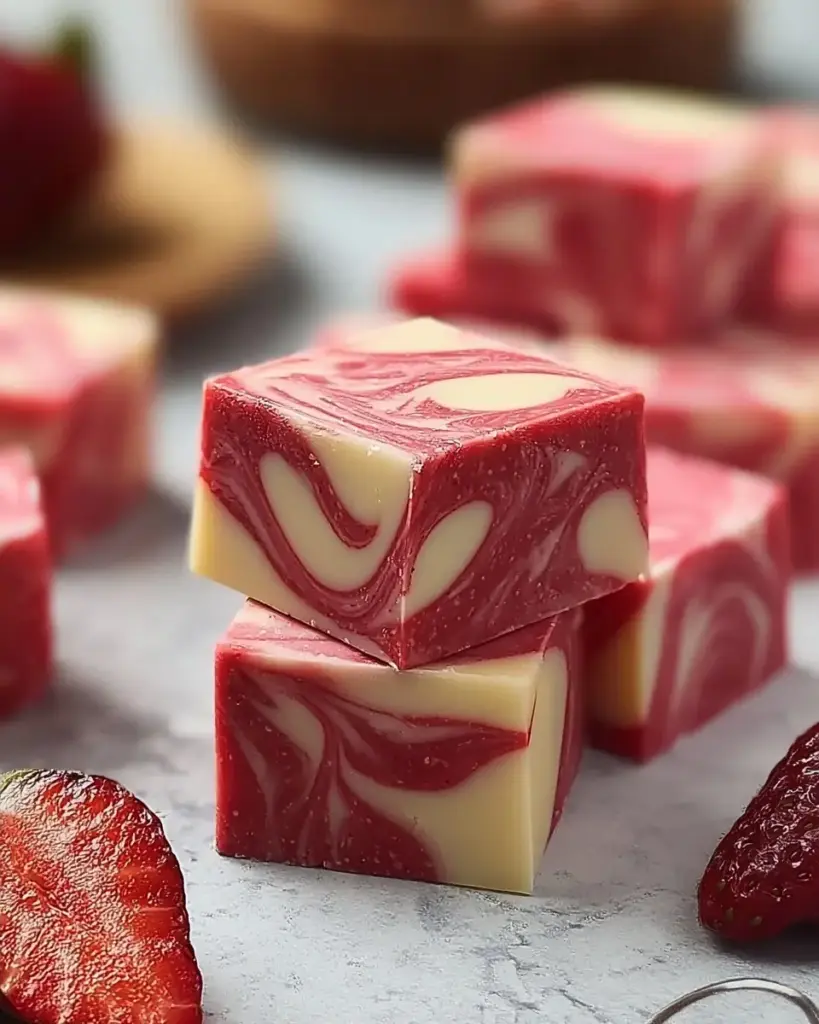
Pour approximately three-quarters of the hot fudge into the prepared pan. Dollop spoonfuls of the cooled strawberry reduction randomly across the surface. For a more dramatic look, spoon the remaining white fudge over the strawberry dollops. Using a knife or skewer, gently drag through the layers in a figure-eight or swirling motion. The goal is beautiful marbling without fully blending the colors. Less is more — over-swirling can muddy the vibrant contrast that makes this strawberry swirl fudge so appealing.
Step 6: Cool, Chill, and Set
Allow the fudge to cool completely at room temperature for 1–2 hours. Then transfer to the refrigerator to firm up for at least 2–4 hours, preferably overnight. Proper chilling is non-negotiable for clean cuts and the ideal creamy-yet-firm texture.
Step 7: Cut and Finish
Once fully set, use the parchment overhang to lift the entire slab onto a cutting board. Trim any uneven edges, then slice into 1-inch or 1½-inch squares. Wipe your knife clean between cuts with a warm, damp cloth for professional-looking edges. Your beautiful strawberry swirl fudge is now ready to enjoy.
Pro Tip: For extra clean cuts, run the knife under hot water, dry it thoroughly, and cut while the blade is still warm.
Nutritional Information
Per piece (based on 16 squares):
- Calories: 190
- Total Fat: 9g
- Saturated Fat: 6g
- Cholesterol: 15mg
- Sodium: 65mg
- Total Carbohydrates: 28g
- Sugars: 25g
- Protein: 1g
These values are approximate and will vary slightly based on exact brands and piece size. At 190 calories per square, this strawberry swirl fudge is more moderate than many commercial candies. The strawberries add a touch of natural fruit flavor and very small amounts of vitamin C and antioxidants, though the treat remains an indulgence best enjoyed in moderation.
Healthier Alternatives for the Recipe
You can adapt this strawberry swirl fudge to better fit specific dietary goals while preserving its luxurious character:
- Lower sugar version: Reduce the sugar in the fudge base by ½ cup and rely more heavily on the natural sweetness of the strawberry reduction. Use sugar-free marshmallow crème if available.
- Higher protein twist: Swirl in a small amount of strawberry Greek yogurt (strained) instead of some of the reduction for a subtle tangy boost.
- Dairy-free and vegan: The substitutions listed earlier work very well. Many readers report excellent results with full-fat coconut milk in place of evaporated milk.
- Fruit-forward: Increase the strawberry reduction quantity and reduce the white chocolate slightly for a more prominent berry flavor and natural color.
- Portion control: Cut into 25 smaller squares instead of 16 to create built-in moderation.
These modifications allow nearly anyone to enjoy a version of this strawberry swirl fudge that aligns with their needs.
Serving Suggestions
This versatile strawberry swirl fudge shines in many settings. Serve chilled squares on a pretty platter with fresh strawberries and mint leaves for an elegant dessert table. Package in cellophane bags with ribbon for thoughtful homemade gifts during holidays or hostess presents.
Pair it with a cup of coffee or tea to balance the sweetness, or crumble pieces over vanilla ice cream for an instant strawberry fudge sundae. For parties, create a candy board featuring this fudge alongside complementary treats like dark chocolate truffles or lemon bars. The beautiful pink-and-white swirls make it visually stunning for baby showers, bridal events, or Valentine’s Day.
Personalized tip: For summer entertaining, serve slightly chilled squares alongside glasses of sparkling rosé or strawberry lemonade. The contrast is unforgettable.
Common Mistakes to Avoid
Even experienced cooks can encounter issues with fudge. Here are the top pitfalls with this strawberry swirl fudge recipe and how to prevent them:
- Incorrect temperature: Missing the 234–238°F soft-ball stage results in fudge that is either too soft or grainy. A reliable candy thermometer is essential.
- Adding strawberry swirl while too hot: The reduction must be fully cooled. Warm puree will melt the fudge and create a muddy appearance.
- Over-swirling: Aggressive mixing blends the colors instead of creating beautiful marbled ribbons. A few gentle figure-eights are perfect.
- Using low-quality white chocolate: Cheap chips can seize or become grainy. Invest in good baking chocolate or chips labeled for melting.
- Skipping the full chill: Cutting too early leads to messy edges and soft centers. Overnight refrigeration yields the cleanest results.
- Humidity interference: High humidity can prevent proper setting. Choose a dry day or use air conditioning if possible.
Avoiding these mistakes will help you achieve consistent, beautiful strawberry swirl fudge every time.
Storing Tips for the Recipe
Proper storage keeps your strawberry swirl fudge tasting fresh for weeks. Once cut, store in an airtight container at room temperature for up to 1 week. For longer storage, keep it in the refrigerator for up to 2 weeks. The fudge maintains its creamy texture beautifully when chilled.
For extended storage, freeze individual squares or the entire slab (wrapped tightly in plastic wrap and then foil) for up to 3 months. Thaw overnight in the refrigerator before serving. The strawberry swirl may weep slightly after freezing, but the flavor remains excellent.
Make-ahead tip: Prepare the strawberry reduction up to 3 days in advance and store it in the refrigerator. This breaks up the workload when making multiple batches of this popular strawberry swirl fudge for gifting.
Conclusion
This strawberry swirl fudge recipe combines silky white chocolate fudge with vibrant homemade strawberry ribbons for a creamy, sweet treat that looks as impressive as it tastes. With careful temperature control and proper chilling, you’ll create beautiful marbled squares perfect for any occasion.
Ready to make your own batch of this irresistible strawberry swirl fudge? Try the recipe today, share your results or creative variations in the comments below, and subscribe for more easy, crowd-pleasing dessert recipes and candy-making tips delivered straight to your inbox!
FAQs
Can I use frozen strawberries for the swirl?
Yes! Frozen strawberries work excellently. No need to thaw them before pureeing. You may need to simmer the reduction a few minutes longer to reach the proper thickness.
Why does this recipe require a candy thermometer?
Reaching the precise soft-ball stage (234–238°F) is what creates the signature creamy texture of great fudge. Without it, the finished strawberry swirl fudge may be too soft or grainy.
How do I get perfectly clean cuts on the fudge?
Chill the fudge completely, use a sharp knife wiped clean between cuts, and run the knife under hot water then dry it before slicing. This technique gives professional-looking edges.
Can I make this strawberry swirl fudge without marshmallow crème?
Traditional fudge recipes usually rely on it for smoothness and structure. Substituting it is possible but changes the texture significantly. For best results, we recommend following the recipe as written.
How long does strawberry swirl fudge last at room temperature?
In an airtight container, it stays fresh for up to one week. Refrigeration extends that to two weeks, and freezing preserves it for up to three months.
Why did my fudge turn out grainy?
This usually happens when the sugar crystals aren’t fully dissolved before boiling or when the mixture is stirred too much after reaching temperature. Follow the stirring instructions carefully.
Can I double this recipe?
Yes. Use a 9×13-inch pan and double all ingredients. Cooking time to reach soft-ball stage may be slightly longer. Keep a close eye on your thermometer.
This strawberry swirl fudge recipe delivers everything you need to create a stunning homemade candy that will impress family and friends. Happy cooking!
Strawberry Swirl Fudge
Ingredients
Equipment
Method
- Line an 8×8 or 9×9 inch pan with parchment paper, leaving an overhang, and lightly grease. Measure all ingredients for both fudge and swirl components.
- Rinse and hull fresh strawberries (no need to thaw frozen). Puree strawberries until smooth. Pour puree into a small saucepan with 2 tbsp sugar and optional ½ tsp lemon juice. Simmer over medium-low heat, stirring frequently, until thickened to a jam-like consistency (10-20 minutes). Set aside to cool.
- In a heavy-bottomed saucepan, combine 3 cups granulated sugar, ¾ cup butter pieces, and ⅔ cup evaporated milk. Cook over medium heat, stirring until butter melts and sugar dissolves. Bring to a steady rolling boil.
- Attach a candy thermometer and continue boiling, stirring occasionally, until the mixture reaches 234-238°F (112-114°C) (soft ball stage), about 5-8 minutes.
- Immediately remove from heat. Stir in 1 jar marshmallow crème, 12 oz white chocolate (chopped/chips), 1 tsp vanilla extract, and ¼ tsp salt. Stir vigorously until all ingredients are melted, smooth, and glossy.
- Pour about three-quarters of the hot fudge base into the prepared pan. Randomly dollop spoonfuls of the cooled strawberry reduction over the fudge. Optionally, spoon remaining white fudge over the strawberry dollops. Gently drag a knife or skewer through the fudge in a swirling motion to marble the colors without fully mixing.
- Allow the fudge to cool completely at room temperature (1-2 hours), then transfer to the refrigerator to chill and firm up for at least 2-4 hours, or ideally overnight.
- Once firm, use the parchment paper to lift the fudge from the pan onto a cutting board. Trim edges and slice into 1-inch or 1½-inch squares. Wipe the knife between cuts for clean edges. Store in an airtight container at room temperature for up to a week, or in the refrigerator for up to two weeks. Can be frozen for up to 3 months.