Quick Oreo Marshmallow Pops: Easy 3-Ingredient Fun for Everyone
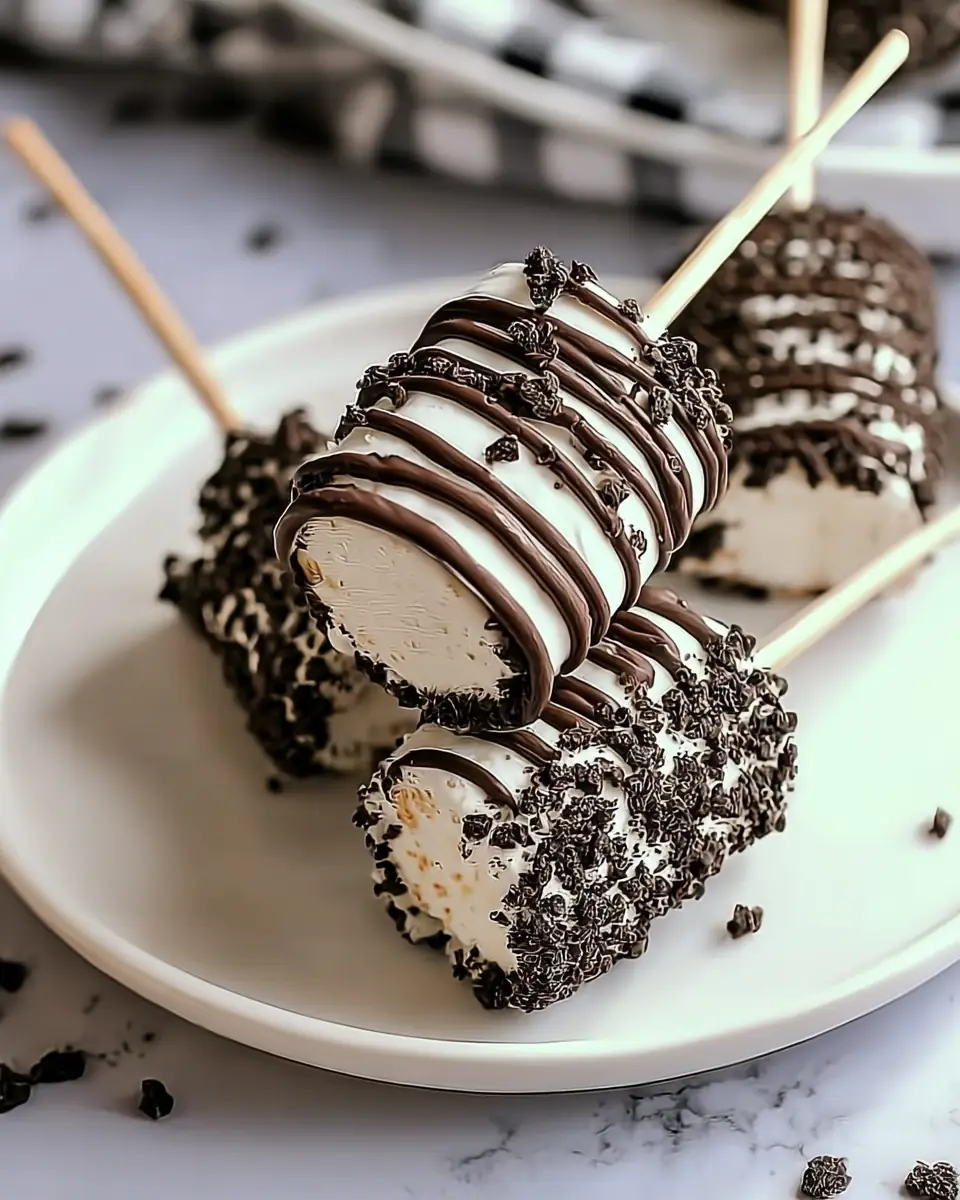
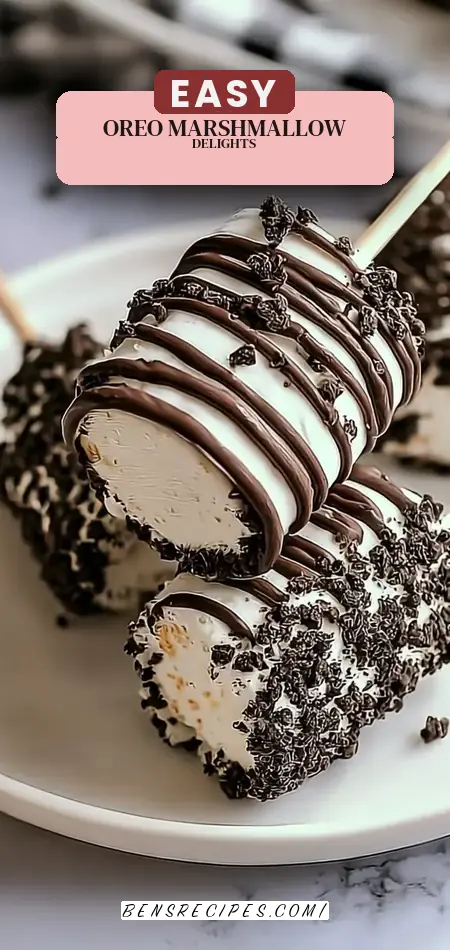
These chocolate-dipped marshmallow pops combine fluffy marshmallows, creamy white chocolate, and crunchy Oreo cookie crumbs into handheld treats that both kids and adults adore. Whether you’re a busy parent searching for kid-friendly snacks, planning a birthday party, or simply satisfying a sweet tooth without turning on the oven, this easy Oreo marshmallow pops recipe checks every box.
No fancy equipment or baking skills required. In this comprehensive guide, you’ll get the exact ingredients, step-by-step instructions, timing details, nutritional information, healthier swaps, serving ideas, common pitfalls to avoid, and storage tips. By the end, you’ll be ready to make these crowd-pleasing, cookies-and-cream marshmallow treats that consistently rank high among no-bake party snacks. Let’s dive in and make your new favorite 3-ingredient dessert.
Ingredients List
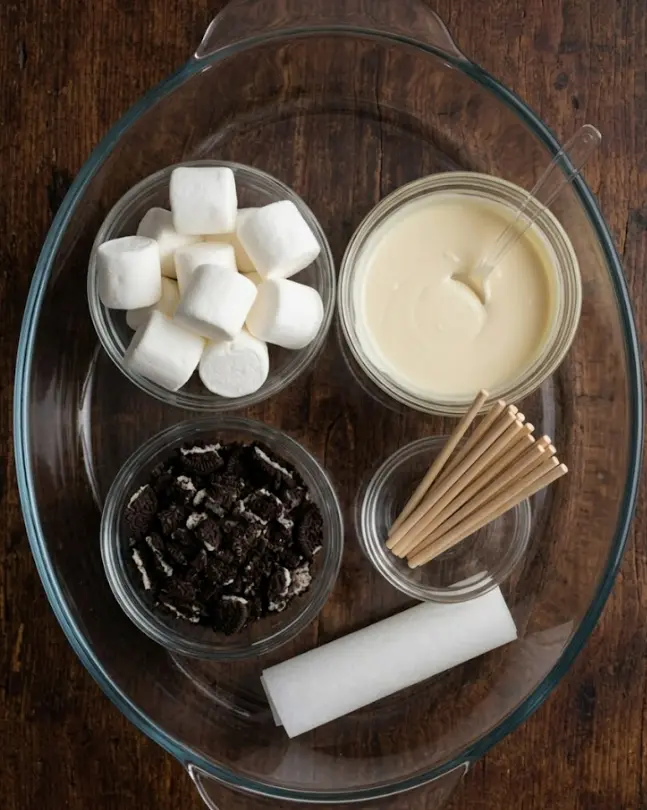
The beauty of these Oreo marshmallow pops lies in their simplicity. Here’s exactly what you need:
- 12 regular-sized marshmallows — Pillowy and soft, these form the light, chewy center. Fresh marshmallows work best for optimal texture.
- 1 cup white chocolate chips — Choose high-quality chips that melt smoothly. They create a sweet, creamy coating that hardens beautifully.
- 10 Oreo cookies, crushed — The star flavor provider. Crushing them gives that signature black-and-white speckled look and irresistible cookies-and-cream crunch.
- 12 wood treat sticks or candy apple sticks — Sturdy sticks that make these easy to hold and dip. (Note: The base recipe threads multiple marshmallows per stick for generous pops; adjust quantity as needed for yield.)
- Parchment or waxed paper — Essential for lining your baking sheet to prevent sticking.
Smart Substitutions:
- Swap white chocolate for dark or milk chocolate chips for a flavor twist.
- Use gluten-free Oreos or chocolate sandwich cookies for dietary needs.
- Try sugar-free or vegan white chocolate and plant-based marshmallows for specialized diets.
- Add a teaspoon of coconut oil to the chocolate for extra smooth melting and shine.
These simple pantry staples turn into something magical, proving that the best no-bake desserts don’t need complicated lists.
Timing
Prep Time: 15 minutes
Chill Time: 15 minutes
Total Time: 30 minutes
This quick timeline makes Oreo marshmallow pops far more efficient than average baked cookie or cupcake recipes, which often require 45–60+ minutes including oven time and cooling. The minimal hands-on work and short refrigeration period mean you can prepare them right before guests arrive or whip them up as a last-minute kid-friendly snack. Perfect for hot summer days when you want to avoid heating the kitchen.
Step-by-Step Instructions
Thread the Marshmallows
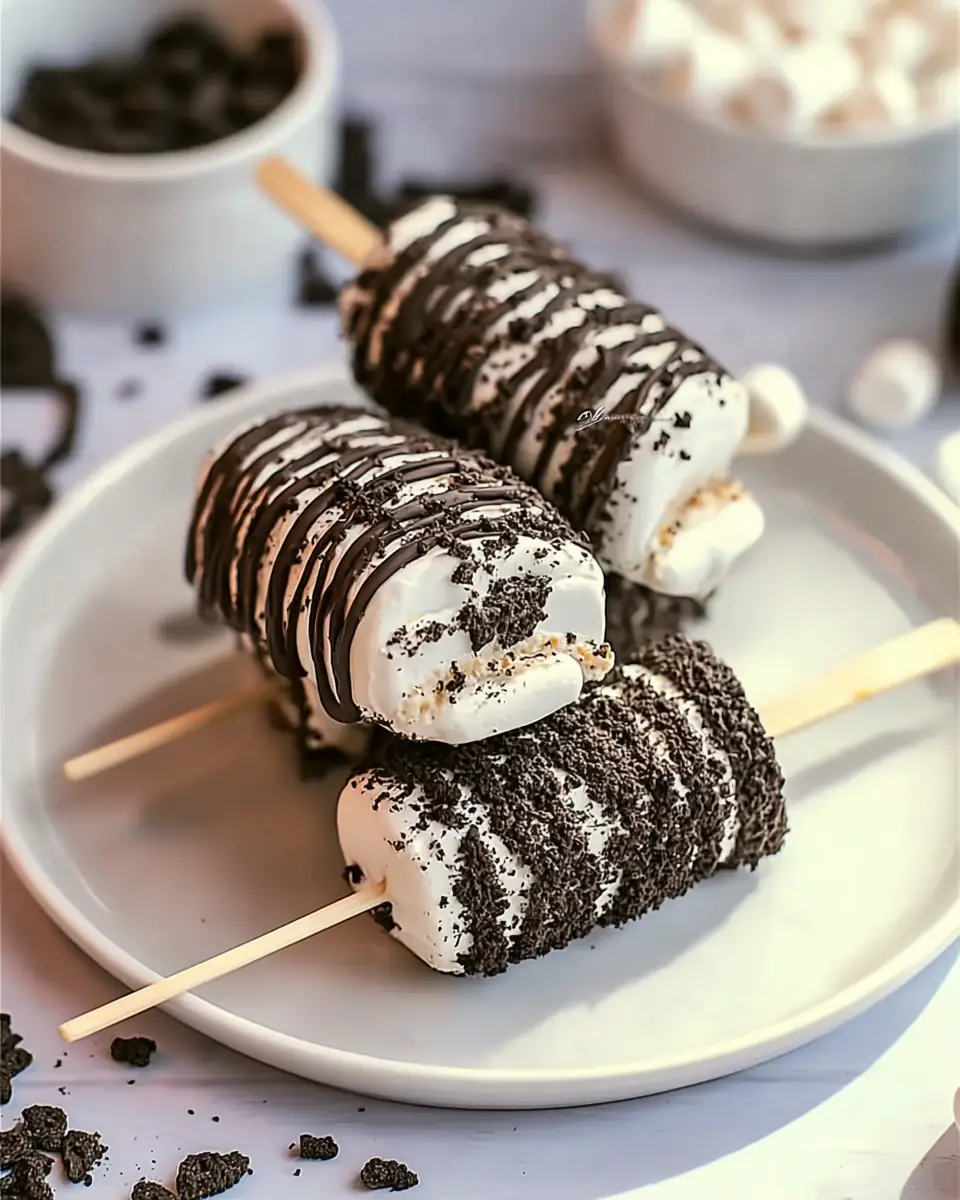
Thread four marshmallows onto each stick, twisting slightly to secure them firmly without squishing. This creates a tall, fun-to-eat pop with plenty of fluffy texture in every bite. Leave a little space at the bottom for a good gripping handle. Pro tip: Slightly damp hands prevent marshmallows from sticking to your fingers.
Melt the White Chocolate
Melt 1 cup of white chocolate chips in the microwave in 20–30 second intervals, stirring thoroughly between each burst. Stop as soon as it’s mostly smooth — residual heat will finish the job and prevent seizing. For stovetop, use a double boiler on low heat. Stir in a tiny bit of coconut oil if the mixture feels thick. This creates the perfect silky coating for your chocolate-dipped marshmallow pops.
Prepare Your Workspace
Line a cookie sheet with parchment or waxed paper. This non-stick surface ensures your finished Oreo marshmallow pops release cleanly after setting. Have your crushed Oreos in a shallow bowl or plate ready for rolling — the finer the crumbs, the better the even coverage.
Dip in Chocolate
Hold each marshmallow stick over the melted chocolate and spoon or dip until fully coated. Gently tap the stick against the bowl edge to remove excess chocolate for a smooth, even layer without drips. Work quickly before the chocolate begins to set.
Roll in Crushed Oreos
Immediately roll the wet chocolate-coated marshmallows in the crushed Oreo cookies, pressing gently so the crumbs adhere well. The combination of creamy white chocolate and crunchy cookie bits creates that addictive cookies-and-cream texture everyone loves in these no-bake Oreo desserts.
Add a Chocolate Drizzle and Chill
Place the finished pops on the prepared parchment paper. Drizzle any leftover melted chocolate over the tops for an elegant finish. Refrigerate for at least 15 minutes until the chocolate fully sets and firms up. This step is crucial for clean, snappy texture.
These easy-to-follow steps ensure consistent, professional-looking results every time, even for beginners.
Nutritional Information
Serving Size: 1 pop
Calories: 150 kcal
Carbohydrates: 20 g
Protein: 1 g
Fat: 7 g
Saturated Fat: 4 g
Cholesterol: 5 mg
Sodium: 50 mg
Sugar: 12 g
Each pop delivers a satisfying sweet hit while remaining relatively moderate compared to many packaged candies or full-sized desserts. The marshmallows contribute light chewiness and carbohydrates for quick energy, while the Oreo coating adds that craveable flavor. White chocolate provides creaminess but is higher in saturated fat, so portion control helps. These Oreo marshmallow pops work well as an occasional treat rather than everyday snack, but their small serving size makes them easier to enjoy mindfully than larger baked goods.
Healthier Alternatives for the Recipe
You can easily adapt this Oreo marshmallow pops recipe for various dietary needs while keeping the fun factor intact:
- Lower Sugar Version: Use sugar-free white chocolate chips, reduced-sugar Oreos (or homemade versions), and lower-sugar marshmallows.
- Higher Protein Twist: Serve alongside a Greek yogurt-based cookies-and-cream dip or incorporate a bit of protein powder into a yogurt coating alternative.
- Dark Chocolate Upgrade: Swap white chocolate for dark chocolate. This adds antioxidants and a less sweet profile that many adults prefer.
- Vegan or Dairy-Free: Choose vegan marshmallows, dairy-free white or dark chocolate, and certified vegan sandwich cookies.
- Gluten-Free: Simply select gluten-free Oreo-style cookies.
- Nut Boost: Mix crushed nuts or seeds into the coating for added healthy fats and protein.
These modifications maintain the beloved crunchy-creamy contrast of the original while boosting nutritional value. Experiment to create personalized versions that fit your family’s preferences.
Serving Suggestions
These versatile Oreo marshmallow pops shine in many settings. Serve them upright in a glass or styrofoam block for elegant presentation at birthday parties. Add colorful sprinkles, holiday-themed Oreo colors, or edible glitter for themed events.
Pair them with ice cream for a fun deconstructed sundae, use as cupcake toppers, or include in gift bags and lunchboxes. For adult gatherings, drizzle with dark chocolate and serve on a dessert charcuterie board alongside fresh berries and nuts.
Personalized tip: Let kids roll their own pops — it becomes a memorable activity that increases their excitement about eating them. These no-bake treats also photograph beautifully for social media, making them popular on Pinterest and TikTok.
Common Mistakes to Avoid
Even simple recipes have pitfalls. Here are the top ones to watch for with Oreo marshmallow pops:
- Overheating the chocolate — This causes seizing or a grainy texture. Always use short microwave intervals and stir well.
- Marshmallows sliding off sticks — Twist gently when threading and avoid overloading with too many per stick if adjusting yield.
- Coarse Oreo crumbs — Pulse cookies in a food processor or crush thoroughly in a bag for better adhesion and even coating.
- Skipping the chill step — Warm chocolate needs time to set properly in the fridge; otherwise pops become messy.
- Humidity issues — Make these on low-humidity days or store promptly, as marshmallows can become sticky.
Following these insights from experienced home cooks will help you achieve perfect results every batch.
Storing Tips for the Recipe
Store finished Oreo marshmallow pops in an airtight container in the refrigerator for up to 5–7 days. Layer between parchment paper to prevent sticking. Bring to room temperature for 5–10 minutes before serving for the best texture and flavor.
For make-ahead prep, crush the Oreos and thread marshmallows onto sticks up to a day in advance. Keep components separate until ready to dip and roll. Avoid freezing, as marshmallows can become overly chewy or weep upon thawing. These best practices keep your no-bake treats fresh, crunchy, and delicious.
Conclusion
These easy Oreo marshmallow pops combine fluffy marshmallows, smooth white chocolate, and crunchy Oreo cookies into a fun, 3-ingredient no-bake treat ready in just 30 minutes. Perfect for parties, kids, or anytime cravings, they deliver big flavor with minimal effort.
Ready to make your own batch? Try this Oreo marshmallow pops recipe today and share your results in the comments below! Tell us your favorite variations or how you served them. Don’t forget to subscribe for more easy recipes, no-bake desserts, and kid-friendly snacks delivered straight to your inbox.
FAQs
Can I use milk or dark chocolate instead of white chocolate?
Absolutely. Dark chocolate creates a richer contrast while milk chocolate offers extra sweetness. Both work beautifully with the Oreo coating.
How many pops does this recipe make?
Using four marshmallows per stick with the listed ingredients typically yields about 3 generous pops. Scale up ingredients proportionally for larger batches.
Are Oreo marshmallow pops gluten-free?
Not with standard Oreos. Substitute with gluten-free chocolate sandwich cookies to make them suitable for gluten-sensitive diets.
How long do these no-bake marshmallow treats last?
They stay fresh in an airtight container in the refrigerator for up to a week. The chocolate coating helps protect the marshmallows.
Can I make these ahead for a party?
Yes! Prepare them 1–2 days in advance and store in the fridge. Add any extra decorations right before serving.
What’s the best way to crush Oreos cleanly?
Place cookies in a zip-top bag and crush with a rolling pin, or pulse briefly in a food processor. Both methods work well for these chocolate marshmallow pops.
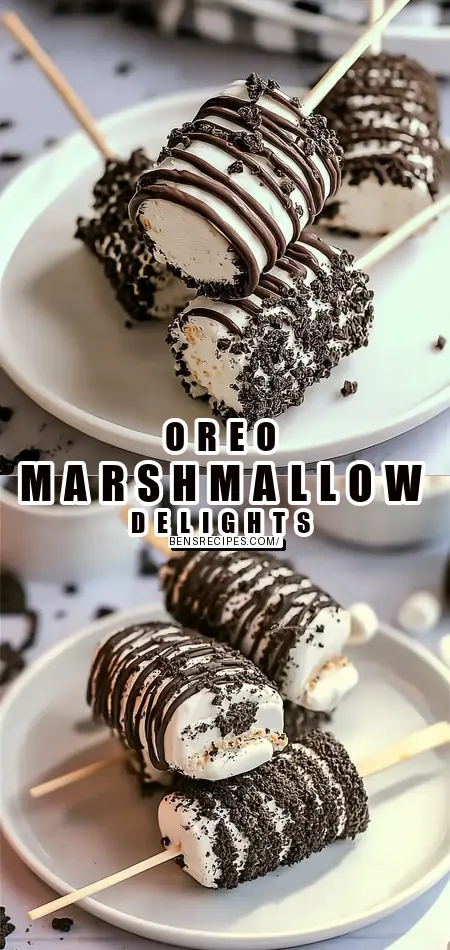
Oreo Marshmallow Pops: Easy 3-Ingredient Fun for Everyone
Ingredients
Method
- Thread four marshmallows onto each stick.
- Melt white chocolate in a microwave-safe bowl in intervals, stirring until smooth.
- Line a tray with parchment paper and prepare crushed Oreos in a bowl.
- Dip marshmallow sticks into melted chocolate, coating evenly.
- Roll immediately in crushed Oreos to coat.
- Place on parchment-lined tray.
- Refrigerate for at least 15 minutes until set.