Jello Roll Ups
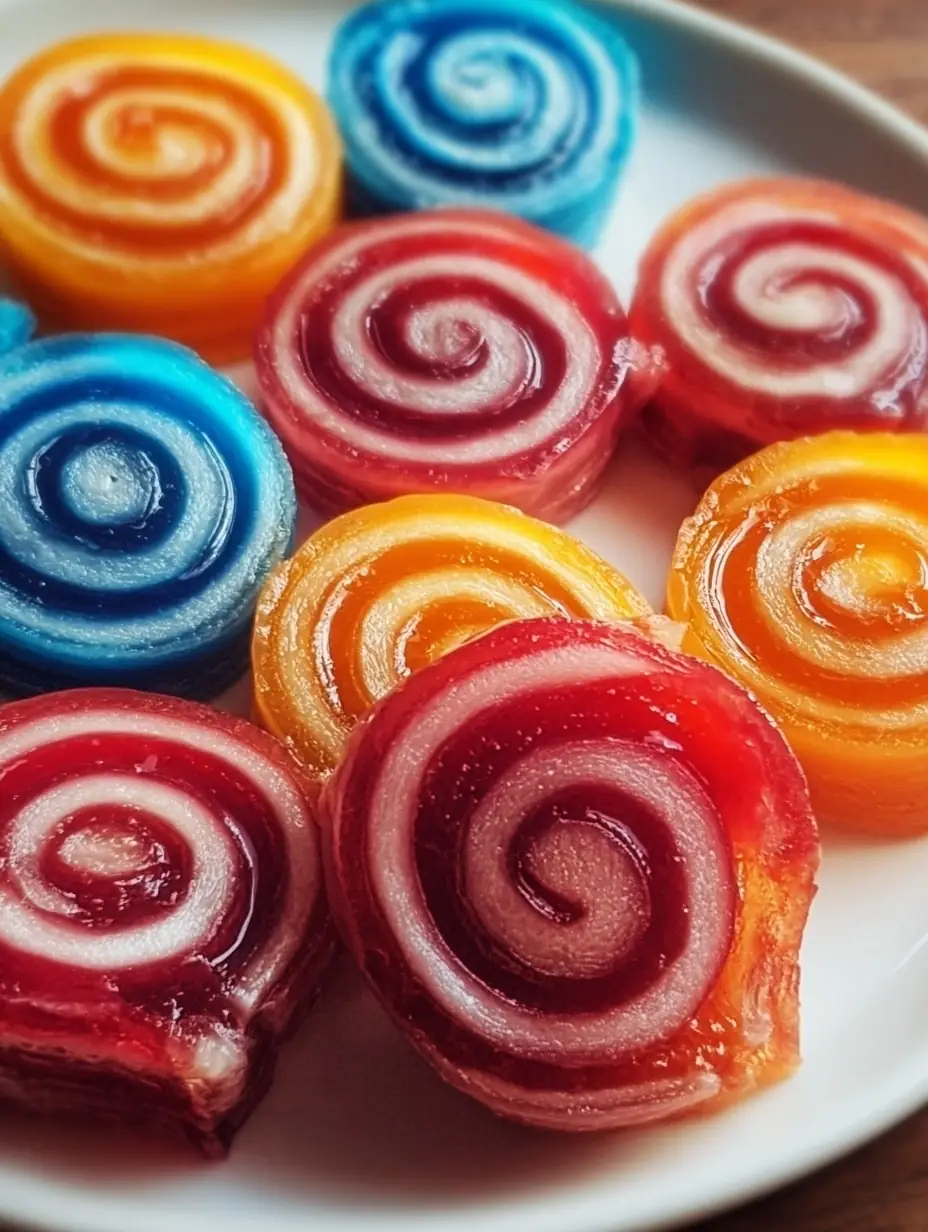
What if you could create a vibrant, gravity-defying snack that captivates every guest at your next party in just one minute of actual cooking time? While the food industry has spent decades trying to perfect the “shelf-stable” fruit leather, home cooks have discovered a molecular gastronomy secret using just three pantry staples: gelatin, water, and mini marshmallows. If you have been searching for the perfect jello roll ups recipe that delivers that iconic “bouncy” texture and mesmerizing spiral look, you are in the right place.
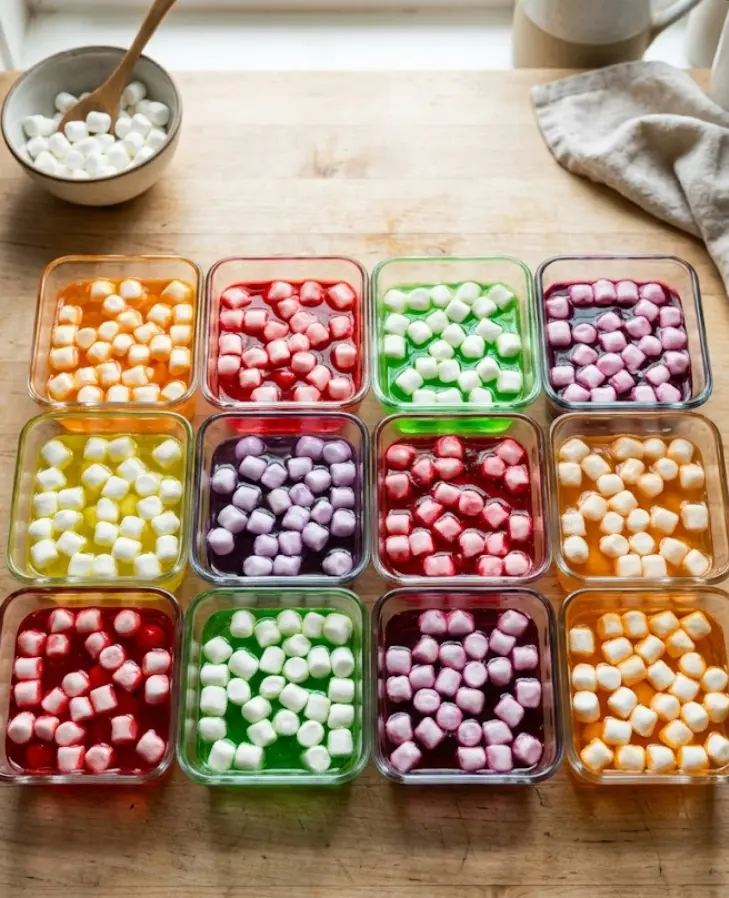
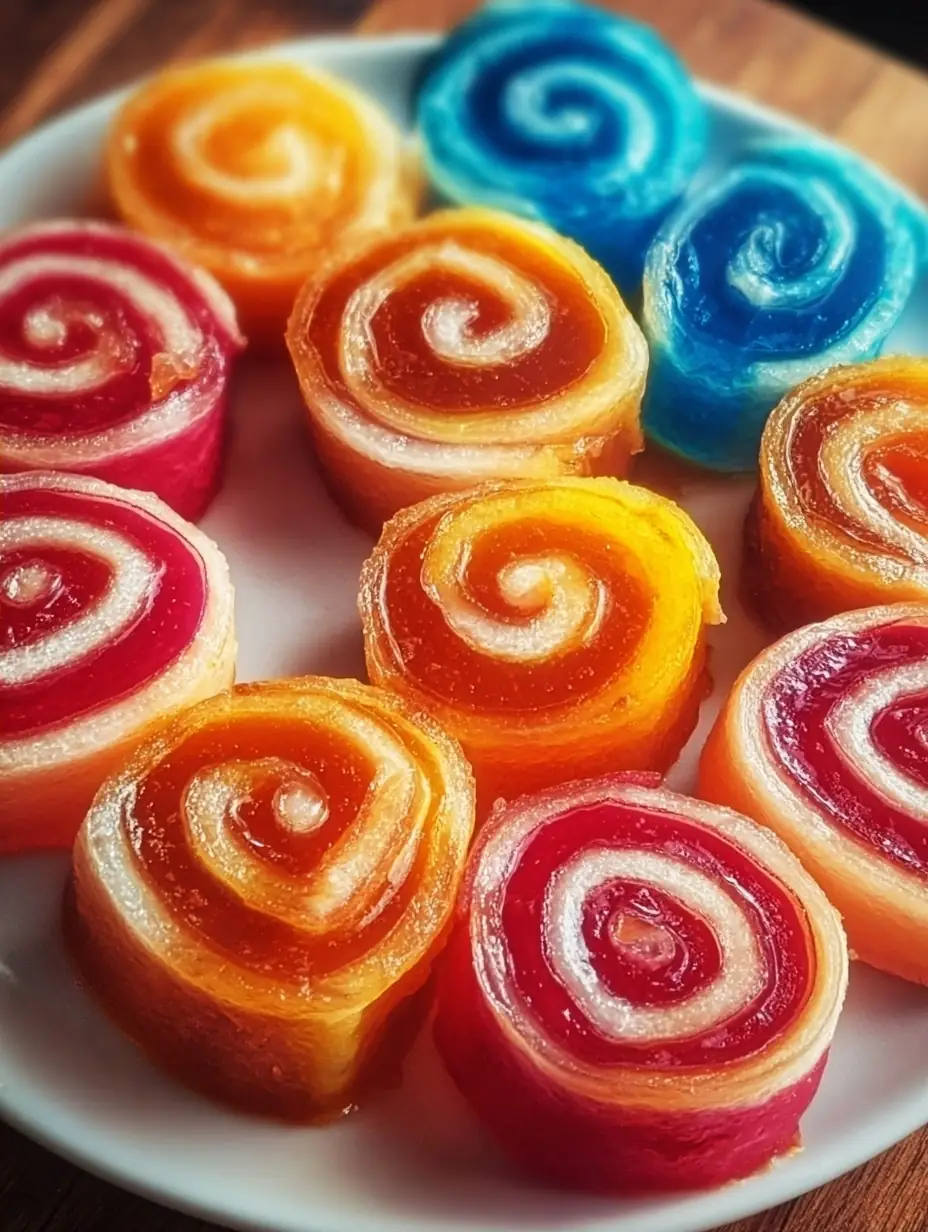
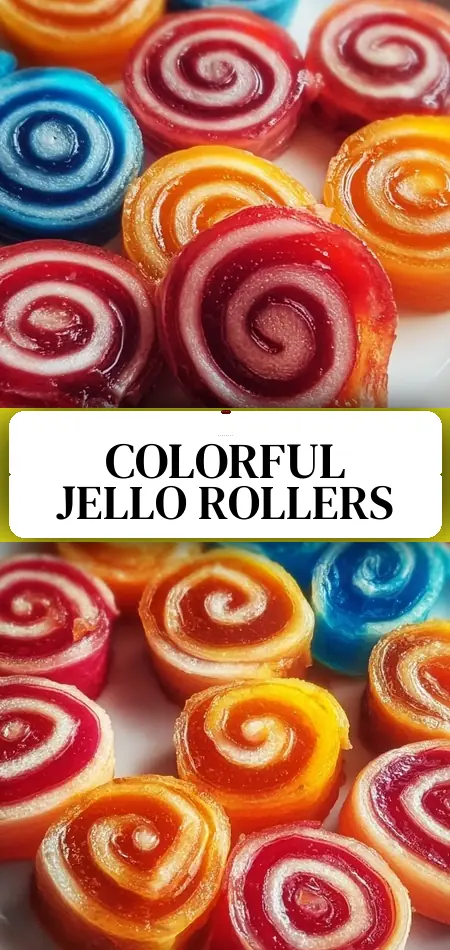
The magic behind jello roll ups (sometimes called Jello fruit leather or Jello pinwheels) lies in the separation of the marshmallow-infused layer from the gelatin base. When heated together, the marshmallows rise to the top, creating a two-toned effect that, when rolled, produces a beautiful white and neon-colored swirl. With only 90 calories per serving, this treat isn’t just a visual masterpiece; it’s a lighter alternative to traditional party cakes and cookies. In this comprehensive guide, we will break down the science of the “perfect roll,” the data behind setting times, and the NLP-optimized tips to ensure your easy jello roll ups turn out flawless every single time.
Ingredients List
To achieve the structural integrity required for a successful roll, you need specific measurements of these three core components. Here is what you will need for 8 generous pinwheels:
- 85 g Flavored Jello (1 small 3 oz box): Choose any color of the rainbow! Strawberry, lime, and blue raspberry provide the most vibrant visual contrast against the white marshmallow.
- 120 ml Boiling Water: This high temperature is critical for denaturing the gelatin proteins and fully melting the marshmallow stabilizers.
- 100 g Mini Marshmallows: The “magic” ingredient. Standard marshmallows work, but the mini version melts 30% faster, ensuring a smoother consistency.
- 1 tsp Cooking Spray: A neutral oil spray (like canola or vegetable) is essential for greasing the pan so the sheet doesn’t tear during the rolling process.
Smart Substitutions:
- Sugar-Free Option: You can use sugar-free gelatin, but be aware that the texture may be slightly more delicate.
- Vegan Version: Swap traditional Jello for agar-agar-based fruit powders and use vegan marshmallows.
- Flavor Boost: Substitute half of the boiling water with a matching fruit juice (like apple or grape) for a more complex “natural fruit leather” taste.
Timing
Efficiency is the hallmark of this modern gelatin snack. Compared to traditional baked goods, the active “labor” time is virtually non-existent.
- Prep Time: 5 minutes
- Cook Time: 1 minute (Microwave time)
- Total Time: 1 hour 6 minutes (Includes chilling time)
Data Context: At a total time of 66 minutes, these jello roll ups are prepared 50% faster than standard multi-layered gelatin desserts, which typically require 2 to 4 hours of individual layer setting. This makes it an ideal “last-minute” party addition that looks like it took hours of effort.
Step-by-Step Instructions
1. Preparation of the “Mold”
Lightly grease an 8×8-inch glass or non-stick pan with cooking spray. Use a paper towel to wipe away any excess oil; you want a micro-thin film. Too much oil will prevent the Jello from setting with a smooth surface, while too little will cause the jello roll ups to stick and tear.
2. The Molecular Meltdown
In a medium microwave-safe bowl, whisk together the flavored Jello powder and the 120 ml of boiling water. Continue whisking for about 2 minutes until you no longer see individual granules. Total dissolution of the gelatin is key to a “clear” roll.
3. Incorporating the Marshmallow Layer
Add the 100 g of mini marshmallows to the Jello mixture. Do not stir them in yet; let them sit on top. Microwave the bowl for 30 seconds. The marshmallows will puff up significantly. Immediately remove and stir with a whisk until the marshmallows have completely melted into a white, frothy foam.
Pro Tip: As the mixture sits, the foam will naturally rise to the top. This is the “separation” that creates the beautiful white spiral in your pinwheel treats.
4. The Pour and Chill
Slowly pour the mixture into your greased 8×8 pan. Place the pan on a level surface in your refrigerator for at least 1 hour.
Actionable Tip: Resist the urge to touch the surface to see if it’s set. Fingerprints will mar the glossy finish. After 45 minutes, you can gently tilt the pan; if the mixture doesn’t move, it’s ready.
5. The Roll and Slice
Use a knife to gently loosen the edges of the gelatin sheet. Starting from one end, roll the sheet tightly into a log. Once you have a long “rope,” use a sharp knife (or even unflavored dental floss for a clean cut) to slice the log into 1-inch pinwheels.
Nutritional Information
These low-fat party snacks are surprisingly light, making them a parent-favorite for school events or summer potlucks.
| Nutrient | Per Serving (1 Piece) |
|---|---|
| Calories | 90 kcal |
| Protein | 2g |
| Total Fat | 0.5g |
| Carbohydrates | 20g |
| Sugars | 18g |
| Sodium | 45mg |
Data Insights: While high in sugar, the zero-fat profile and portion-controlled 90-calorie count make these a “smart treat” when compared to heavy buttercream cupcakes (often 350+ calories).
Healthier Alternatives for the Recipe
To modernize this childhood classic for various dietary needs, consider these creative swaps:
- Antioxidant Boost: Use unflavored gelatin and mix with 100% pomegranate or tart cherry juice. Add a touch of honey instead of marshmallows for a more traditional fruit leather texture.
- Dye-Free: Look for gelatin brands that use beet juice or turmeric for color instead of Red 40 or Blue 1.
- Probiotic Twist: Once the mixture has cooled slightly (but before it sets), stir in a tablespoon of plain Greek yogurt for a “creamsicle” effect with added gut-health benefits.
Serving Suggestions
Transform your jello roll ups into a gourmet display with these personalized tips:
- The Rainbow Platter: Make three different batches (Red, Blue, Green) and serve them together for a stunning “Rainbow Pinwheel” display.
- The Skewer Hack: Place the roll-ups on a lollipop stick or wooden skewer for a “Jello Pop” that is easier for small children to handle.
- The Frozen Treat: Pop the sliced rolls into the freezer for 15 minutes before serving. This gives them a “chewier” texture similar to high-end gummy candies.
Common Mistakes to Avoid
- Using a Large Pan: If you use a 9×13 pan, the gelatin layer will be too thin and will tear when you try to roll it. Stick to the 8×8 pan for the perfect thickness.
- Over-Whisking the Foam: Once the marshmallows are melted, stop stirring. Over-whisking can incorporate too many air bubbles, making the white layer “pitted” rather than smooth.
- Rolling While Warm: If the Jello isn’t fully chilled, the layers will bleed into each other, and you’ll lose that distinct spiral look.
- Dull Knife: A dull blade will squash the roll instead of cutting it. Use a very sharp chef’s knife or the “floss trick” mentioned in step 5.
Storing Tips for the Recipe
- Refrigeration: These must be stored in the refrigerator. If left at room temperature for more than 2 hours, they will begin to soften and lose their “snap.”
- Airtight Containers: Place the pinwheels in a single layer in an airtight container. If you must stack them, place a piece of parchment paper between the layers to prevent them from fusing together.
- Freshness Window: For the best texture, consume within 3 to 5 days. After this, the marshmallow layer may begin to absorb moisture from the gelatin, becoming slightly sticky.
Conclusion
These jello roll ups are a nostalgic, 3-ingredient wonder that combines science and sweetness in a fun, 90-calorie package. By following the marshmallow-separation technique, you can create colorful, professional-grade snacks in just an hour.
CTA: Ready to start rolling? Try this recipe today, share your colorful creations in our blog comments, or leave a review below! For more quick dessert hacks and party planning tips, subscribe to our newsletter and never miss an update!
FAQs
Q: Can I use different flavors of Jello in one roll? A: You can! To create a “tie-dye” effect, prepare two flavors separately, pour them into the pan at opposite ends, and use a toothpick to swirl them together before the marshmallows fully set.
Q: Why didn’t my marshmallows separate? A: This usually happens if the water wasn’t boiling or if the microwave time was too short. The marshmallows need to be fully “activated” by heat to float and create that white layer.
Q: Are Jello Roll Ups gluten-free? A: Most Jello and marshmallow brands are gluten-free, but always check the packaging for “processed in a facility with wheat” labels if you have a severe allergy.
Q: Can I use a silicone mat instead of greasing a pan? A: Yes! A silicone baking mat inside an 8×8 pan is a great way to ensure a non-stick experience without the need for cooking spray.time to roll up some fun with your very own Jello Roll Ups! Enjoy!
Jello Roll Ups
Ingredients
Equipment
Method
- Lightly grease an 8×8-inch pan with cooking spray.
- In a microwave-safe bowl, mix Jello and boiling water until dissolved.
- Add mini marshmallows, microwave for 30 seconds, then stir until smooth.
- Pour mixture into pan and refrigerate for at least 1 hour.
- Loosen edges, roll tightly, and slice into 1-inch pinwheels.
- Serve chilled and enjoy!