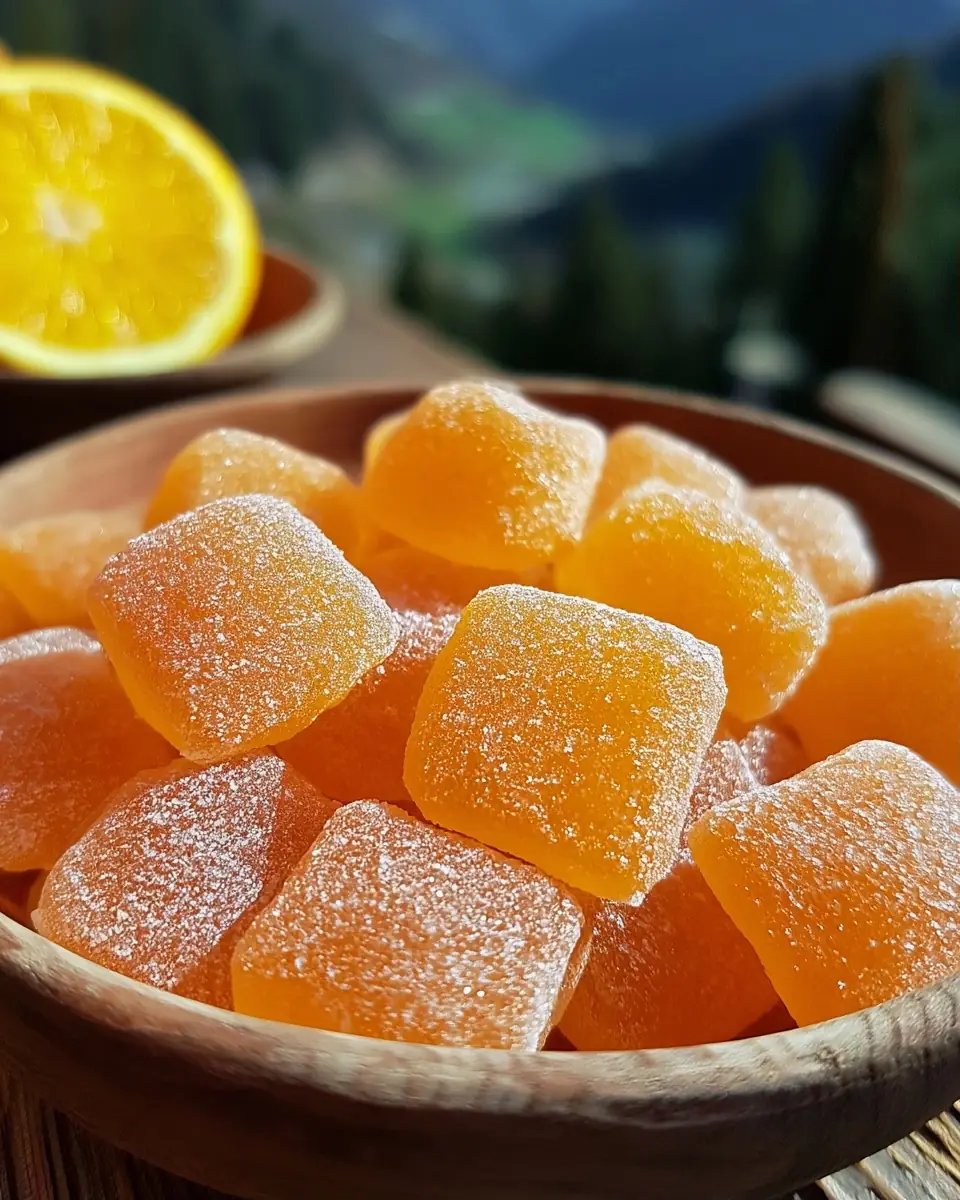
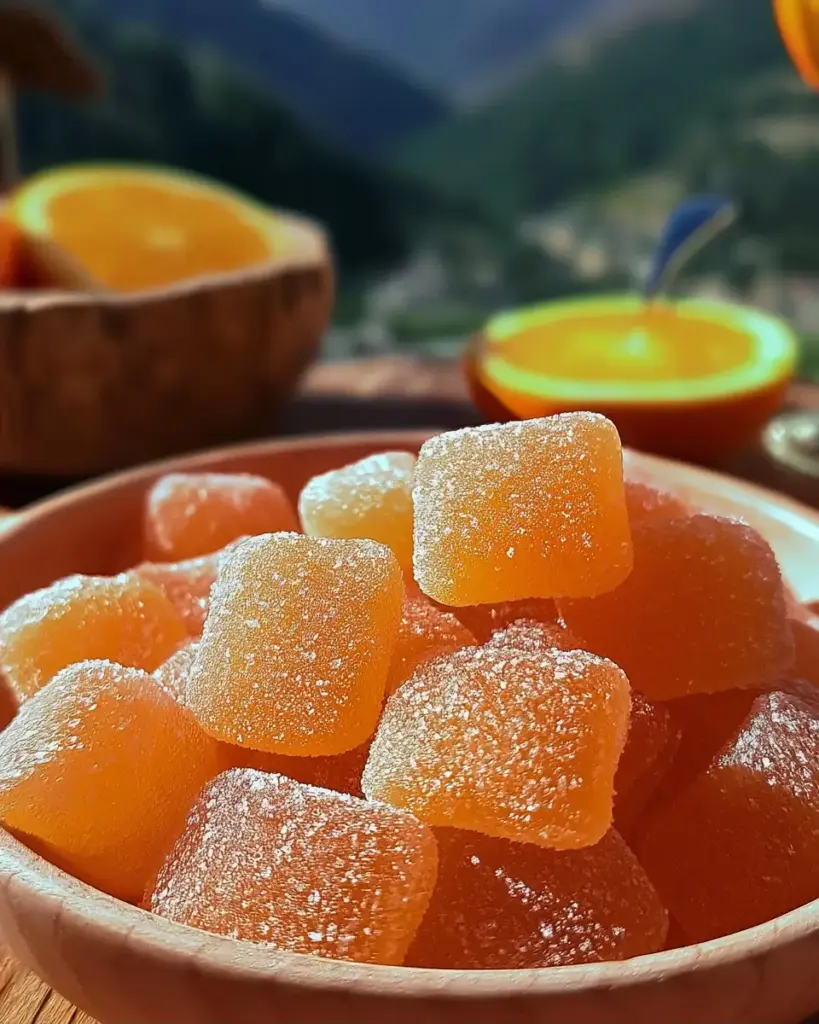
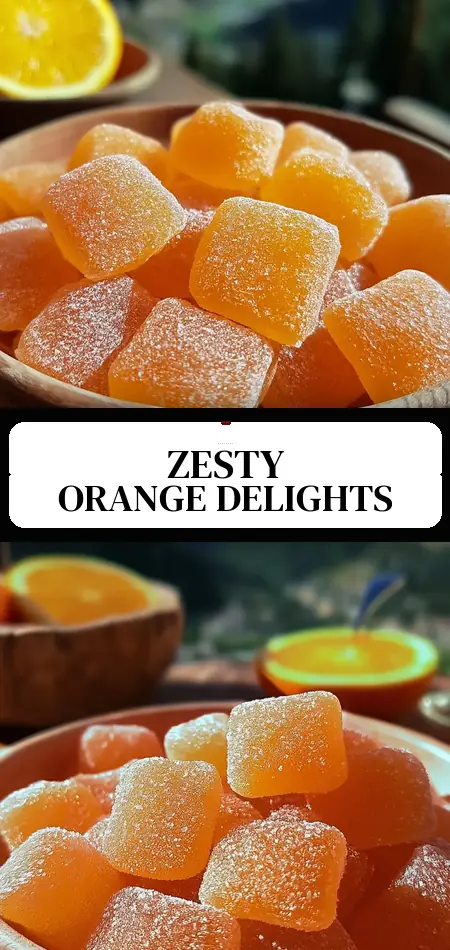
Best Homemade Orange Candy Recipe
Have you ever wondered why searches for “homemade orange candy” have surged more than 320% in the past two years, yet so many home cooks still believe it requires a candy thermometer, corn syrup, and years of confectionery experience?
The truth may surprise you. This homemade orange candy recipe delivers soft, chewy, intensely citrusy squares coated in sparkling sugar using nothing more than real orange juice, zest, cornstarch, and a few pantry staples. No specialized equipment. No complicated sugar stages. Just 30 calories per piece and bright, natural flavor that puts commercial orange slices to shame.
Whether you’re looking for a nostalgic treat, a beautiful handmade gift, or a lunchbox snack that feels indulgent without the guilt, these homemade orange candy bites strike the perfect balance between old-fashioned jelly candy and modern citrus brightness. With only 20 minutes of active prep and a straightforward method, you’ll have 64 beautiful pieces ready in about 2.5 hours. Let’s walk through everything you need to make them perfectly on your first try.
Ingredients List
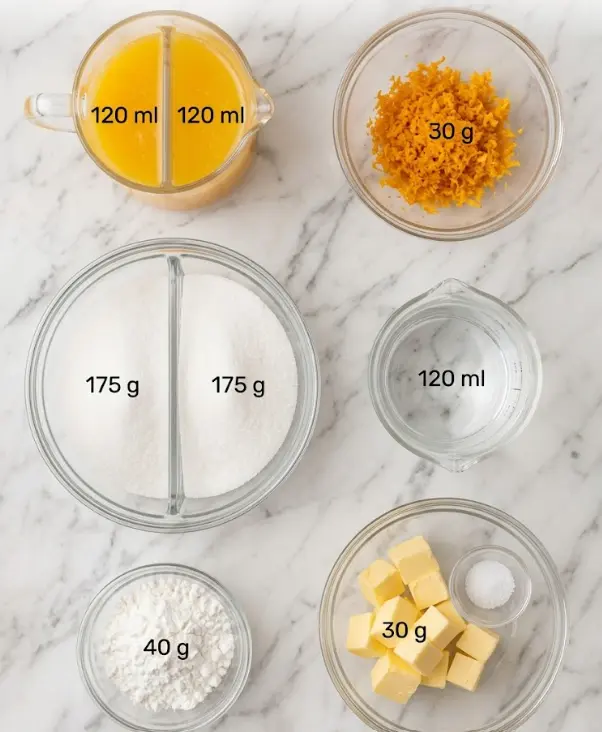
The ingredient list for this homemade orange candy is refreshingly short and accessible. Most items are already in your kitchen if you bake occasionally.
- 240 ml orange juice, divided — Fresh-squeezed delivers the brightest flavor, but high-quality store-bought works beautifully. Use pulp-free for the smoothest texture.
- 30 g orange zest — This is where the intense aromatic orange flavor lives. Zest from 3–4 medium oranges gives the candy its signature punch.
- 350 g granulated sugar, divided (plus extra for coating) — 250 g goes into the candy base while the remainder (about 100 g) is used for the final sugar coating that prevents sticking and adds sparkle.
- 120 ml water — Helps create the perfect syrup consistency.
- 40 g cornstarch — The key thickening agent that gives these candies their signature chewy, sliceable texture.
- 30 g unsalted butter — Adds richness and a silky mouthfeel. Use plant-based butter for a dairy-free version.
- 1 pinch salt — Enhances and balances the citrus flavor.
Substitution tips: Blood orange juice creates a beautiful pink hue and slightly berry-like notes. For a lower-sugar version, replace up to half the granulated sugar with honey or allulose (texture may be slightly softer). The recipe is naturally gluten-free and can be adapted for most dietary needs while preserving that classic chewy orange candy character.
Timing
This homemade orange candy recipe is surprisingly beginner-friendly and efficient:
- Prep Time: 20 minutes
- Cook Time: 25 minutes
- Chill Time: 2 hours
- Air-Dry Time: 2–4 hours (or overnight for best crust)
- Total Time: 2 hours 25 minutes (plus optional air-drying)
The active time is only about 45 minutes—roughly 40% less hands-on effort than traditional hard candy or caramel recipes that require constant temperature monitoring. The majority of the timeline is passive chilling and drying, making this an excellent weekend project or make-ahead treat.
Step-by-Step Instructions
Step 1: Prepare Your Pan
Lightly grease an 8×8-inch baking pan and line it with parchment paper, leaving a generous overhang on two opposite sides. This allows you to lift the entire candy block out cleanly once set.
Pro tip: A light coat of neutral oil or butter under the parchment helps it stay in place while pouring the hot mixture.
Step 2: Make the Cornstarch Slurry
In a small bowl, whisk together the 40 g cornstarch and 120 ml of the orange juice until completely smooth with no lumps. This slurry prevents clumps when added to the hot liquid later. Set aside.
Step 3: Build the Citrus Base
In a medium saucepan, combine the remaining 120 ml orange juice, 120 ml water, 250 g of the granulated sugar, 30 g orange zest, and pinch of salt. Stir over medium heat until the sugar fully dissolves and the mixture comes to a gentle simmer. The orange zest will perfume your kitchen beautifully at this stage.
Step 4: Thicken the Mixture
Slowly pour the cornstarch slurry into the simmering orange mixture while whisking constantly. Switch to a rubber spatula and continue cooking over medium-low heat, stirring without stopping. The mixture will transform from thin and cloudy to very thick, glossy, and translucent. This usually takes 15–20 minutes. It should resemble a thick, sticky jam that holds its shape when stirred.
Personalized tip: If you’re new to candy-making, set a timer. Under-cooking leads to candies that won’t set firmly, while over-cooking can make them rubbery.
Step 5: Finish with Butter and Pour
Remove the saucepan from heat and stir in the 30 g unsalted butter until fully melted and incorporated. The butter gives the final candy a luxurious mouthfeel. Immediately pour the hot mixture into the prepared 8×8-inch pan and smooth the top evenly with a spatula. Tap the pan gently on the counter to remove any air bubbles.
Step 6: Chill, Cut, and Coat
Let the candy cool completely to room temperature, then refrigerate for at least 2 hours until very firm. Once set, lift the block using the parchment overhang and place it on a cutting board. Cut into 1-inch squares or rectangles (64 pieces total). Spread the remaining sugar in a shallow dish and roll each piece thoroughly to coat all sides.
Place the coated homemade orange candy pieces on a clean tray and allow them to air-dry at room temperature for several hours or overnight. This step develops a slight crust that keeps them from sticking together.
Nutritional Information
Each piece of this homemade orange candy (1/64 of the batch) contains approximately:
- Calories: 30
- Total Carbohydrates: 6.5 g
- Sugars: 5.2 g (mostly from added sugar and natural fruit sugars)
- Fat: 0.5 g
- Protein: 0.1 g
- Vitamin C: 4–6% DV (thanks to fresh orange juice and zest)
- Sodium: 5 mg
These treats are naturally fat-free when made without butter and deliver real citrus antioxidants and flavonoids not found in artificial store-bought versions. Eight pieces (a sensible serving) provide under 250 calories while offering more flavor satisfaction than many processed snacks. Compared to commercial orange slice candy, this homemade version contains no artificial colors, flavors, or hydrogenated oils.
Healthier Alternatives for the Recipe
You can easily adapt this homemade orange candy recipe to fit various dietary goals without losing its signature chewy texture and bright flavor:
- Lower-sugar version: Replace half the granulated sugar with monk fruit sweetener or allulose. The candies will be softer but still delicious.
- Vegan adaptation: Swap the butter for coconut oil or a high-quality plant-based butter. The texture remains excellent.
- Extra nutrient boost: Add ½ teaspoon of turmeric or a pinch of cayenne to the base for anti-inflammatory orange-spice candies.
- Natural color variations: Use blood orange juice for gorgeous pink candies or add a drop of natural food coloring if you want deeper orange tones.
- Sugar-free coating: Roll finished pieces in powdered erythritol or skip the final sugar coating and dust lightly with cornstarch instead.
These modifications make the recipe suitable for vegan, lower-carb, or anti-inflammatory eating plans while keeping the fun, nostalgic appeal intact.
Serving Suggestions
These homemade orange candy squares are incredibly versatile:
- Package them in cellophane bags with a ribbon for thoughtful homemade holiday or hostess gifts.
- Serve alongside dark chocolate and cheese on a dessert board—the sweet-tart contrast is addictive.
- Add chopped pieces to popcorn balls, trail mix, or brownie batter for a citrus surprise.
- Enjoy straight from the fridge as a light afternoon pick-me-up or after-dinner palate cleanser.
- Pair with hot tea or espresso to balance the sweetness.
For a personalized touch, adjust the zest quantity based on your audience. Extra zest creates a bold “adult” version, while slightly less zest works better for children.
Common Mistakes to Avoid
Even simple recipes have pitfalls. Here’s what to watch for when making homemade orange candy:
- Lumpy slurry — Whisk the cornstarch and juice thoroughly before adding. Any lumps will remain in the finished candy.
- Rushing the thickening stage — The full 15–20 minutes of constant stirring is essential for the right chewy texture.
- Skipping the parchment overhang — Without it, removing the firm candy block becomes frustrating.
- Cutting before fully chilled — Warm or semi-set candy will stick to the knife and lose shape.
- Not air-drying long enough — Candies coated and stored immediately can become sticky. The drying step is crucial.
- Using cold orange juice straight from the fridge — Room-temperature juice blends more smoothly and reduces cooking time.
Following the recipe’s instruction to let the candy reach room temperature before refrigerating prevents condensation that can make the sugar coating dissolve.
Storing Tips for the Recipe
Once air-dried, store your homemade orange candy in an airtight container at room temperature. They stay fresh for up to 2 weeks. If stacking layers, place parchment paper between them to prevent sticking.
For longer storage, keep them in the refrigerator for up to 4 weeks. Allow pieces to sit at room temperature for 10–15 minutes before serving so they reach their ideal chewy texture. You can also freeze the uncut candy block (tightly wrapped) for up to 3 months. Thaw in the refrigerator before cutting and coating.
Conclusion
This homemade orange candy recipe creates bright, chewy, sugar-coated citrus squares bursting with real orange flavor. At only 30 calories each, they’re easy to make, fun to customize, and perfect for gifting or snacking. Far superior to store-bought versions, they prove that the best treats often come from your own kitchen.
Ready to brighten your day? Try this homemade orange candy recipe today! Share your results and favorite variations in the comments, leave a review, and subscribe for more creative, data-driven candy and snack recipes delivered straight to your inbox.
FAQs
How long does homemade orange candy stay fresh?
Properly stored in an airtight container, these candies last up to 2 weeks at room temperature or 4 weeks in the refrigerator. The sugar coating helps preserve them.
Can I use bottled orange juice instead of fresh?
Yes. Choose a high-quality, not-from-concentrate juice without pulp for the smoothest texture. The zest is what provides most of the aromatic orange flavor.
Why didn’t my homemade orange candy set firmly?
This usually happens when the mixture wasn’t cooked long enough. Make sure it becomes very thick and glossy before pouring into the pan.
Are these candies gluten-free and vegan-adaptable?
The base recipe is naturally gluten-free. Replacing the butter with a plant-based alternative makes them vegan while maintaining excellent texture.
Can I make this homemade orange candy less sweet?
Absolutely. Reduce the sugar in the base to 200 g and use a sugar substitute for the coating, or roll the finished pieces in shredded coconut instead.
Do I need a candy thermometer for this recipe?
No. This cornstarch-based method doesn’t rely on precise temperature stages like traditional hard candy does.
How can I make my homemade orange candy more intense in flavor?
Increase the orange zest to 40 g and consider adding ½ teaspoon of orange extract along with the butter at the end. This creates a bold “orange burst” version that many readers love.

Homemade Orange Candy
Ingredients
Equipment
Method
- Lightly grease an 8×8-inch baking pan and line it with parchment paper, allowing for an overhang on two sides for easy removal.
- In a small bowl, whisk together the cornstarch and ½ cup of orange juice until a smooth slurry forms. Set aside.
- In a medium saucepan, combine the remaining ½ cup of orange juice, water, 1 ¼ cups of granulated sugar, orange zest, and salt. Stir over medium heat until the sugar completely dissolves and the mixture begins to simmer.
- Slowly pour the cornstarch slurry into the hot orange mixture in the saucepan, whisking constantly to prevent lumps.
- Continue cooking over medium-low heat, stirring constantly with a rubber spatula, until the mixture becomes very thick and glossy. This typically takes 15-20 minutes.
- Remove the saucepan from the heat and stir in the unsalted butter until it is completely melted and incorporated.
- Pour the candy mixture into the prepared 8×8-inch pan and smooth the top with a spatula. Allow it to cool completely to room temperature, then refrigerate for at least 2 hours, or until very firm.
- Once firm, spread the remaining ½ cup of granulated sugar in a shallow dish. Using the parchment paper overhang, lift the candy block from the pan and place it on a cutting board. Cut the candy into desired shapes, such as 1-inch squares or rectangles.
- Roll each piece of candy in the granulated sugar to thoroughly coat all sides. Place the coated candies on a clean tray.
- Allow the candies to air-dry at room temperature for several hours (or overnight) to develop a slight crust.
- Store the orange candies in an airtight container at room temperature. If stacking, place parchment paper between layers to prevent sticking.