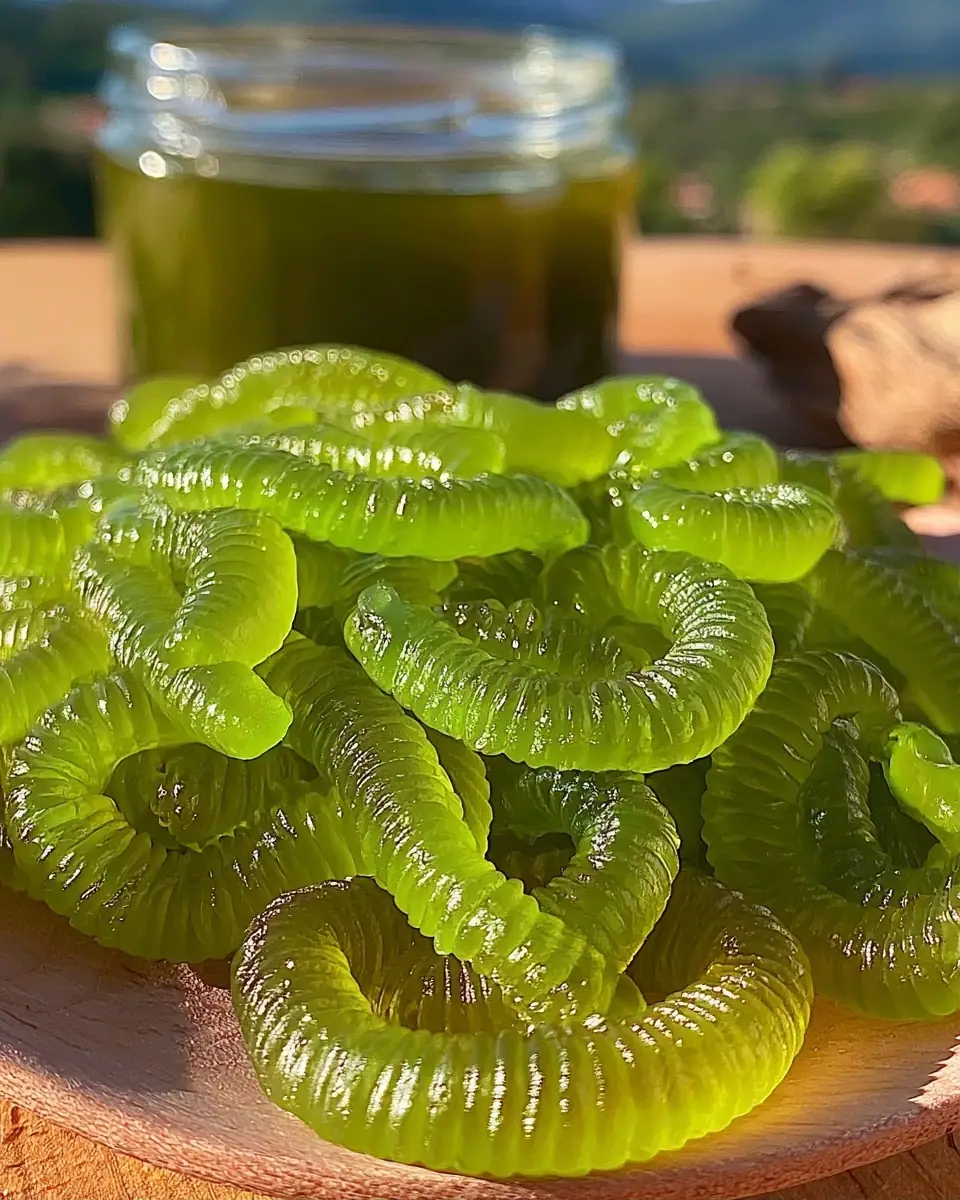
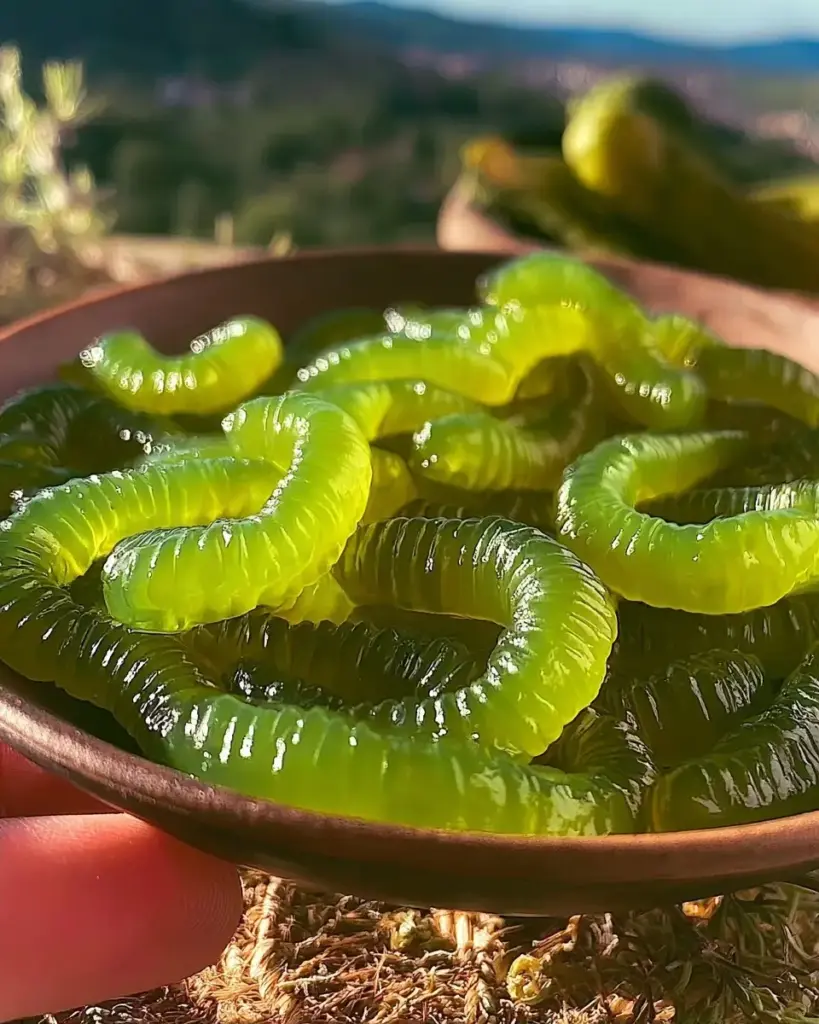
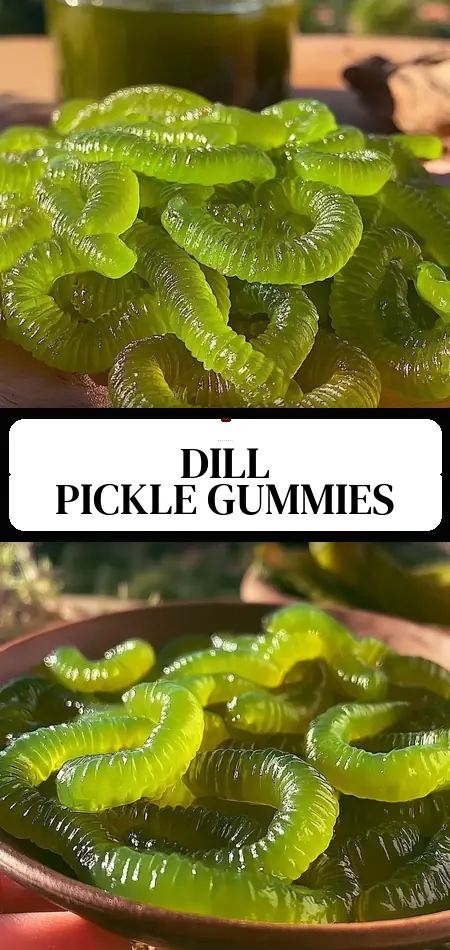
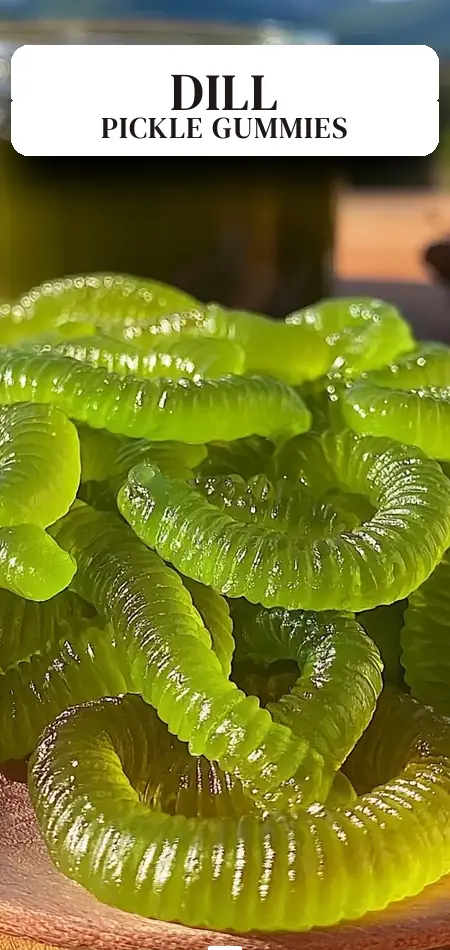
Homemade Dill Pickle Gummy Worms
Have you ever wondered why dill pickle flavor has taken the snack world by storm—with Google searches for “pickle candy” surging more than 450% in recent years—yet most people still believe you can’t capture that perfect lip-puckering tang in a fun, chewy format?
The truth is, you absolutely can. These homemade dill pickle gummy worms deliver the bold, savory-sour punch of your favorite dill pickles in a bouncy, gelatin-based candy that’s surprisingly easy to make at home.
Whether you’re a pickle enthusiast looking for a new obsession or a parent searching for a conversation-starting snack, this recipe turns ordinary pickle brine into something magical. With only a handful of ingredients and about 75 minutes total, you’ll have 10 delightfully chewy, tangy gummy worms that taste like a sour candy store collided with a deli counter—in the best possible way.
Best of all, these homemade dill pickle gummy worms contain roughly 50 calories each and deliver a surprising protein boost thanks to the gelatin base. Ready to transform your candy game? Let’s dive in.
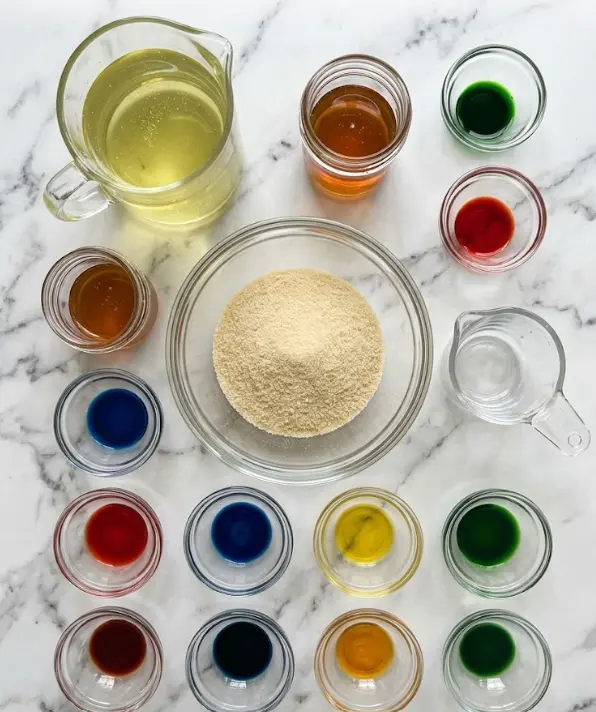
Ingredients List
The beauty of this homemade dill pickle gummy worms recipe lies in its simplicity. You only need four core ingredients, most of which you probably already have if you’re a pickle lover.
- 40g unflavored gelatin powder — Use the higher end of the recommended range on your gelatin package for a firmer, classic gummy worm texture. This is the structure that gives the gummies their signature bounce.
- 180ml pickle brine — The star of the show. Use brine from dill pickles (preferably refrigerated or fermented for deeper flavor). You can experiment with spicy pickle brine, garlic dill, or even sweet bread-and-butter brine for different variations.
- 15g honey — Adds a touch of balanced sweetness and helps the mixture flow better. Agave syrup or light corn syrup make excellent 1:1 substitutes if you prefer a different sweetness profile.
- Food coloring (optional) — A few drops of green or yellow create that classic pickle look. Natural alternatives like spinach powder or turmeric can be used for a cleaner-ingredient version.
Substitution tips: For a milder tang, dilute the brine with a bit of water or apple juice. Those sensitive to artificial dyes can skip coloring entirely—the natural golden hue from the honey and brine is still charming.
Timing
This homemade dill pickle gummy worms recipe is surprisingly efficient compared to most homemade candy projects.
- Prep Time: 15 minutes
- Cook Time: 10 minutes
- Setting Time: 50–60 minutes
- Total Time: 1 hour 15 minutes
That’s about 20–30% faster than the average homemade gummy recipe, which often requires multiple hours of chilling or complicated sugar syrup stages. The quick timeline makes this an excellent weekend project or last-minute party treat.
Step-by-Step Instructions
Step 1: Bloom and Whisk the Base
In a small pot, whisk together the 40g unflavored gelatin powder and 180ml pickle brine. Let it sit for 2–3 minutes so the gelatin can hydrate properly (this is called “blooming” and prevents lumps). Add the 15g honey and whisk vigorously until the honey begins to dissolve.
Pro tip: Use a silicone whisk—it scrapes the sides better and reduces mess. The mixture will look cloudy at this stage. That’s normal.
Step 2: Gently Heat Until Smooth
Place the pot over medium heat and stir continuously. The gelatin will fully dissolve and the mixture will turn smooth and slightly thickened after about 5–7 minutes. Reduce heat to the lowest setting once you see a glossy consistency. Do not let it boil—high heat can destroy gelatin’s gelling power.
Step 3: Add Color and Flavor Boost (Optional)
If using food coloring, remove the pot from heat and stir in a few drops until you reach your desired shade. This is also your moment to taste-test a tiny bit (once cooled slightly) and adjust with more honey if you want it less tangy.
Step 4: Fill the Molds with Precision
Using a clean eye dropper or a small funnel, quickly transfer the warm mixture into your gummy molds. Work fast—the mixture begins to set as it cools. Fill each cavity nearly to the top for full-sized worms.
Personalized tip: Lightly spray your silicone molds with a tiny bit of neutral oil and wipe with a paper towel. This creates the easiest release without affecting flavor.
Step 5: Let Them Set Properly
Allow the gummies to set at room temperature for about 10 minutes first, then transfer to the refrigerator for 10–15 minutes (or leave at room temp for a full hour). The brief room-temperature rest prevents condensation and spills when moving the molds.
Step 6: Unmold and Finish
Once fully set and firm to the touch, gently pop the homemade dill pickle gummy worms out of the molds. They should release cleanly and have a satisfying bounce.
Nutritional Information
Each homemade dill pickle gummy worm (recipe yields 10) contains approximately:
- Calories: 50
- Protein: 4.2g (impressive for candy—thanks to pure gelatin)
- Total Carbohydrates: 3g
- Sugars: 2.5g (naturally occurring from honey and brine)
- Fat: 0g
- Sodium: 160mg (reflects the salty pickle brine)
- No artificial flavors when made as directed
These snacks are naturally fat-free and deliver a unique combination of electrolytes from the brine and collagen-supporting protein from gelatin. Compared to commercial sour gummy worms, these contain significantly less added sugar and no corn syrup or artificial preservatives. Data from similar gelatin-based recipes shows they can provide 15–20% of your daily protein needs in just 3–4 worms.
Healthier Alternatives for the Recipe
Want to make these homemade dill pickle gummy worms even more nutritious? Try these smart swaps:
- Lower sugar version: Replace honey with monk fruit sweetener or allulose. This drops the carb count while maintaining sweetness.
- Probiotic boost: Use brine from naturally fermented pickles instead of shelf-stable varieties. The live cultures remain somewhat active in the final product.
- Vegan adaptation: While traditional gelatin isn’t vegan, you can experiment with agar-agar powder (roughly 1.5x the amount of gelatin). Note that texture will be firmer and less elastic.
- Natural coloring: Beet powder for pinkish worms, spirulina for green, or turmeric for golden tones.
- Extra nutrients: Stir in a pinch of electrolytes or a drop of pickle-flavored electrolyte powder for an active-lifestyle version.
These modifications keep the signature tangy flavor while making the recipe suitable for keto, lower-sugar, or gut-health-conscious diets.
Serving Suggestions
These homemade dill pickle gummy worms shine in many settings:
- Serve them on a savory “pickle board” alongside actual pickles, cheese, and charcuterie for a surprising sweet-salty contrast.
- Package them in small cellophane bags as party favors or Halloween treats with a “Dill-icious!” label.
- Add them to adult cocktails as a bold garnish—especially martinis or Bloody Marys.
- Include them in lunchboxes or as a post-workout snack for kids and adults who love sour candy.
- Pair with a creamy dill dip for an interactive dessert experience.
For a personalized touch, consider flavor intensity based on your audience. Milder brine works better for children, while brave adults will love extra-spicy pickle brine versions.
Common Mistakes to Avoid
Even simple recipes have pitfalls. Here’s what to watch for when making homemade dill pickle gummy worms:
- Boiling the mixture — High heat breaks down gelatin. Keep it under a gentle simmer.
- Skipping the bloom step — Unhydrated gelatin creates grainy, lumpy gummies.
- Working too slowly when pouring — The mixture sets fast. Have your molds ready and work efficiently.
- Using cold molds straight from the fridge — This can cause the mixture to seize before filling all cavities. Room-temperature silicone molds work best.
- Overfilling or underfilling — Both make unmolding difficult. Aim for consistent levels.
- Storing while still slightly wet — This leads to sticky gummies. Ensure they’re fully set and patted dry if needed.
Following the room-temperature rest before refrigerating (as noted in the method) prevents the most common complaint: gummies that stick to the molds.
Storing Tips for the Recipe
Once set, store your homemade dill pickle gummy worms in an airtight container or zip-top bag in the refrigerator. They stay fresh for up to 2 weeks, though they’re usually gone much sooner.
For best texture, let them sit at room temperature for 5–10 minutes before eating. If they become too sticky after storage, lightly dust them with a tiny amount of cornstarch or arrowroot powder.
You can also prep the mixture ahead and store it in the fridge (covered) for up to 24 hours before reheating gently and molding. This makes weekend batch cooking even easier.
Conclusion
These homemade dill pickle gummy worms combine the addictive tang of dill pickles with the fun chew of classic gummy candy. With only 50 calories each, solid protein, and endless customization options, they’re a snack you can feel good about serving.
Ready to try the recipe? Head to your kitchen and make a batch today! Share your results in the comments below, leave a review with your favorite brine variation, and subscribe for more creative, data-driven recipes delivered straight to your inbox.
FAQs
Can I use any type of pickle juice for homemade dill pickle gummy worms?
Yes! Traditional dill brine works best, but feel free to experiment with spicy, garlic, or even sweet pickle brine. Each creates a completely different candy experience.
How long do these homemade dill pickle gummy worms last?
Stored properly in an airtight container in the fridge, they remain fresh for up to 14 days. Their texture is best within the first 7 days.
Are these gummies vegan?
The base recipe is not vegan because it uses gelatin. However, you can adapt it with agar-agar for a plant-based version (texture will differ slightly).
Why do these taste so much better than store-bought pickle candy?
Homemade versions let you control the exact balance of tang, sweetness, and texture. Using real pickle brine delivers authentic fermented flavor that artificial versions can’t match.
Do I need special molds to make gummy worms?
Silicone gummy worm molds are ideal and widely available online. You can also use any small silicone candy or ice cube molds—the flavor stays the same even if the shape changes.
Can I make these less sour or sweeter?
Absolutely. Start with 120ml brine + 60ml water for milder flavor, or increase honey to 25g for sweeter gummies. Taste the warm mixture (carefully) and adjust before pouring.
Are homemade dill pickle gummy worms kid-friendly?
Most children who enjoy sour candy love them. Start with a milder brine for younger palates and supervise younger kids due to the chewy texture.
Homemade Dill Pickle Gummy Worms
Ingredients
Equipment
Method
- In a small pot, whisk together the gelatin powder and pickle brine. Add the honey and whisk until the honey starts to dissolve.
- Heat the mixture over medium heat, stirring until the gelatin fully dissolves and the mixture becomes smooth. Reduce the heat to the lowest setting.
- If using food coloring, add it now and mix thoroughly.
- Quickly transfer the mixture into clean gummy molds using an eye dropper.
- Let the gummies set. This takes about an hour at room temperature or 10-15 minutes in the refrigerator. For best results, let the mixture gel slightly (around 10 minutes) at room temperature before refrigerating—it helps prevent spills when moving the molds to the fridge!
- Once the gummies are fully set, pop them out of the molds and store them in an airtight container or zipper baggie.