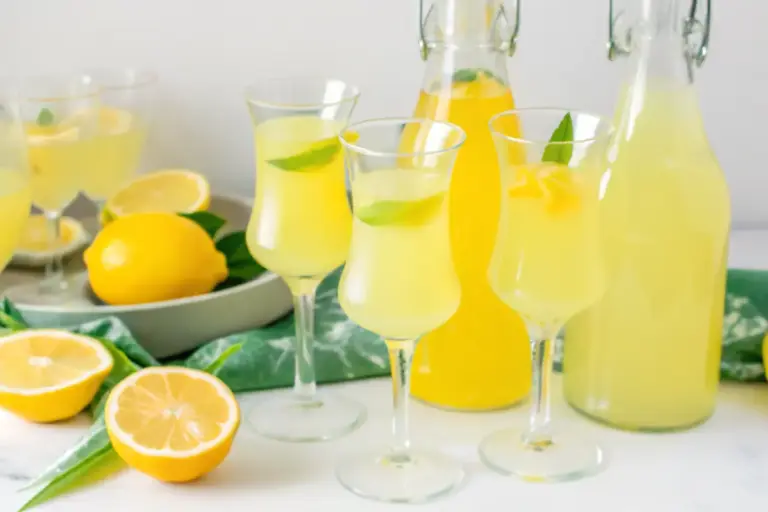
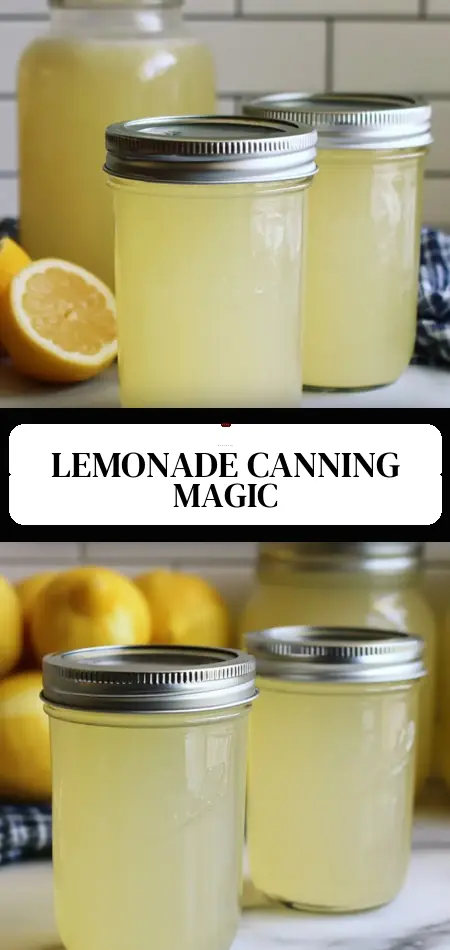
Best Canning Lemonade (& Lemonade Concentrate)
What if you could open a jar in the middle of January and pour a glass of bright, tangy lemonade that tastes like it was squeezed from fresh lemons that very morning—without artificial flavors, preservatives, or the excessive sugar found in store-bought versions?
Canning lemonade (and lemonade concentrate) makes this possible and surprisingly simple. This safe, high-acid water-bath canning recipe captures the vibrant essence of fresh lemons so you can enjoy homemade lemonade or a shelf-stable concentrate any time of year. Using fresh lemon juice, adjustable sugar, and precise water ratios, the recipe yields about 6 cups of ready-to-drink lemonade or a stronger concentrate that you dilute later.
With only 10 minutes of active prep and cooking, plus a quick 10-minute processing time, this project is beginner-friendly and far more flavorful than commercial options. Whether you have an abundance of backyard lemons or scored a great deal at the farmers’ market, canning lemonade lets you preserve that sunshine for months. Let’s walk through everything you need to create this refreshing pantry staple.
Ingredients List
The base recipe produces approximately 6 cups (about 3 pints) of ready-to-drink lemonade. A concentrate variation is included below for more versatile storage.
Ready-to-Drink Lemonade:
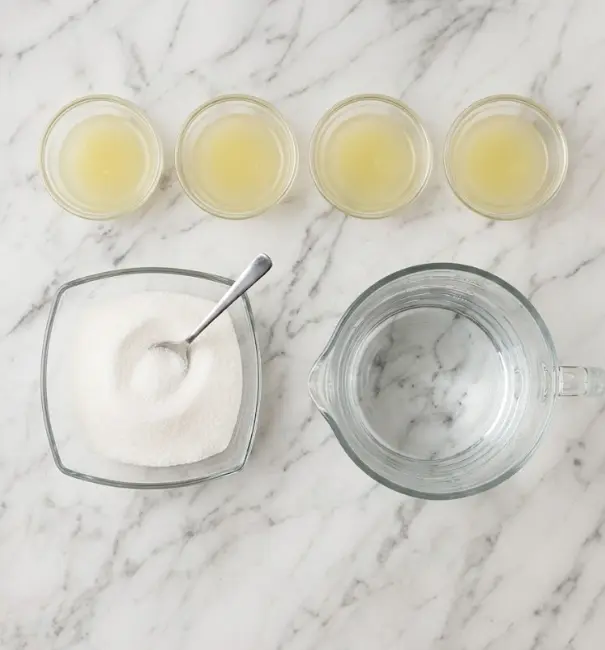
- 240 ml (1 cup) freshly squeezed lemon juice (about 6–8 lemons)
- 200 g sugar (about 1 cup; adjust to taste—can use honey or maple syrup)
- 1,800 ml (about 7.5 cups) water
Lemonade Concentrate Variation:
- 240 ml (1 cup) freshly squeezed lemon juice
- 200 g sugar (or up to 300 g for sweeter concentrate)
- Omit most of the water during canning; add it when serving (1 part concentrate to 3–4 parts water or to taste)
Optional Flavor Boost:
- Zest from 2–3 lemons (used in the optional infusion step)
Substitutions & Tips:
- Use bottled lemon juice only if it is 100% pure with no additives; fresh is strongly preferred for best flavor.
- Sugar can be reduced to 100–150 g for a tart, lower-sugar version. Honey or maple syrup work well but may slightly alter color and flavor.
- The instruction “do not increase beyond this dilution” ensures consistent safety and taste—never add more water before canning.
- For variety, add a few fresh mint leaves or a thin slice of ginger to the jars before filling (remove after opening if desired).
This flexible approach lets you choose between convenient ready-to-drink canning lemonade or space-saving concentrate.
Timing
- Prep Time: 10 minutes (juicing, zesting, and preparing equipment)
- Cook Time: 10 minutes (gentle heating to dissolve sugar and reach 190°F)
- Processing Time: 10 minutes in a boiling water bath canner (adjust for altitude)
- Total Time: Approximately 30–40 minutes of active work plus 12–24 hours cooling
This is significantly faster than many beverage-preserving projects. The gentle 190°F target (well below boiling) preserves more delicate lemon oils and vitamin C compared to recipes that require a full rolling boil, resulting in brighter flavor and better nutritional retention.
Step-by-Step Instructions
Prepare Your Equipment
Set up your water bath canner with enough water to cover jars by 1–2 inches. Wash jars, lids, and rings in hot soapy water. Keep jars hot until filling. Prepare a fine-mesh sieve for straining pulp and seeds. Have all ingredients measured and ready—this high-acid recipe is safe for water-bath canning but requires precise headspace and processing times.
Optional Zest Infusion for Deeper Flavor
Zest 2–3 lemons directly into the sugar. Stir well and let the mixture sit for about an hour. This infuses the sugar with essential oils for richer lemon taste. Strain out the zest before combining with juice. This small step elevates homemade canning lemonade from good to restaurant-quality.
Juice and Strain the Lemons
Roll lemons on the counter to loosen juices, then cut and squeeze until you have exactly 240 ml of lemon juice. Strain through a fine-mesh sieve to remove all pulp, seeds, and remaining zest. Accurate measurement is important for consistent flavor and safe canning ratios.
Combine Ingredients and Heat Gently
For ready-to-drink lemonade, combine the strained lemon juice, sugar (with or without zest infusion), and 1,800 ml water in a large saucepan. For concentrate, omit or greatly reduce the water. Warm the mixture over medium heat, stirring until the sugar fully dissolves. Heat gently to about 190°F—do not boil. This temperature pasteurizes while protecting flavor and nutrients. Strain again if any particles remain.
Pro Tip: Use a thermometer for precision. Staying below a boil preserves more vitamin C and prevents bitterness that can develop with prolonged high heat.
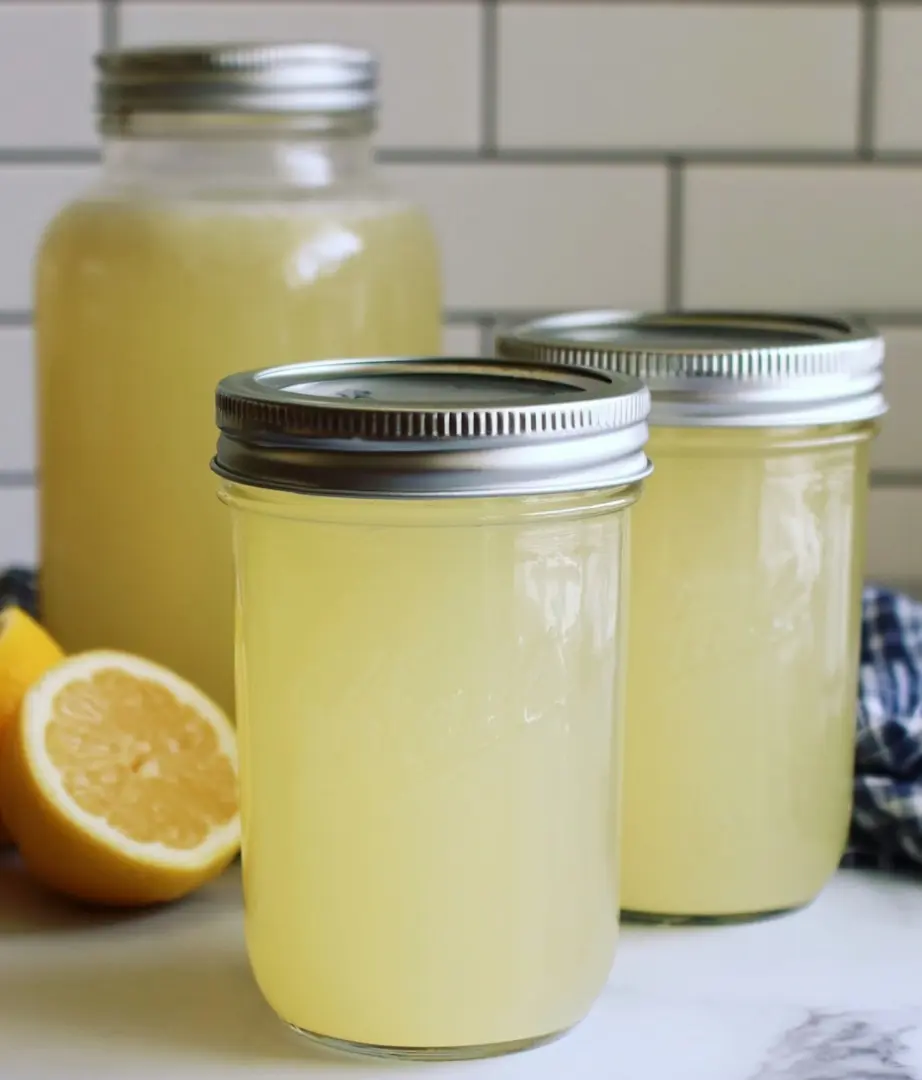
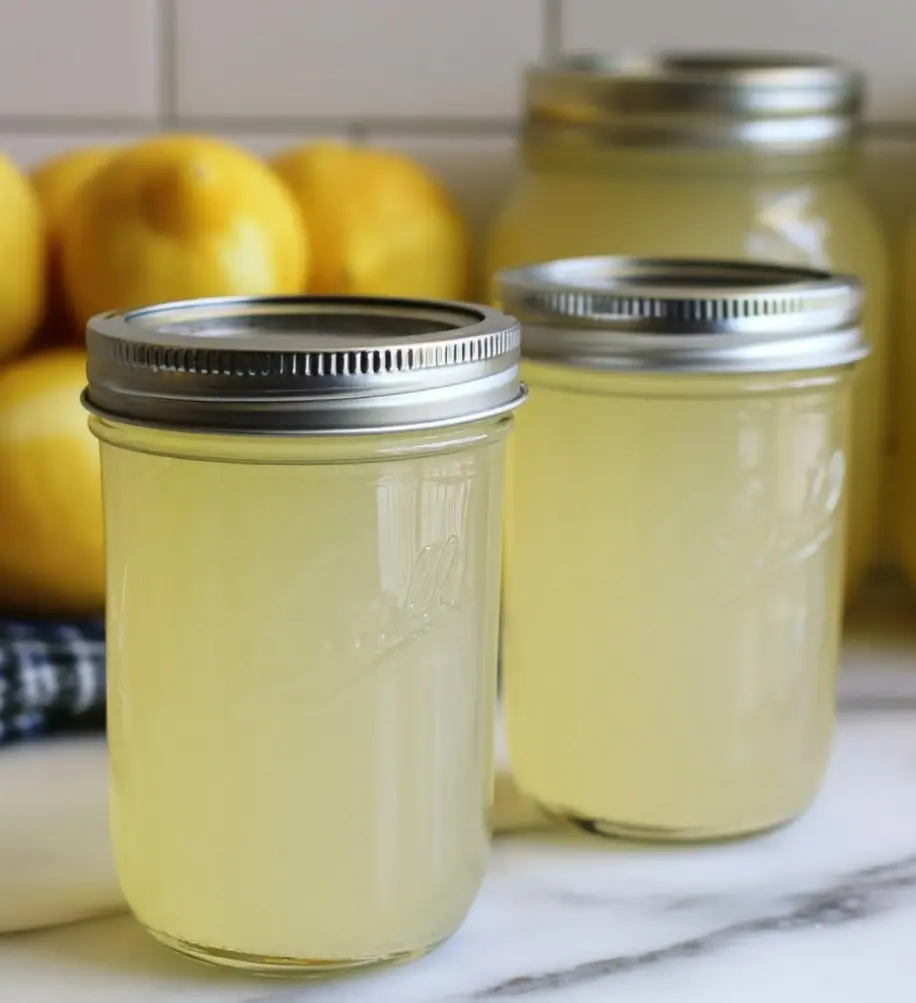
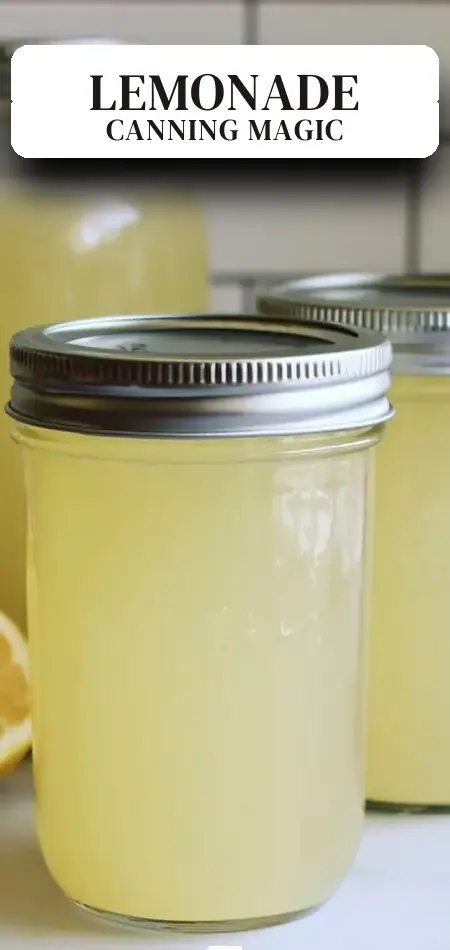
Fill the Jars
Ladle the hot lemonade or concentrate into prepared hot jars, leaving ¼-inch headspace. Remove air bubbles with a non-metallic tool, wipe rims clean with a damp cloth, apply lids, and tighten bands to fingertip tight. Work quickly to maintain proper temperature for canning.
Process in a Water Bath Canner
Place jars in the boiling water bath canner. Process half-pints, pints, and quarts for 10 minutes (15 minutes above 6,000 feet). After processing, turn off heat, remove the canner lid, and let jars rest in the hot water for 5 minutes. This gradual cooling prevents liquid loss and helps form strong seals.
Cool and Check Seals
Remove jars and place them on a towel-lined counter away from drafts. Cool undisturbed for 12–24 hours. Check seals by pressing the center of each lid—it should not flex. Remove rings, wash jars, label with date and contents (“Canned Lemonade” or “Lemonade Concentrate”), and store sealed jars in a cool, dark pantry. Refrigerate any unsealed jars and use within a week.
Nutritional Information
Per 1-cup serving of ready-to-drink lemonade (based on the 103-calorie benchmark with moderate sugar):
- Calories: 103
- Total Carbohydrates: 27 g
- Sugars: 24 g (adjustable with less sugar)
- Dietary Fiber: 0.5 g
- Protein: 0 g
- Vitamin C: 30–50% Daily Value (lemons are one of nature’s richest sources)
- Potassium: 5–8% DV
- Antioxidants: High in flavonoids and limonoids linked to immune support and reduced inflammation
Fresh lemon juice in homemade canning lemonade delivers far more bioavailable vitamin C than processed commercial drinks. Studies show regular citrus intake supports heart health, collagen production, and iron absorption. The concentrate version allows even greater nutrient density per jar since you control dilution at serving time.
Healthier Alternatives for the Recipe
- Lower-Sugar or Sugar-Free: Reduce sugar to 100 g or replace with monk fruit, stevia, or allulose safe for canning. The natural acidity of lemons shines in tart versions.
- Concentrate-Focused Storage: Can the lemon juice + sugar mixture alone. When serving, dilute with still or sparkling water. This saves jar space and lets you adjust sweetness per glass.
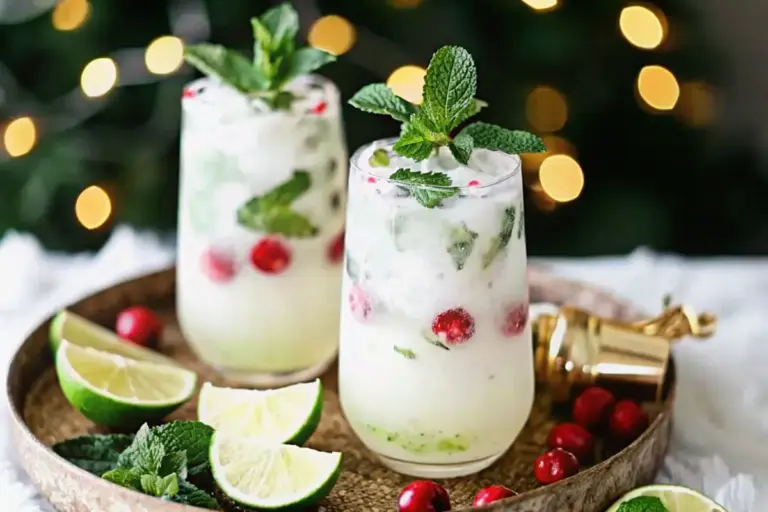
- Herbal Infusions: Add fresh mint, basil, or lavender to jars before processing for flavored lemonade variations (remove herbs after opening).
- Electrolyte Boost: Stir in a pinch of sea salt or potassium citrate before canning for a natural sports-drink alternative.
- Kid-Friendly or Diabetic Adaptation: Use 50% less sugar and blend finished lemonade with frozen berries for natural color and fiber.
These swaps make canning lemonade adaptable for low-sugar, keto, anti-inflammatory, or family-friendly needs while maintaining safe acidity levels.
Serving Suggestions
Homemade canned lemonade is endlessly versatile:
- Serve chilled over ice with fresh mint and lemon slices for classic refreshment.
- Mix concentrate with sparkling water and a splash of lime for a sophisticated spritzer.
- Use as a base for cocktails—try lemonade mojitos, vodka lemonades, or whiskey sours.
- Create lemonadesicles by pouring into molds and freezing.
- Warm gently with ginger and honey for a soothing sore-throat drink in winter.
- Drizzle concentrate over yogurt, pancakes, or fruit salad as a bright syrup.
Personalized Tip: For summer parties, freeze some canned lemonade into ice cubes. As they melt in iced tea or punch, they add flavor instead of dilution. The concentrate version is especially handy for quick single servings.
Common Mistakes to Avoid
- Boiling the Mixture — Heating beyond 190°F can reduce vitamin C and create bitterness. Gentle warming is key.
- Incorrect Headspace — More or less than ¼ inch affects sealing and safety in water-bath processing.
- Skipping Straining — Pulp and seeds can lead to cloudy lemonade or floating debris. Double-straining produces professional results.
- Using Unwashed or Old Lemons — Always use fresh, thoroughly washed fruit. Older lemons yield less juice and muted flavor.
- Ignoring Altitude — Increase processing time above 1,000 feet. Always verify with current National Center for Home Food Preservation guidelines.
Following these tested steps virtually guarantees successful, shelf-stable jars of canning lemonade.
Storing Tips for the Recipe
Properly sealed jars of canned lemonade or lemonade concentrate maintain best quality for 12–18 months in a cool, dark pantry (50–70°F). Avoid direct sunlight, which can degrade color and nutrients.
Once opened, refrigerate and consume within 7–10 days. Concentrate jars take up less space and offer more flexibility for on-demand use.
Prep-Ahead Strategy: Juice and zest lemons in bulk during peak season, freeze the juice in measured portions, then thaw and can when convenient. This spreads the work and lets you enjoy peak-flavor lemonade even when fresh citrus is expensive.
Conclusion
This easy canning lemonade and lemonade concentrate recipe transforms fresh lemons into 6 cups of bright, refreshing beverage or space-saving syrup using simple water-bath processing. With adjustable sweetness, 103 calories per cup, and exceptional vitamin C content, it’s a smart way to preserve summer citrus for year-round enjoyment.
Ready to capture that fresh-squeezed taste? Try the recipe with your next lemon haul, then return to share your results, photos of your jars, or favorite ways to serve it in the comments. Leave a review below, and subscribe for more preserving recipes, seasonal canning guides, and creative homemade pantry ideas.
FAQs
Can I can lemonade concentrate instead of ready-to-drink lemonade?
Yes. Simply omit most of the water during canning to create a stronger syrup. Dilute with 3–4 parts water or sparkling water when serving. Do not exceed the provided dilution ratio before canning.
Is it safe to water-bath can lemonade?
Absolutely. Lemon juice is highly acidic (pH below 4.6), making water-bath processing safe and effective when you follow exact times and headspace.
How long does home-canned lemonade last?
Sealed jars keep for 12–18 months in a cool, dark pantry. After opening, refrigerate and use within 7–10 days.
Why do I need to heat to only 190°F instead of boiling?
Gentle heating dissolves sugar and pasteurizes while preserving more vitamin C and fresh lemon flavor. Boiling can diminish brightness and nutrients.
Can I reduce the sugar significantly?
Yes. Sugar is for taste, not preservation. Start with half the amount and adjust. The high acidity ensures safety even with low or no added sugar.
What should I do if a jar doesn’t seal?
Refrigerate unsealed jars immediately and use within a week. Reprocess only if you catch it within 24 hours; otherwise, treat as refrigerator lemonade.
Canning Lemonade (& Lemonade Concentrate)
Ingredients
Equipment
Method
- Prepare a water bath canner, jars, and lids before beginning.
- Optional: zest the lemons into the sugar, stir, and let sit about an hour for deeper lemon flavor. Strain the zest out before canning.
- Juice the lemons. Strain the juice through a fine mesh sieve to remove all pulp and seeds, then measure.
- Combine the strained lemon juice and sugar in equal parts. Add the water for ready-made lemonade.
- Warm the mixture gently on the stove, stirring until the sugar dissolves, until it reaches about 190 degrees F. Do not boil.
- Strain again if needed, then ladle the hot lemonade into prepared jars, leaving 1/4 inch headspace. Seal with two-part lids to fingertip tight.
- Process half pints, pints, and quarts for 10 minutes below 1,000 feet in elevation, adjusting for altitude.
- Turn off the heat and leave the jars in the canner for 5 minutes, then remove and cool on a towel for 12 to 24 hours.
- Check seals. Refrigerate any unsealed jars for immediate use. Store sealed jars in the pantry and refrigerate after opening.