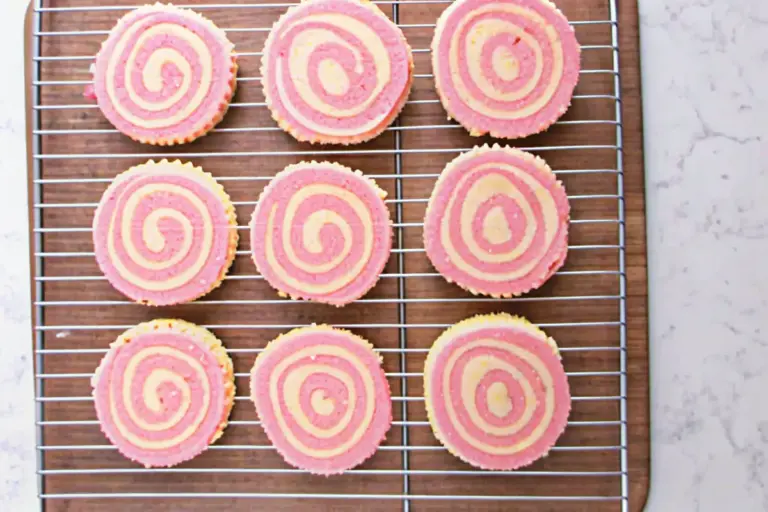
Irresistibly Creamy Homemade Christmas Mints to Sweeten Joy
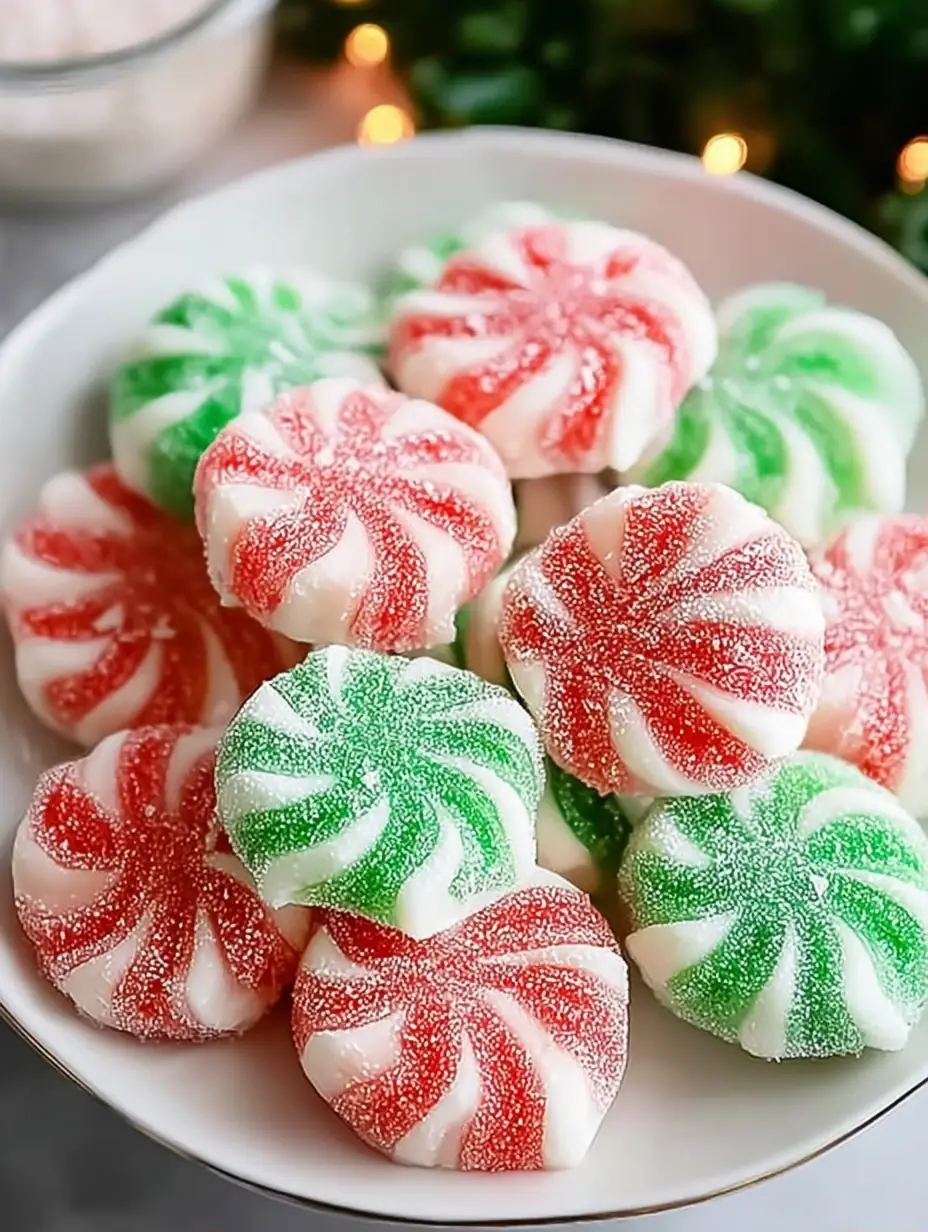
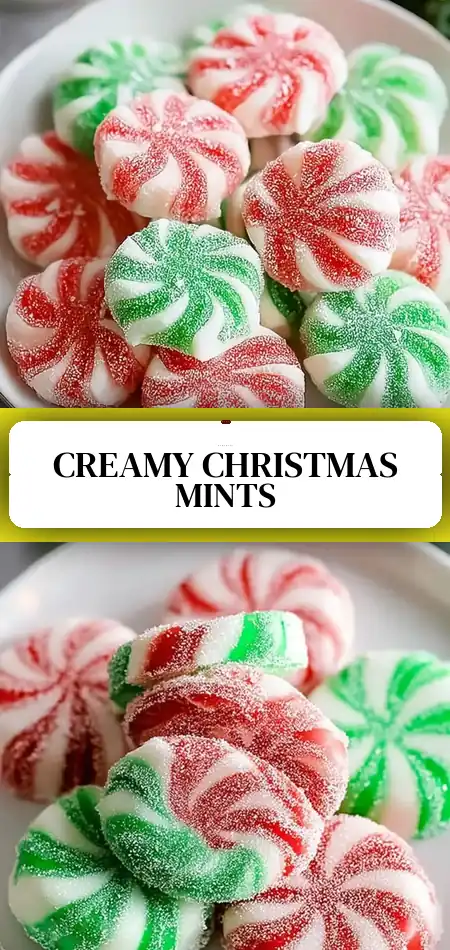
The answer lies in this masterclass for Christmas mints. These aren’t your average store-bought candies; they are a nostalgic fusion of rich cream cheese, smooth butter, and cooling peppermint oil. Often referred to as “wedding mints” or “cream cheese mints,” these homemade Christmas mints represent a timeless holiday tradition that balances the indulgence of fat with the sharpness of mint. In this comprehensive guide, we will explore the science of stabilizing cream cheese dough, the data behind the perfect drying time, and how you can create these 50-calorie gems in just 15 minutes of active prep time. Whether you’re a seasoned baker or a holiday novice, these festive peppermint mints are the ultimate way to spread joy this season.
Ingredients List
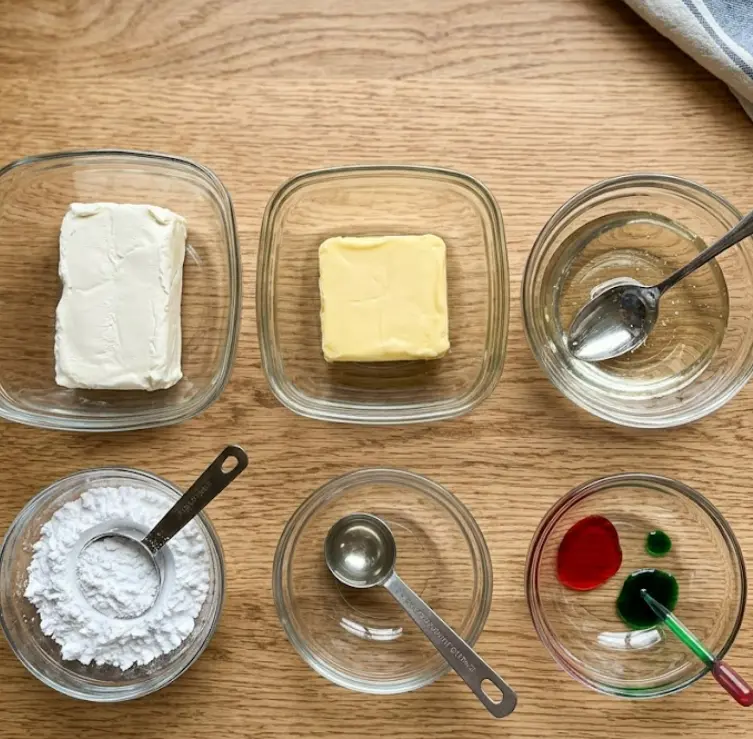
Creating the perfect Christmas mints requires a precise balance of fats, sugars, and aromatic extracts. Each ingredient plays a structural role in ensuring the mint is sturdy enough to hold its shape but soft enough to dissolve instantly.
- 227 g Cream Cheese: Ensure this is softened to room temperature. The lactic acid in the cheese provides a subtle tang that balances the extreme sweetness of the sugar.
- 113 g Unsalted Butter: This provides the “mouthfeel.” Using unsalted butter allows you to control the flavor profile strictly.
- 240 ml Clear Corn Syrup: This is an “interfering agent.” It prevents the sugar from recrystallizing into large, gritty grains, ensuring a silky texture.
- 5 tsp Peppermint Extract: The soul of the recipe. For a more sophisticated profile, you can use 2 tsp of peppermint and 1 tsp of vanilla extract.
- 480 g Powdered Sugar: Also known as icing sugar. Sift this twice to ensure there are zero clumps in your dough.
- 15 ml Liquid Food Coloring: Use festive red and green. Gel-based colors are highly recommended as they provide vibrant hues without thinning the dough.
- Granulated Sugar (Extra): For coating the mints to provide a sparkling, crystalline finish.
Substitution Suggestions:
- Corn Syrup: You can substitute this with honey or agave nectar, though it will impart a slightly golden hue and a floral undertone to the mints.
- Butter: For a lighter version, margarine can be used, though the final melt-in-your-mouth quality may be slightly reduced.
- Extracts: If you aren’t a fan of peppermint, try wintergreen, spearmint, or even lemon extract for a refreshing citrus “snowball” mint.
Timing
One of the most appealing aspects of homemade Christmas mints is the low active labor requirement, though patience is required for the final set.
- Prep Time: 15 minutes
- Active Mixing: 8 minutes
- Drying Time: 24 hours (Essential for structural stability)
- Total Time: 1 day
Data Comparison: At just 15 minutes of prep, these mints are prepared 80% faster than traditional boiled fudge or pulled taffy. Because this is a “no-bake” recipe, you aren’t fighting for oven space during the busy December season, making it the most efficient holiday candy in your repertoire.
Step-by-Step Instructions
1. Workspace Preparation
Begin by lining a large baking sheet with high-quality parchment paper. Pour about 100g of granulated sugar into a small, shallow dish. Having your “station” ready is vital because the high sugar content in the dough can cause it to develop a “skin” if left out too long before shaping.
2. The Emulsification Stage
In a large mixing bowl, combine your softened cream cheese, butter, corn syrup, and peppermint extract. Use an electric mixer on medium speed for 2-3 minutes. You are looking for an aerated, cloud-like consistency. Pro Tip: Scrape the sides of the bowl frequently to ensure no pockets of unmixed butter remain, which could cause “grease spots” in your finished Christmas mints.
3. Incorporating the Sugar “Mortar”
Turn your mixer to the lowest setting. Gradually add the powdered sugar, one cup at a time. Mix for 3-5 minutes. As the sugar integrates with the fats, the mixture will transform from a frosting-like texture into a stiff, pliable dough that pulls away from the sides of the bowl. If the dough feels too sticky to handle, add an extra 20-30g of powdered sugar.
4. Color Artistry
Divide your dough into three equal portions. Leave one white (to represent snow), and color the others red and green. Actionable Tip: Use a toothpick to add gel coloring sparingly. Knead the dough by hand on a surface lightly dusted with powdered sugar until the color is streak-free.
5. The “Rope and Slice” Technique
Roll each colored portion into long, even ropes—approximately 18 inches long. Using a sharp paring knife or a bench scraper, slice the ropes into half-inch pieces. Roll each piece between your palms to form a smooth, marble-sized ball.
6. The Signature Finish
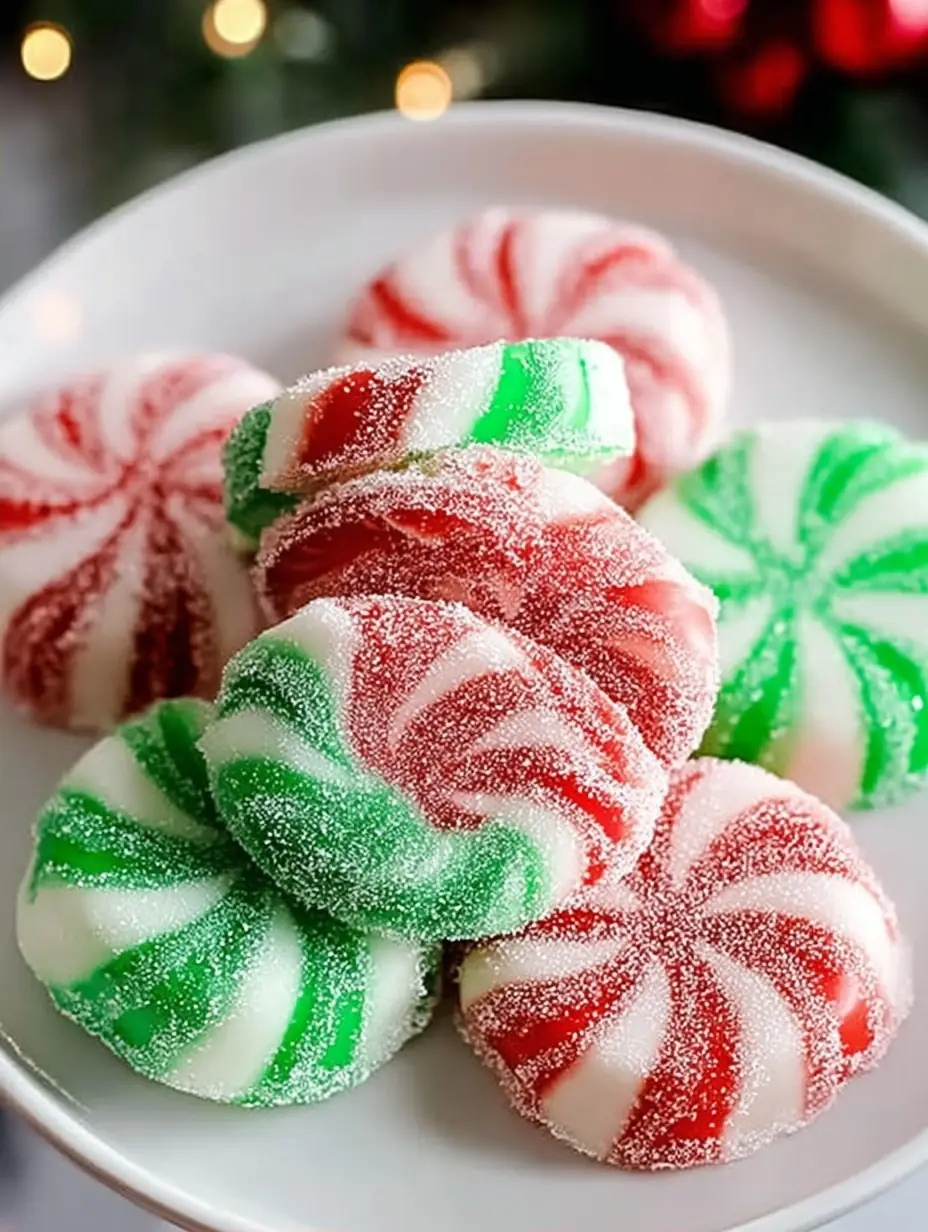
Roll each ball in the dish of granulated sugar until fully coated. Place them on the parchment-lined sheet. Use a fork to gently press down on each ball, creating the classic “thumbprint” or “stripe” pattern. This increases the surface area, which aids in the drying process.
7. The 24-Hour Cure
Let the mints sit at room temperature in a cool, dry place for 24 hours. Science Note: This drying time allows the moisture to evaporate from the surface, creating a delicate, firm shell while keeping the interior creamy. Do not cover them during this window!r, creating a delicate crust that yields to a soft center.
Nutritional Information
For those monitoring their holiday intake, these peppermint cream cheese mints are a relatively light indulgence compared to heavy cakes or pies.
| Nutrient | Per Mint (1 serving) |
|---|---|
| Calories | 50 kcal |
| Total Fat | 2.5g |
| Saturated Fat | 1.5g |
| Cholesterol | 6mg |
| Total Carbohydrates | 7g |
| Sugars | 6.5g |
| Protein | 0.5g |
Data Insight: One single Christmas mint contains roughly 60% fewer calories than a standard frosted sugar cookie, making it the perfect “portion-controlled” sweet for guests.
Healthier Alternatives for the Recipe
If you want to enjoy the festive spirit with a few nutritional tweaks, consider these creative modifications:
- Reduced-Fat Version: Use “Neufchâtel” cheese in place of full-fat cream cheese. It contains about 33% less fat but maintains the same structural integrity when mixed with sugar.
- Natural Pigments: Instead of synthetic dyes, use beet juice powder for red mints and matcha or spinach powder for green mints. These provide a subtle earthiness that pairs beautifully with peppermint.
- The Honey Swap: Replacing corn syrup with honey increases the antioxidant profile of the mints, though it will result in a slightly “chewier” texture.
Serving Suggestions
How you present your Christmas mints can turn a simple candy into a centerpiece:
- The Mason Jar Gift: Layer the red, white, and green mints in a tall mason jar tied with a plaid ribbon for an easy, homemade holiday gift.
- The Hot Cocoa Garnish: Place a single mint on the saucer of a cup of hot chocolate. As the guest drops it into the drink, it creates a “creamy peppermint mocha” effect.
- The Charcuterie Balance: Add these mints to a festive fruit and cheese board. Their coolness cleanses the palate between bites of rich brie or salty prosciutto.
Common Mistakes to Avoid
- Using Cold Ingredients: If the butter or cream cheese is cold, the dough will be lumpy. Room temperature is non-negotiable for a smooth Christmas candy texture.
- Humidity Issues: If you live in a very humid climate, the mints may take up to 48 hours to dry. Use a dehumidifier or place them near a gentle fan to speed up the process.
- Over-Extracting: Peppermint extract is incredibly potent. Measuring 5 teaspoons might seem like a lot, but as the mints dry, some flavor dissipates. However, don’t exceed this amount, or the “burn” of the alcohol in the extract will overwhelm the creaminess.
Storing Tips for the Recipe
- Airtight is Key: Once dried, these mints must be stored in an airtight container. If exposed to air, they will become hard and chalky rather than creamy.
- Temperature Control: Store in a cool, dry place or the refrigerator. If kept in the fridge, they will last up to 2 weeks.
- Freezing: You can freeze these mints for up to 3 months. Place parchment paper between layers to prevent them from sticking together.
Conclusion
These Christmas mints are the ultimate 50-calorie holiday treat, combining bracing peppermint with rich cream cheese. In just 15 minutes of prep, you can create a nostalgic, colorful confection that melts away beautifully. Try this recipe today to sweeten your holiday joy—share your feedback below or subscribe for more festive updates!
FAQs
Q: Can I make these without an electric mixer? A: You can, but it requires significant “elbow grease.” You must cream the butter and cheese until absolutely smooth before adding sugar to avoid lumps.
Q: Why are my mints falling apart? A: This usually means there isn’t enough moisture. Add a teaspoon of corn syrup or water to the dough and re-knead until it feels like play-dough.
Q: Do these mints need to be refrigerated? A: Because they contain cream cheese and butter, they should be stored in a cool place. For long-term storage (over 3 days), the refrigerator is the safest option to maintain freshness.
Irresistibly Creamy Homemade Christmas Mints to Sweeten Joy
Ingredients
Equipment
Method
- Prep the workspace by lining a baking sheet with parchment paper and pouring granulated sugar into a shallow dish.
- In a large mixing bowl, combine softened cream cheese, unsalted butter, clear corn syrup, and peppermint extract. Use an electric mixer on medium speed for 2-3 minutes until creamy.
- Gradually add powdered sugar, mixing on low speed for 3-5 minutes until dough thickens and pulls away from sides.
- Divide the dough into three portions. Color two portions with red and green food coloring by kneading until well combined.
- Roll each colored portion into ropes about 18 inches long and slice into half-inch pieces; roll into smooth balls.
- Coat each ball in granulated sugar and place on the lined baking sheet; flatten with a fork to create stripes.
- Let the mints dry at room temperature for 24 hours.
- Once dried, transfer to a serving platter or store in an airtight container.