Easy No Knead Bread (Dutch Oven Bread)
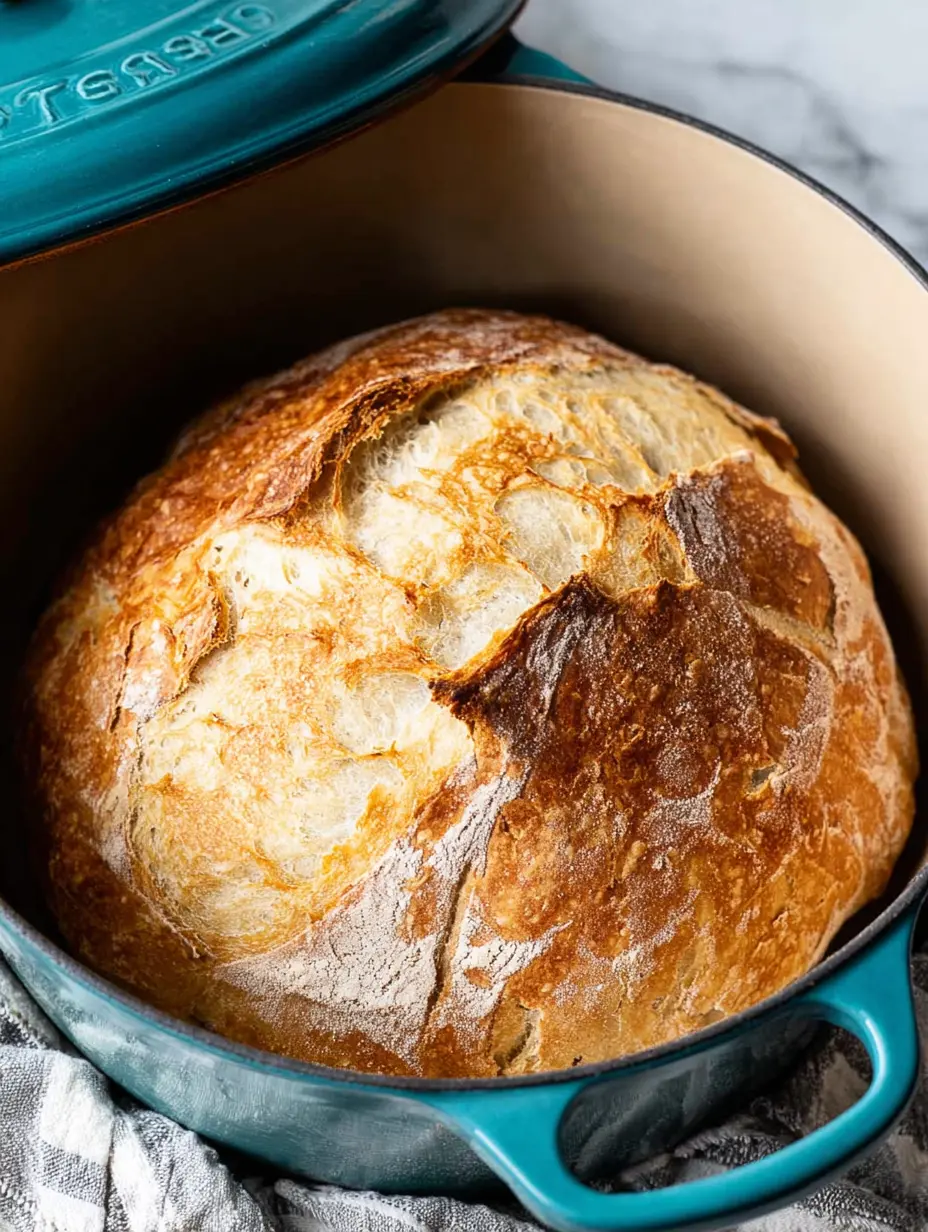
This easy no knead bread (also known as Dutch oven bread) delivers everything you love about artisan loaves — a shatteringly crisp crust, tender open crumb, and deep, complex flavor developed through long, slow fermentation. Inspired by the famous Jim Lahey method, this overnight bread recipe proves that great homemade bread doesn’t need kneading, fancy equipment, or constant attention. In fact, the hands-off approach often yields better results than traditional techniques.
Whether you’re a beginner baker or a seasoned pro looking to simplify your routine, this easy no knead bread recipe will become your go-to. With only 5 minutes of prep, 18–24 hours of mostly passive rising, and a blazing-hot Dutch oven that creates steam for that signature crust, you’ll pull a perfect loaf from your oven that rivals your favorite bakery. Let’s walk through everything you need to master this foolproof Dutch oven bread at home.
Ingredients List
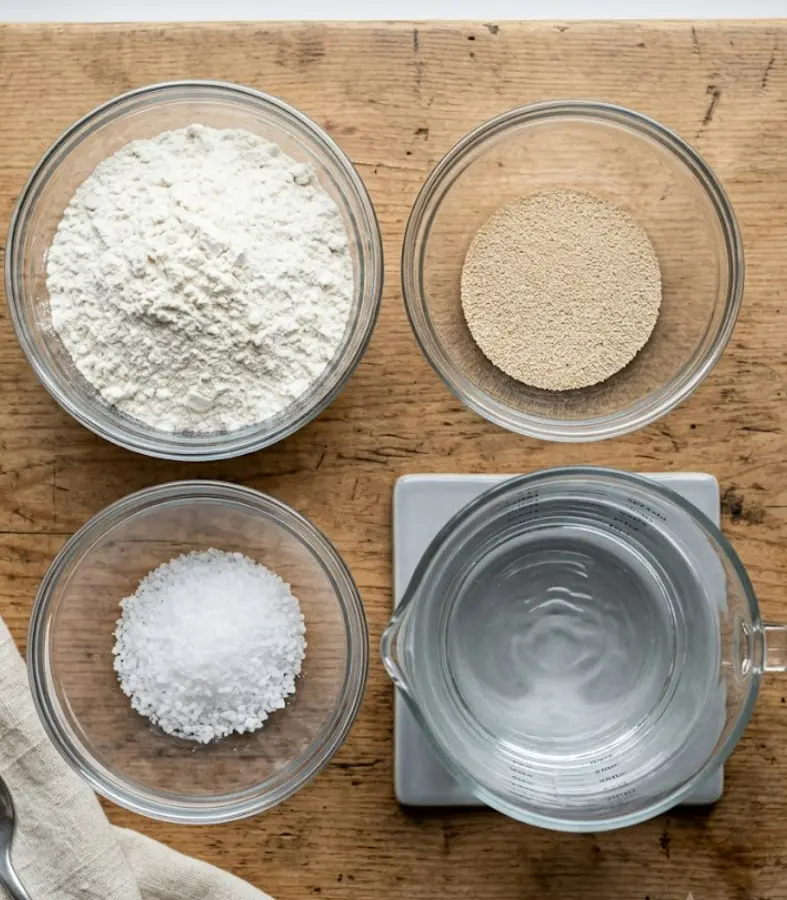
The beauty of this easy no knead bread lies in its simplicity — just four pantry staples create something extraordinary. Here’s exactly what you’ll need for one beautiful loaf (about 12 slices):
For the Dough:
- 360 g (about 3 cups) all-purpose flour — for a heartier version, substitute up to 50% with whole wheat or bread flour
- 2 tsp active dry yeast (or instant yeast)
- 9 g (about 1½ tsp) sea salt — kosher salt works too; flaky salt can be sprinkled on top before baking for extra crunch
- 355 ml (1½ cups) warm water (105°F / 41°C) — the temperature is important for proper yeast activation without killing it
That’s it. No sugar, no oil, no eggs. The long fermentation period develops natural sweetness and flavor while breaking down some of the phytic acid in the flour, potentially improving digestibility compared to faster bread recipes.
Substitutions for dietary needs:
- Gluten-sensitive: While not gluten-free, you can experiment with high-quality gluten-free flour blends formulated for yeast bread (results will differ).
- Lower sodium: Reduce salt to 6–7 g, though flavor and crust will be slightly less complex.
- Flavor variations: Add fresh rosemary, garlic powder, shredded cheese, or olives during the initial mix for delicious variations while keeping the no-knead method intact.
Use a kitchen scale for best results. Volume measurements can vary by up to 25%, which affects hydration and your final crumb structure in this high-hydration dough.
Timing
- Prep Time: 5 minutes
- Resting/Fermentation Time: 18–24 hours (mostly hands-off)
- Bake Time: 45 minutes
- Cooling Time: 30–60 minutes before slicing
- Total Time: Approximately 24 hours
While the clock shows nearly a full day, over 99% of that time is completely passive. This easy no knead bread actually requires about 80% less active work than traditional kneaded artisan bread recipes, making it perfect for busy schedules. The long rest develops superior flavor and texture that shorter methods simply can’t match.
Step-by-Step Instructions
Step 1: Mix the Dry Ingredients
In a large mixing bowl, whisk together the 360 g flour, 2 teaspoons of yeast, and 9 g of sea salt until evenly distributed. This ensures the yeast and salt don’t come into direct contact, which could affect rising.
Step 2: Add Water and Form the Dough
Pour in the 355 ml of warm water (105°F). Using a sturdy spoon or your hands, mix until a shaggy, sticky ball forms. The dough will look messy — that’s normal for high-hydration easy no knead bread. Don’t add extra flour even if it seems too wet.
Step 3: Cover and Ferment
Spray a piece of plastic wrap with cooking spray, then cover the bowl. Place a damp tea towel on top. Let the dough rest at room temperature (ideally 68–75°F) for 18–24 hours. During this time, the yeast works its magic, creating bubbles and developing that signature tangy, complex flavor.
Pro Tip: The longer rest (closer to 24 hours) usually yields better flavor and a more open crumb. This slow fermentation is what separates good Dutch oven bread from average homemade loaves.
Step 4: Preheat the Dutch Oven
After the long rise, preheat your oven to 450°F (232°C). Place your 2¾-quart (or larger) Dutch oven inside — including the lid — to heat for 30–45 minutes. A screaming-hot pot is essential for oven spring and that crackly crust.
Step 5: Shape the Dough
Turn the risen dough onto a well-floured surface. With floured hands, gently form it into a ball. It will be very soft and sticky. Cover with a floured towel and let it rest while the oven finishes preheating (about 30 minutes).
Step 6: Transfer to the Hot Dutch Oven
Carefully remove the preheated Dutch oven (use heavy oven mitts — it’s extremely hot). Remove the lid and spray the inside with cooking spray or line with parchment paper. Gently place the dough ball inside. Cover with the lid.
Step 7: Bake with Lid On
Bake covered for 30 minutes. The trapped steam creates the perfect environment for maximum rise and crust development in your easy no knead bread.
Step 8: Finish Baking Uncovered
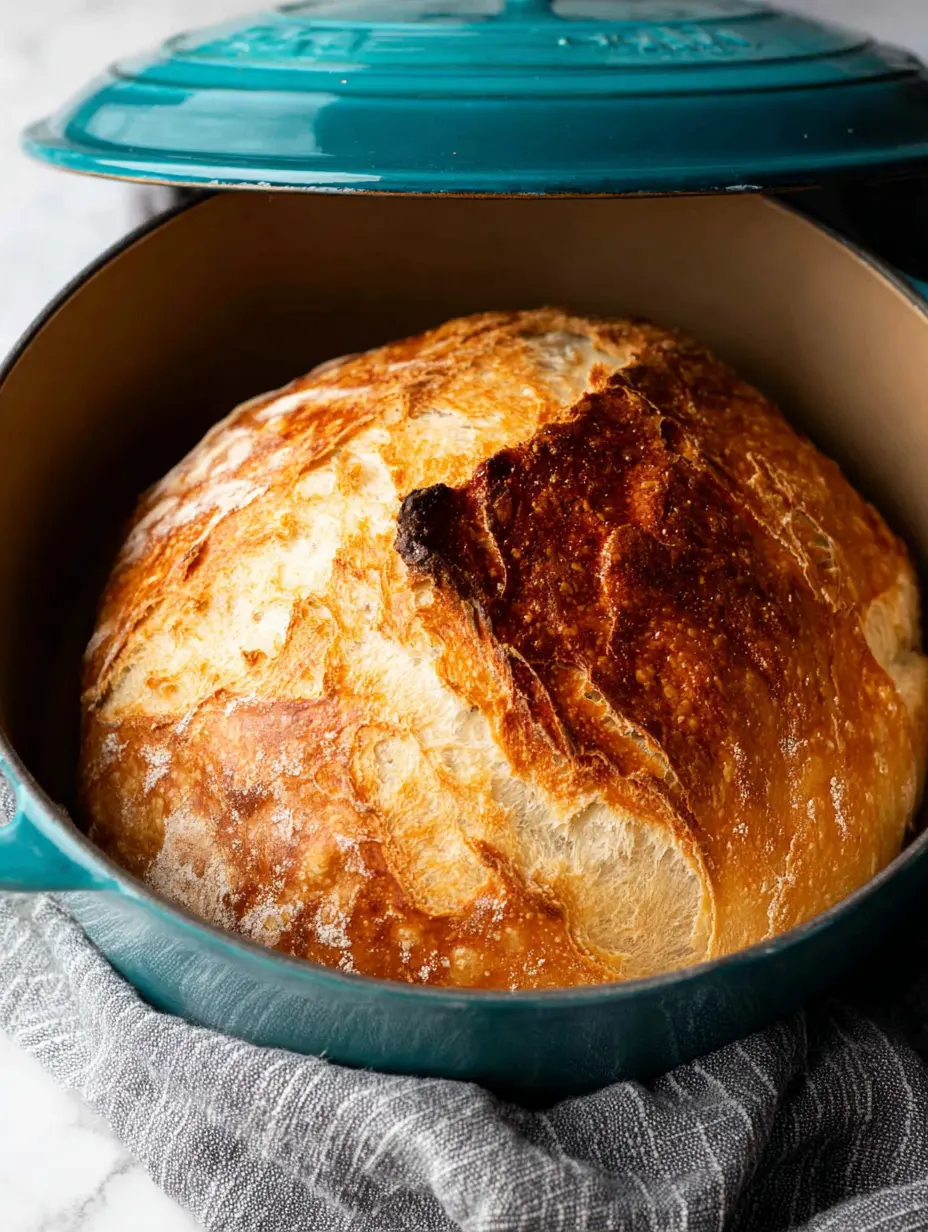
Remove the lid and bake for an additional 15 minutes until the loaf is deep golden brown. The internal temperature should reach about 205–210°F if you have a thermometer.
Step 9: Cool Properly
Remove the loaf from the Dutch oven and place it on a wire cooling rack. Cover with a clean tea towel while it cools. Wait at least 30–60 minutes before slicing — cutting too early releases steam and can make the crumb gummy.
Nutritional Information
Per slice (based on 12 slices):
- Calories: 121
- Total Carbohydrates: 25g
- Protein: 4g
- Fat: 0.5g
- Fiber: 1g
- Sodium: 290mg
Compared to many commercial breads that contain 15–25 ingredients including dough conditioners, preservatives, and added sugars, this easy no knead bread uses just four wholesome ingredients. The long fermentation process breaks down some starches and phytic acid, which may improve mineral absorption and digestibility for many people. Each slice provides energy-rich carbohydrates with minimal fat, making it an excellent base for both sweet and savory toppings.
Healthier Alternatives for the Recipe
Transform this already clean easy no knead bread into an even more nutritious version with these smart swaps:
- Replace half the all-purpose flour with white whole wheat or spelt flour for added fiber, protein, and nutrients while maintaining a light texture.
- Stir in 2–3 tablespoons of seeds (flax, chia, sunflower, or pumpkin) or rolled oats during the initial mixing step for omega-3s and extra crunch.
- Use a sourdough starter (50–100g) in addition to or instead of commercial yeast for probiotic potential and even deeper flavor.
- Add 1–2 tablespoons of vital wheat gluten if using whole grain flours to maintain excellent rise and chew.
- For lower sodium diets, reduce salt to 6g and add herbs for flavor compensation.
These modifications can increase fiber content by 50–100% while keeping the signature crust and open crumb that make Dutch oven bread so special.
Serving Suggestions
Serve thick slices of warm easy no knead bread with good butter and flaky sea salt for the ultimate simple pleasure. It pairs beautifully with soups, stews, or salads — the crust stands up well to dunking.
For breakfast, toast slices and top with avocado, poached eggs, and chili flakes. Create gourmet sandwiches with cured meats, aged cheese, and fig jam. In the evening, use it as the base for homemade bruschetta or garlic bread.
Personal tip: For an extra-crispy experience, reheat slices in a hot cast-iron skillet with a touch of olive oil. The crust develops even more character. This versatile Dutch oven bread also makes exceptional French toast or bread pudding from day-old slices.
Common Mistakes to Avoid
Even simple recipes have pitfalls. Here are the most common ones when making easy no knead bread and how to avoid them:
- Not allowing the full 18–24 hour rise: Cutting the time short prevents proper flavor development and oven spring. Trust the process.
- Using water that’s too hot or too cold: Water above 115°F can kill yeast; below 95°F slows fermentation dramatically. Use an instant-read thermometer.
- Adding too much flour during shaping: The dough should remain very sticky. Extra flour creates a dense, dry loaf.
- Skipping the preheat of the Dutch oven: A cold pot won’t produce the dramatic oven spring or crackly crust this method is known for.
- Slicing too soon: Cutting into the loaf before it cools sufficiently compresses the crumb structure.
- Using a Dutch oven that’s too small: Ensure at least 2.75–4 quart capacity with enough room for the bread to expand.
Following the steps precisely, especially the long rest and proper Dutch oven technique, virtually guarantees success.
Storing Tips for the Recipe
This easy no knead bread tastes best on day one but stores well with these methods:
- Room temperature: Keep cut-side down on a cutting board or wrapped in a clean tea towel for 1–2 days. Avoid plastic bags, which soften the crust.
- Freezer: Once completely cool, slice the loaf, wrap tightly in plastic wrap, then aluminum foil, and freeze for up to 3 months. Toast slices directly from frozen.
- Make-ahead tip: Mix the dough in the evening and bake fresh the next afternoon — perfect timing for dinner.
- Reviving stale bread: Sprinkle slices lightly with water and reheat in a 350°F oven for 8–10 minutes to restore crustiness.
Proper storage preserves both the flavor and that signature texture that makes homemade Dutch oven bread superior to store-bought options.
Conclusion
This easy no knead bread proves that incredible homemade loaves don’t require kneading or complicated techniques. With four ingredients, a Dutch oven, and patience during a long rest, you’ll create crusty, flavorful artisan bread that rivals professional bakeries. The long fermentation rewards you with superior taste and texture with minimal effort.
Ready to bake? Try this easy no knead bread recipe today and share your results in the comments below. How did your crust turn out? Rate the recipe, leave your favorite toppings in the review section, and subscribe for more foolproof baking recipes, seasonal ideas, and kitchen tips delivered to your inbox!
FAQs
Why is my easy no knead bread dense or flat?
The most common causes are insufficient rising time, killing the yeast with water that’s too hot, or not preheating the Dutch oven properly. Give the full 18–24 hours and ensure your oven and pot are screaming hot.
Can I use instant yeast instead of active dry yeast?
Yes, they work interchangeably in this recipe. No proofing is needed for either since it’s a long-fermentation no knead bread.
How do I get a crispier crust on my Dutch oven bread?
Make sure your Dutch oven is fully preheated for at least 30 minutes. You can also add a few ice cubes to the pot (carefully) when adding the dough for extra steam.
Is this easy no knead bread recipe suitable for beginners?
Absolutely. It’s one of the most forgiving bread recipes available. The method is designed for success even if you’ve never baked bread before.
Easy No Knead Bread (Dutch Oven Bread)
Ingredients
Equipment
Method
- Combine the flour, yeast, and salt in a large bowl and stir to combine.
- Add the water and mix until the dough forms a ball.
- Cover the bowl with plastic wrap (sprayed with cooking spray) and a damp tea towel.
- Let dough sit covered at room temperature for 18-24 hours.
- After 24 hours, preheat the oven to 450 degrees F.
- Place a 2 3/4 quart dutch oven in the oven while it is preheating.
- Transfer the dough from the bowl onto a floured surface and form it into a ball.
- Cover it with a floured towel while the oven is preheating.
- Carefully remove the hot baking dish from the oven, remove the lid, and spray the dish with cooking spray or line it with parchment paper.
- Gently put the dough ball into the baking dish so it’s evenly distributed.
- Cover and bake for 30 minutes.
- Remove the lid and bake for an additional 15 minutes, or until the loaf is golden brown.
- Remove the loaf from the baking dish and let it cool on a rack before slicing.
- To keep it warm, cover with a tea towel.