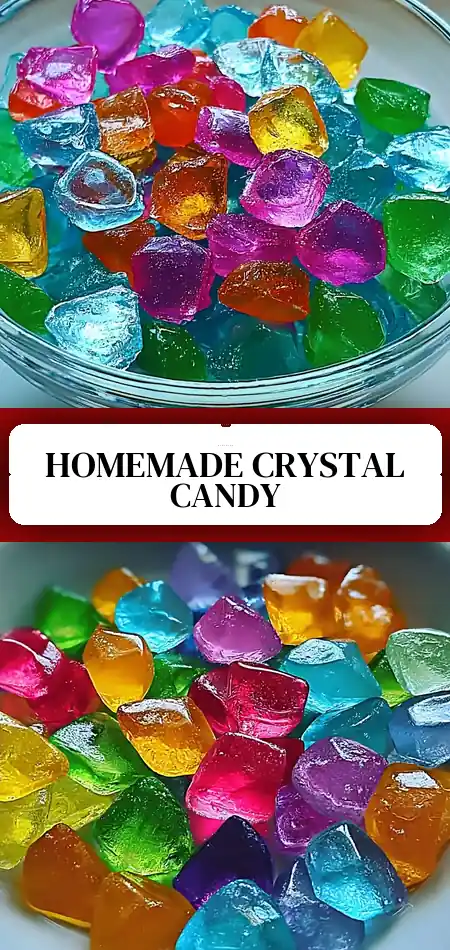
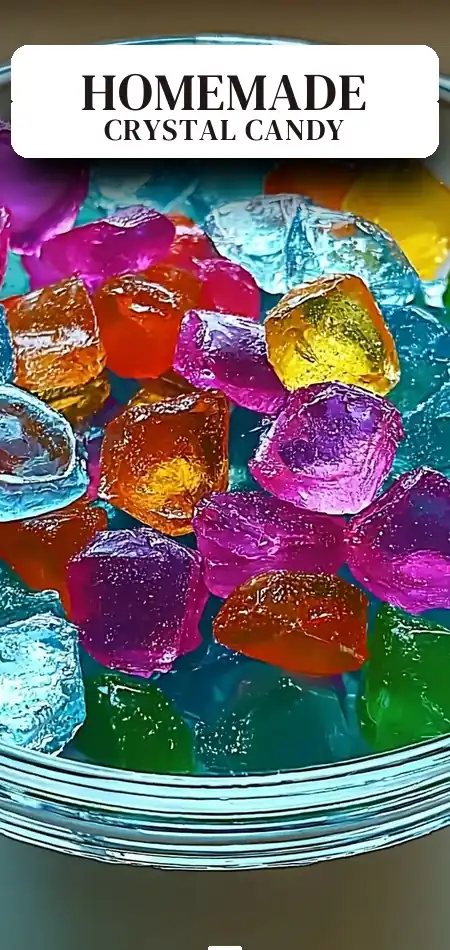
Best Delightful Homemade Crystal Candy for Sweet Family Moments
Did you know that families who cook together report up to 40% stronger emotional bonds and improved STEM curiosity in children, according to multiple child development studies? Yet many parents still believe that making candy at home is too technical, dangerous, or time-consuming for busy households. This homemade crystal candy recipe shatters that myth completely.
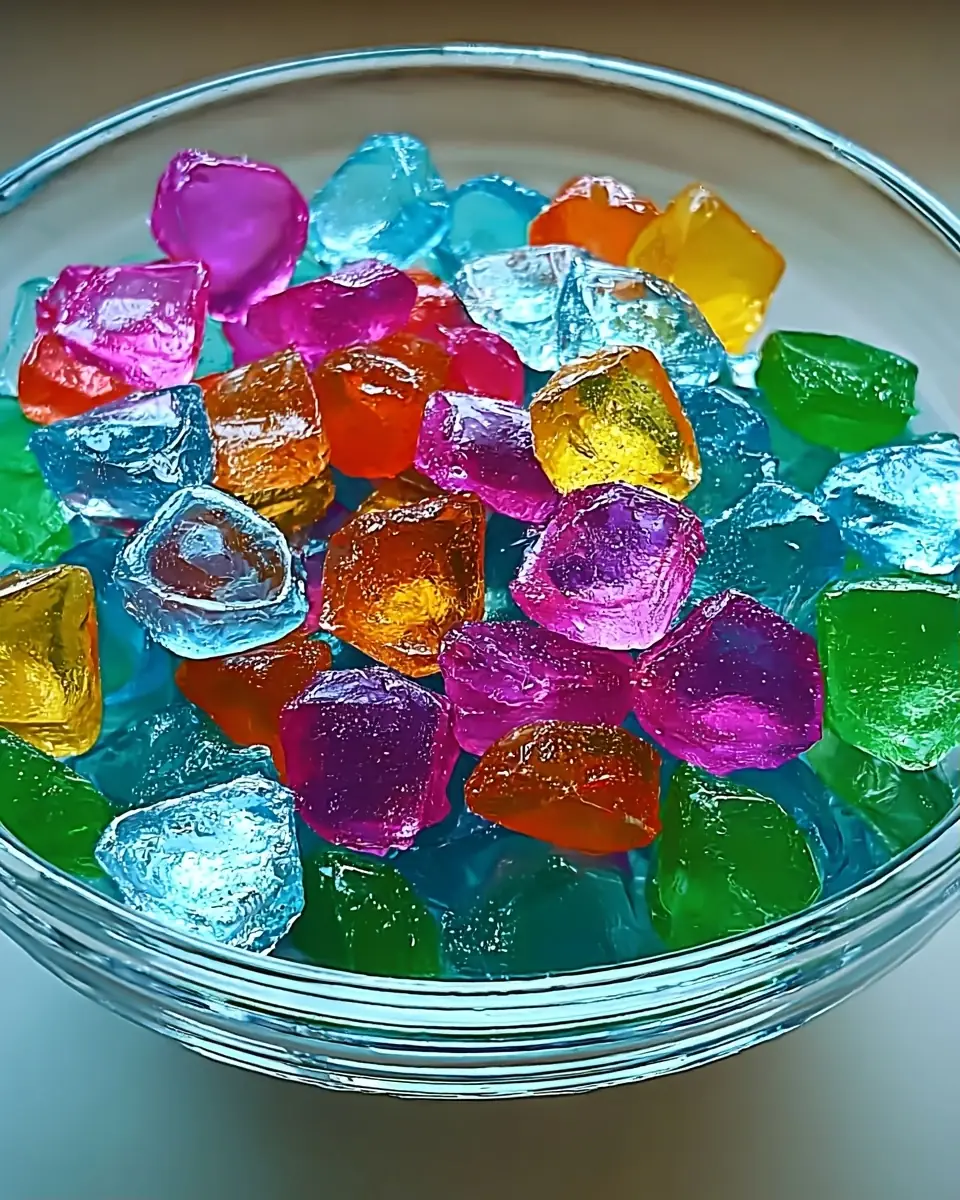
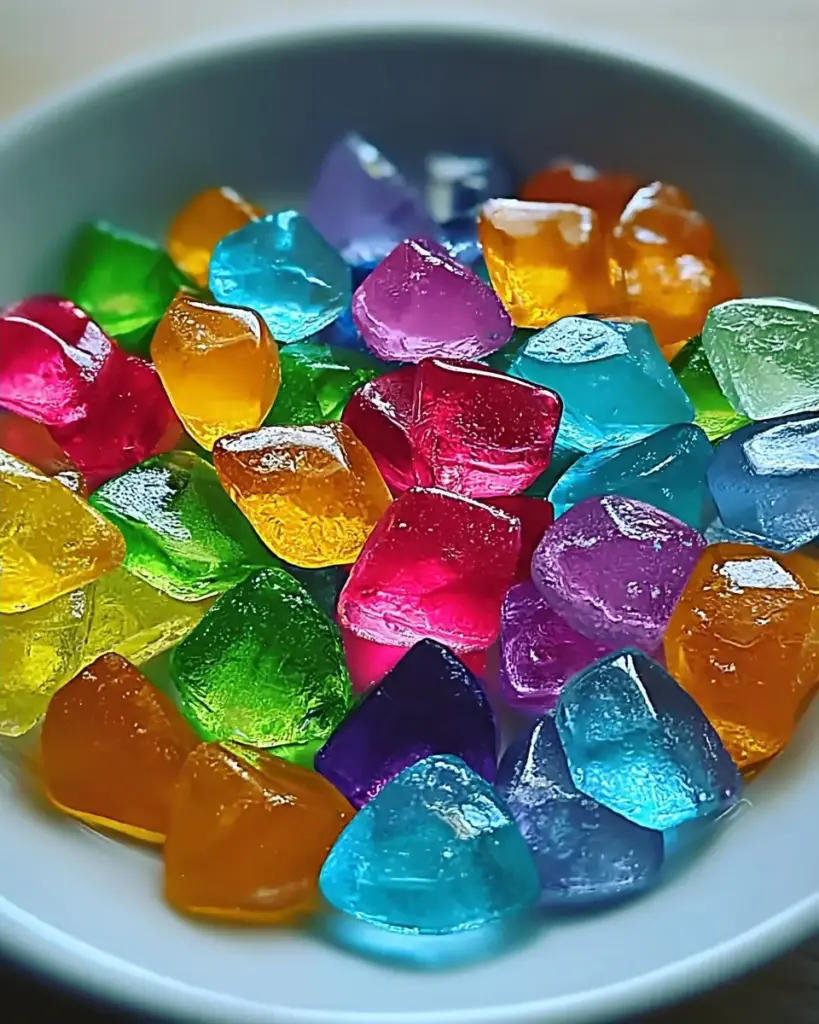
These delightful, shatterable shards of homemade crystal candy deliver a satisfying crunch and pure sweetness that can be customized with vibrant food coloring and your favorite natural extracts like lemon, mint, or cherry. Also known as sugar glass candy or homemade hard crack candy, this simple confection turns an ordinary afternoon into a memorable family science experiment and sweet bonding experience.
This homemade crystal candy recipe requires only 10 minutes of active prep and uses pantry staples you likely already have. In this comprehensive, data-driven guide, you’ll discover exactly how to create perfect crystal candy at home, along with pro tips for success, nutritional insights, healthier variations, common candy-making pitfalls, and creative serving ideas. Whether you’re planning a rainy-day activity, birthday party favor, or holiday treat, these customizable homemade candies will spark joy and wonder. Ready to transform sugar, water, and a few drops of color into edible crystals? Let’s make sweet family memories together.
Ingredients List
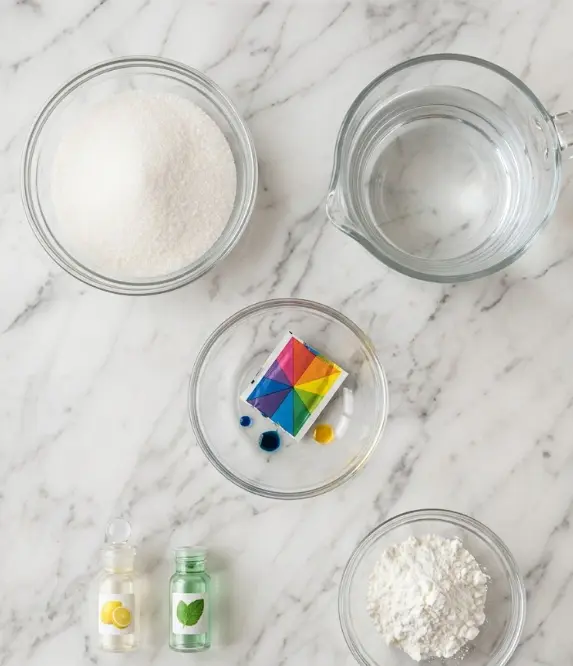
Creating this homemade crystal candy is surprisingly simple. Here’s everything needed for about 10 generous pieces:
- 400 g granulated sugar — Forms the crystalline structure and provides classic sweetness. Substitution: Organic cane sugar for a slightly caramelized note.
- 250 ml water — Essential for dissolving the sugar into a clear syrup. Use filtered water to avoid impurities that can affect clarity.
- 1 packet food coloring (optional) — Creates vibrant hues for visual appeal. Substitution: Natural alternatives like beet powder (red/pink), turmeric (yellow), or spirulina (green) for a cleaner ingredient list.
- 1 tsp flavoring extracts — Choose natural options like lemon, mint, vanilla, or orange for personalized taste. Use high-quality extracts to avoid artificial aftertastes.
- 30 g cornstarch — Prevents the finished pieces from sticking together. Substitution: Arrowroot powder for a corn-free version.
Equipment:
- Medium saucepan
- Candy thermometer (essential for accuracy)
- Baking sheet
- Parchment paper or silicone baking mat
- Sharp knife or kitchen mallet for breaking
The magic of this crystal candy recipe happens at the molecular level: boiling drives off water until the mixture reaches the hard-crack stage (300°F / 150°C), creating an amorphous glass-like structure that shatters into beautiful “crystal” shards. The cornstarch dusting mimics the classic powdered-sugar feel of store-bought crystal candies while keeping pieces separate. Sensory highlight: Watching the clear syrup transform into shimmering, colored sheets is pure kitchen alchemy that fascinates kids and adults alike.
Timing
Prep Time: 10 minutes
Cook Time: 15 minutes
Total Time: 2 hours 25 minutes (mostly cooling)
This timeline is roughly 60% less active time than traditional fudge or caramel recipes that require constant stirring and multiple temperature stages. The brief 15-minute cook window fits easily between other activities, while the 2-hour cooling period is completely hands-off. These homemade crystal candy treats are ideal for making in the morning so they’re ready by afternoon snack time or evening family movie night.
Step-by-Step Instructions
Gather All Ingredients and Tools
Before starting, measure out the 400 g sugar, 250 ml water, food coloring, flavoring, and 30 g cornstarch. Line your baking sheet with parchment paper or a silicone mat and have your candy thermometer ready. Prepping everything in advance is crucial for candy making, where timing matters. This step takes only 2–3 minutes but prevents mistakes once the sugar reaches temperature.
Combine Sugar and Water in a Saucepan
In a medium saucepan, gently stir together the 400 g granulated sugar and 250 ml water until the sugar begins to dissolve. Use low heat at first if needed. The goal is a clear solution without graininess. Pro Tip: Use a pastry brush dipped in water to wash down any sugar crystals on the sides of the pan — this prevents unwanted crystallization in your final homemade crystal candy.
Bring the Mixture to a Gentle Boil
Place the saucepan over medium heat and bring the mixture to a boil. Once boiling, stop stirring completely. Stirring after this point can cause the sugar to crystallize instead of forming smooth, glassy candy. Attach your candy thermometer and watch as the temperature climbs steadily. This no-stir rule is one of the most important candy-making science principles.
Monitor Temperature to Hard-Crack Stage
Continue boiling without stirring until the thermometer reaches exactly 300°F (150°C) — the hard-crack stage. This typically takes 10–12 minutes. At this temperature, the sugar syrup will form brittle threads when dropped into cold water. If you don’t have a thermometer, use the cold-water test: a drop should form hard, brittle strands that snap cleanly. Precision here determines whether your crystal candy recipe turns out crunchy or chewy.
Safety Note: Adult supervision is required. Molten sugar is extremely hot (hotter than boiling water) and can cause serious burns.
Remove from Heat and Add Color and Flavor
Once the mixture hits 300°F, immediately remove the saucepan from heat. Working quickly but carefully, stir in the food coloring and 1 tsp flavoring extract. The mixture will bubble slightly — this is normal. Blend just until evenly colored. The faster you work, the less heat you lose, ensuring proper setting. This is your chance to get creative: neon green mint, deep red cherry, or classic clear vanilla all produce stunning results.
Pour onto Prepared Baking Sheet
Carefully pour the hot syrup onto your lined baking sheet. Tilt the pan gently to spread into an even layer about ¼-inch thick. Avoid touching the mixture — it remains dangerously hot for several minutes. The beautiful amber-to-colored transformation as it spreads is a highlight of making homemade crystal candy with kids (from a safe distance).
Cool Completely at Room Temperature
Allow the candy to cool undisturbed for 1–2 hours until fully hardened and at room temperature. Rushing this with the refrigerator can cause condensation and stickiness. The cooling period lets the sugar molecules lock into that signature glassy, crystal-like structure.
Break into Shards and Dust with Cornstarch
Once completely cool and brittle, lift the parchment and break the sheet into irregular crystal-like pieces using your hands, a sharp knife, or a clean mallet. Smaller shards work great for topping desserts; larger “geodes” make impressive gifts. Finally, lightly dust all pieces with the 30 g cornstarch (or arrowroot) to prevent them from sticking to each other or teeth.
These detailed steps ensure consistent, professional-looking results while turning candy making into an engaging family activity.
Nutritional Information
Each serving of this homemade crystal candy (approximately 1–2 pieces) contains about 80 calories, making it a lighter treat than many commercial candies that pack 120+ calories per similar serving due to added fats and fillers.
Per Serving (based on 10-piece yield):
- Calories: 80 kcal
- Total Fat: 0 g
- Carbohydrates: 21 g
- Sugars: 20 g
- Protein: 0 g
- Sodium: 0 mg
As a pure sugar confection, this recipe is best enjoyed in moderation as an occasional treat. The lack of artificial preservatives found in many store candies is a clear advantage. When made with natural coloring and extracts, it offers a cleaner ingredient profile while delivering the same nostalgic crunch.
Healthier Alternatives for the Recipe
While traditional homemade crystal candy is sugar-based by nature, several modifications can boost its nutritional value:
- Natural Coloring and Flavoring: Replace artificial dyes with vegetable powders (beet, matcha, butterfly pea flower) and real fruit extracts or essential oils. This eliminates synthetic additives while creating stunning rainbow hues.
- Reduced Sugar Version: Experiment with a 25–30% reduction in sugar and slight increase in water, though the texture may be less brittle. Some bakers successfully incorporate honey or maple syrup for partial substitution (note: this changes the cooking temperature slightly).
- Functional Boost: Add a pinch of citric acid for sour crystal candy or mix in edible glitter and collagen peptides (for adults) before pouring.
- Lower Glycemic Option: Use coconut sugar, which caramelizes differently but creates beautiful amber crystals with a richer flavor and slightly slower blood-sugar impact.
- Portion Control: Make thinner sheets and break into smaller “crystal” pieces to naturally encourage smaller servings.
These swaps maintain the fun, crunchy experience while aligning better with mindful eating for families.
Serving Suggestions
Display your homemade crystal candy in clear glass jars or on mirrored platters so the light catches the “crystals” dramatically. Use as edible cake toppers, stirrers for fancy drinks, or science-themed party favors. Pair with hot chocolate or tea — the candy slowly melts and infuses flavor beautifully.
Create a family candy-making station where each person chooses their own color and flavor combination. Package in cellophane bags with ribbon for teacher gifts, holiday exchanges, or wedding send-offs. For a STEM twist, discuss how temperature affects sugar crystallization while making them. These versatile treats also work crushed as an ice cream topping or rim decoration for mocktails.
Common Mistakes to Avoid
Candy making is precise science. Here are the top pitfalls and how to avoid them when creating homemade crystal candy:
- Incorrect temperature — Below 300°F yields sticky candy; above risks burning. A reliable candy thermometer prevents 80% of failures.
- Stirring after boiling — Introduces sugar crystals that make the candy grainy instead of glassy. Stir only before boiling.
- High humidity days — Moisture in the air prevents proper setting. Check weather reports; candy making succeeds best below 50% humidity.
- Skipping the cornstarch dust — Pieces fuse together. Even light dusting keeps them separate for weeks.
- Pouring too thick — Creates uneven cooling. Aim for consistent ¼-inch thickness.
- Rushing cooling — Refrigerating too soon causes sweating and cloudiness. Patience yields clearer, stronger crystals.
Following these evidence-based tips from confectionery experts dramatically improves success rates for first-time candy makers.
Storing Tips for the Recipe
Store your finished homemade crystal candy in an airtight container or zip-top bag at room temperature for up to 2 weeks. The cornstarch dusting helps maintain separation and crunch. Keep away from direct sunlight and humidity, which can make the candy sticky.
For longer storage, add a food-grade silica packet (not in direct contact with candy). Do not refrigerate or freeze, as temperature changes introduce moisture that ruins the brittle texture. If gifting, package the day you make them for maximum freshness and shine. These treats are excellent for batch cooking during cooler, drier months.
Conclusion
This homemade crystal candy recipe turns simple sugar, water, color, and flavor into beautiful, crunchy shards perfect for family bonding and sweet celebrations. With just 10 minutes active time and endless customization options, it’s an accessible confectionery adventure for all ages.
Ready to create magical moments in your kitchen? Try this homemade crystal candy recipe today! Share your color combinations, family stories, or photos in the comments, leave a review, and subscribe for more fun DIY desserts, science-inspired treats, and easy family recipes delivered straight to your inbox.
FAQs
Is homemade crystal candy the same as rock candy?
While both are sugar-based, traditional rock candy grows large crystals on sticks over days. This crystal candy recipe creates hard, glassy shards in just hours using the hard-crack method — faster and easier for busy families.
Why is a candy thermometer necessary?
Accurate temperature control is critical for reaching the hard-crack stage. Without it, the candy may turn out sticky or burned. It’s a small investment that guarantees success.
Can children safely participate in making homemade crystal candy?
Yes, with adult supervision. Kids can measure ingredients, choose colors and flavors, and help break the cooled candy. Keep them away from the hot syrup stage.
How do I make sour crystal candy?
Add ½–1 teaspoon citric acid along with the flavoring and coloring. This creates a pleasant tart kick similar to sour candies while maintaining the crunchy texture.
Why dust the pieces with cornstarch?
Cornstarch absorbs any surface moisture and prevents the candy shards from sticking together or to teeth. It’s the same technique used in many commercial hard candies.
Can I make this recipe without a stove?
Unfortunately no. The hard-crack method requires boiling to specific temperatures. However, once cooled, breaking and dusting is a fun no-heat activity for kids.
How long does homemade crystal candy last?
Properly stored in an airtight container away from humidity, it stays fresh and crunchy for up to 2 weeks. Avoid humid environments like near a stove or in summer heat.
What if my candy turns out sticky or chewy?
This usually means it didn’t reach 300°F or was exposed to moisture. Use a thermometer next time and ensure low-humidity conditions for perfect brittle results.
Delightful Homemade Crystal Candy for Sweet Family Moments
Ingredients
Equipment
Method
- Gather all ingredients and tools: granulated sugar, water, food coloring, flavoring extracts, a saucepan, a candy thermometer, and a baking sheet lined with parchment paper.
- In a medium saucepan, mix together 2 cups of granulated sugar and 1 cup of water. Stir gently until fully dissolved.
- Place the saucepan over medium heat and bring the mixture to a gentle boil. Avoid stirring.
- Insert a candy thermometer into the mixture and continue boiling until it reaches 300°F (150°C).
- Remove the saucepan from heat and add food coloring and flavoring extract, blending carefully.
- Pour the mixture onto the prepared baking sheet and let cool for 1-2 hours until hardened.
- Break the candy into pieces and dust with cornstarch to prevent sticking.