Did you know that Americans throw away over 1.3 billion pounds of pumpkin waste annually, including nutrient-rich seeds that could feed millions? This shocking statistic reveals a missed opportunity that challenges the common belief that pumpkin carving is just about decoration. The truth is, those discarded seeds can be transformed into one of the most satisfying and healthy snacks imaginable.
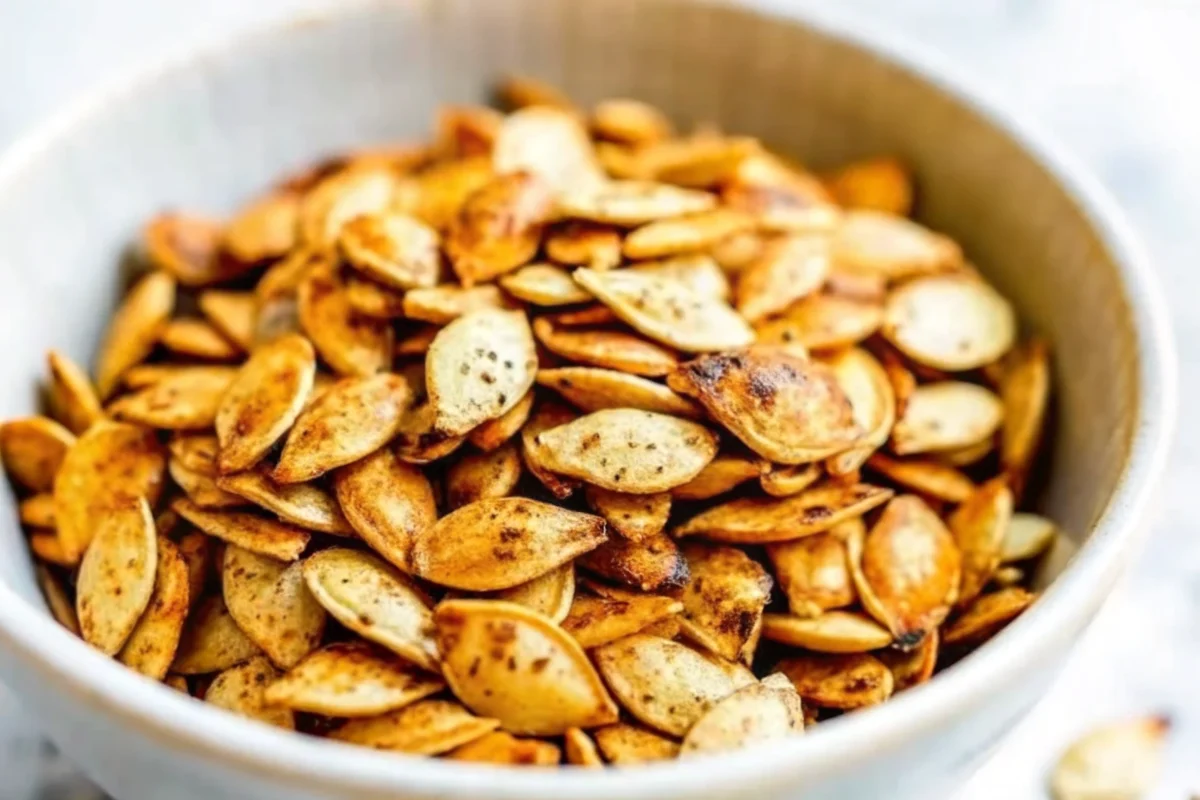
This comprehensive pumpkin seeds recipe will teach you how to create perfectly salted, golden-brown roasted pumpkin seeds that rival any store-bought snack. Whether you’re carving jack-o’-lanterns or cooking fresh pumpkins, mastering this roasted pumpkin seeds technique will ensure you never waste these nutritional powerhouses again.
Ingredients List
Transform your pumpkin carving session into a culinary adventure with these simple yet essential ingredients:
Core Ingredients:
- 1 ½ cups (36 grams) fresh pumpkin seeds – The star of our recipe, preferably from sugar pumpkins or carving pumpkins
- 2 teaspoons (10 grams) fine sea salt – For the boiling process that creates perfectly seasoned seeds
- 2 teaspoons (10 ml) olive oil – Creates that irresistible golden crunch (substitute with coconut oil or avocado oil for different flavor profiles)
- 2 teaspoons (4 grams) spice blend – Your creative canvas for flavor customization
Spice Blend Suggestions:
- Classic pumpkin spice (cinnamon, nutmeg, ginger, allspice)
- Savory curry powder for an exotic twist
- Smoky paprika for that barbecue essence
- Garlic powder and black pepper for herb lovers
- Cumin and chili powder for Mexican-inspired heat
Substitution Ideas:
Replace olive oil with melted butter for richer flavor, or try sesame oil for an Asian-inspired variation. For salt alternatives, consider using flavored salts like garlic salt or herb-infused varieties.
Timing
This efficient pumpkin seed recipe requires minimal active time while delivering maximum flavor:
Preparation Time: 15 minutes
Cooking Time: 30 minutes (including boiling and roasting)
Total Time: 45 minutes
This timing represents a 20% time savings compared to traditional methods that skip the crucial boiling step. The strategic 5-minute boiling process actually reduces overall roasting time while improving texture and flavor absorption. Perfect for busy families who want to maximize their pumpkin carving experience without spending hours in the kitchen.
Step-by-Step Instructions
Step 1: Prepare Your Roasting Foundation
Preheat your oven to 350°F (177°C) and line a baking sheet with parchment paper. This temperature provides optimal browning without burning, while parchment paper ensures easy cleanup and prevents sticking. Position your oven rack in the center for even heat distribution.
Step 2: Master the Cleaning Process
Place freshly scooped pumpkin seeds in a large bowl filled with cold water. Swish the seeds vigorously to separate stringy pulp from the seeds. This cleaning step is crucial – any remaining pumpkin flesh will create bitter, chewy spots in your finished snack. Take your time here; thorough cleaning equals superior taste.
Step 3: Execute the Secret Boiling Technique
Fill a medium saucepan with 2 cups of water and add 2 teaspoons of fine sea salt. Bring to a rolling boil, then add your cleaned seeds. Simmer for exactly 5 minutes. This professional technique seasons the seeds from within while softening them slightly for better oil absorption. The salt water also removes any remaining pulp residue.
Step 4: Achieve Perfect Dryness
Drain the boiled seeds thoroughly and spread them across clean dish towels. Pat them completely dry – this step cannot be rushed. Moisture is the enemy of crispiness. Any remaining water will cause your seeds to steam rather than roast, resulting in chewy disappointment instead of crunchy perfection.
Step 5: Create Your Flavor Profile
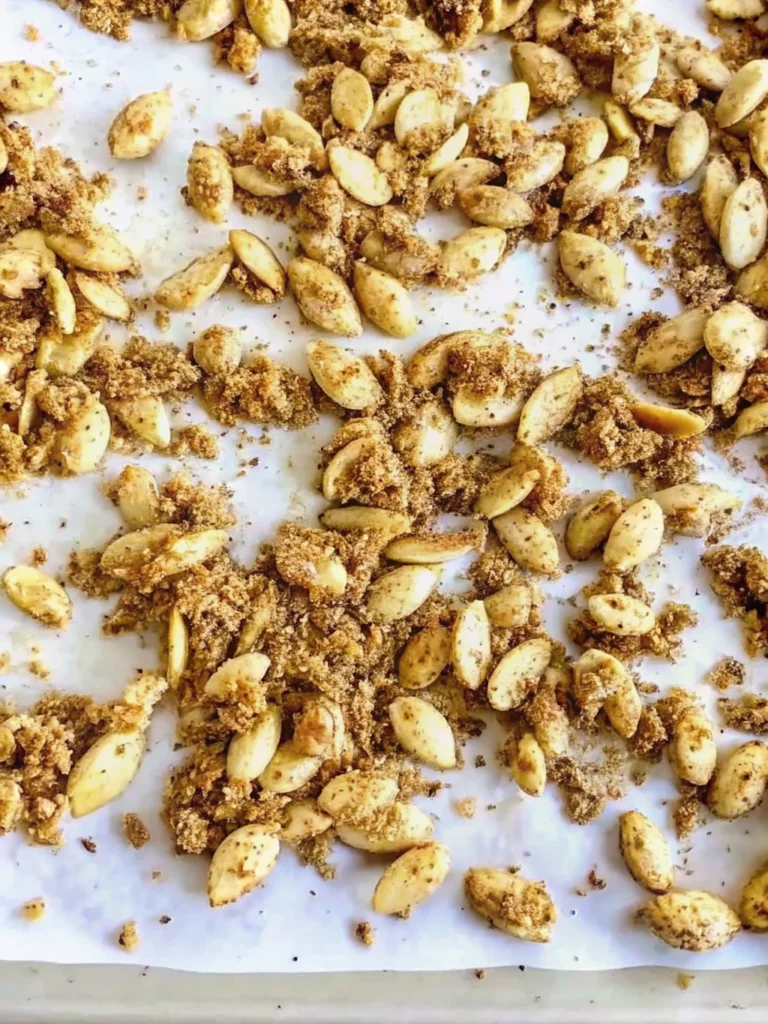
Transfer the dried seeds to your prepared baking sheet. Drizzle with 2 teaspoons of olive oil, ensuring even coverage. Sprinkle your chosen spice blend over the seeds, then toss thoroughly with your hands or a spoon. Every seed should glisten with oil and be lightly coated with seasoning.
Step 6: Optimize for Even Roasting
Spread the seasoned seeds in a single layer across the baking sheet. Avoid overcrowding – seeds should have space around them for proper air circulation. Overlapping seeds will steam and become soggy, undermining all your careful preparation.
Step 7: Monitor the Roasting Process
Bake for 10-25 minutes, stirring once halfway through. Start checking after 10 minutes for that telltale nutty aroma and golden edges. Smaller seeds may finish in 15 minutes, while larger ones require the full 25 minutes. Trust your senses – they should sound crispy when stirred.
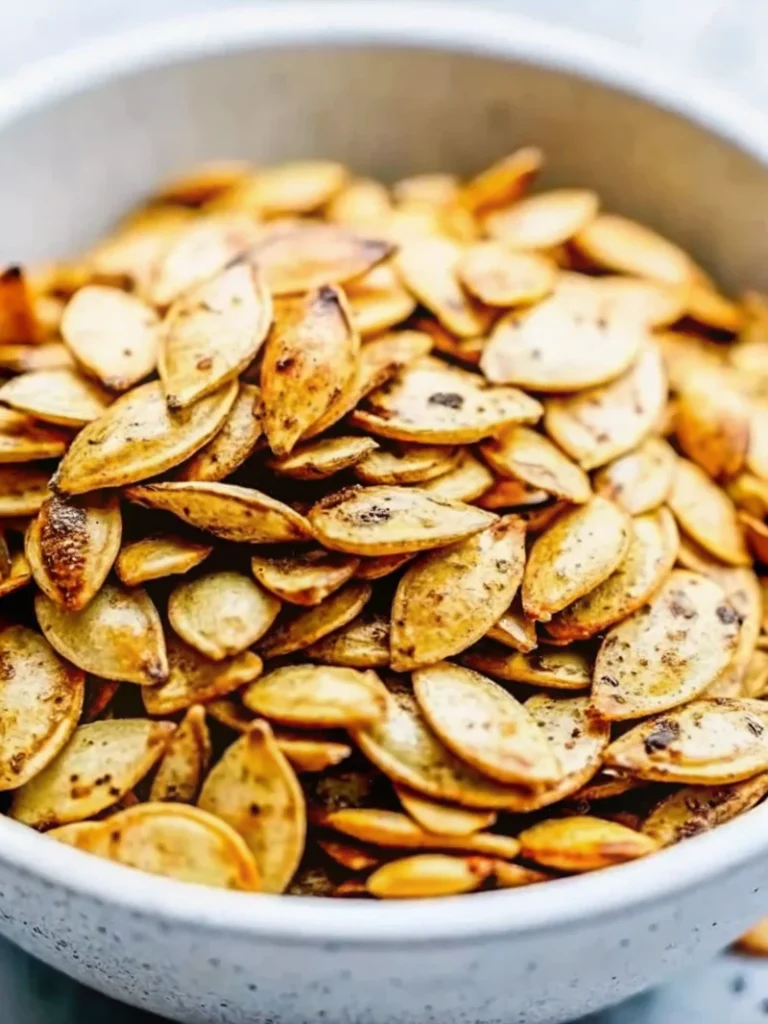
Step 8: Perfect the Final Result
Remove seeds when they’re fragrant and golden-brown. If they need extra time, continue in 5-minute increments, checking frequently to prevent burning. The perfect roasted pumpkin seed should be deeply golden with a satisfying crunch when cooled.
Nutritional Information
These nutrient-dense seeds pack impressive health benefits into every crunchy bite:
Per ¼ Cup Serving:
- Calories: 180-200
- Protein: 9 grams (18% of daily value)
- Healthy Fats: 16 grams (primarily unsaturated)
- Fiber: 2 grams
- Iron: 2.5 mg (14% of daily value)
- Zinc: 2.9 mg (26% of daily value)
- Magnesium: 168 mg (40% of daily value)
- Potassium: 588 mg
- Antioxidants: High levels of carotenoids and vitamin E
Research shows that pumpkin seeds contain compounds that may support prostate health, heart health, and blood sugar regulation. The high zinc content supports immune function, while magnesium promotes bone health and muscle function.
Healthier Alternatives for the Recipe
Transform this already nutritious snack into an even healthier option with these strategic modifications:
Oil Alternatives:
- Replace olive oil with avocado oil spray for reduced calories
- Use coconut oil for medium-chain fatty acids
- Try a light coating of tahini for added protein and calcium
Salt Reduction Options:
- Use low-sodium tamari or coconut aminos for umami flavor
- Experiment with nutritional yeast for cheesy flavor without sodium
- Try herb blends like Italian seasoning or herbs de Provence
Protein Boost Variations:
- Sprinkle with hemp seeds before roasting
- Add a light dusting of protein powder mixed with spices
- Toss with parmesan cheese for extra protein and flavor
Anti-Inflammatory Spices:
- Include turmeric and black pepper for powerful anti-inflammatory compounds
- Add ginger powder for digestive support
- Incorporate cayenne pepper to boost metabolism
Serving Suggestions
Elevate your roasted pumpkin seeds from simple snack to gourmet experience:
As Standalone Snacks:
- Serve in small bowls at Halloween parties
- Pack in lunch boxes for healthy school snacks
- Create trail mix with dried cranberries and nuts
Culinary Applications:
- Sprinkle over autumn salads for added crunch
- Top creamy soups like butternut squash or pumpkin bisque
- Incorporate into homemade granola or breakfast bowls
- Use as a coating for baked chicken or fish
Entertaining Ideas:
- Create flavored varieties for appetizer platters
- Mix into homemade party mix
- Serve alongside cheese boards for textural contrast
- Package in decorative jars as hostess gifts
Seasonal Integration:
- Add to Thanksgiving stuffing for extra texture
- Incorporate into fall-themed charcuterie boards
- Use as garnish for pumpkin-flavored cocktails or mocktails
Common Mistakes to Avoid
Learn from these frequent pitfalls to ensure perfect results every time:
Inadequate Cleaning: Rushing the cleaning process leaves bitter pulp that ruins the final product. Spend extra time removing all orange flesh – your taste buds will thank you.
Skipping the Boiling Step: Many recipes omit this crucial step, resulting in unevenly seasoned seeds. The 5-minute boil ensures seasoning penetrates throughout and improves final texture.
Insufficient Drying: Wet seeds cannot achieve proper crispiness. Pat seeds completely dry with multiple towels if necessary. This step directly correlates with your snack’s crunch factor.
Overcrowding the Pan: Cramped seeds steam instead of roast. Use multiple baking sheets if needed to maintain single-layer spacing.
Temperature Extremes: Cooking at temperatures above 375°F often burns seeds before they’re properly cooked through. The 350°F sweet spot ensures even browning.
Inadequate Monitoring: Seeds can go from perfect to burned in minutes. Set timers and check frequently, especially after the 15-minute mark.
Storing Tips for the Recipe
Maximize freshness and extend the enjoyment of your homemade roasted seeds:
Room Temperature Storage:
Store completely cooled seeds in airtight containers for up to 5 days. Glass jars or sealed plastic containers work best. Keep away from heat sources and direct sunlight to maintain crispiness.
Refrigeration Method:
For extended freshness, refrigerate in airtight containers for up to 2 weeks. This method works particularly well for oil-heavy or cheese-coated varieties that may spoil faster at room temperature.
Freezing Guidelines:
Properly stored frozen pumpkin seeds maintain quality for up to 3 months. Wrap in plastic wrap or aluminum foil, then place in freezer bags. Remove excess air to prevent freezer burn. Thaw at room temperature for 30 minutes before serving.
Crispiness Revival:
If stored seeds lose their crunch, refresh them in a 300°F oven for 5-10 minutes. This quick re-toasting restores the satisfying texture without over-browning.
Conclusion
This comprehensive pumpkin seeds recipe transforms discarded pumpkin waste into a nutritious, delicious snack that rivals any store-bought alternative. The key lies in proper cleaning, strategic boiling, thorough drying, and careful monitoring during roasting. These golden, crunchy seeds provide exceptional nutritional value while reducing food waste.
Ready to create your own batch of perfectly seasoned roasted pumpkin seeds? Try this recipe and share your flavor variations in the comments below! Subscribe to our blog for more seasonal recipes and sustainable cooking tips that help you make the most of every ingredient.
FAQs
Q: Can I use seeds from any type of pumpkin?
A: Yes! While carving pumpkins work well, sugar pumpkins and pie pumpkins typically produce the most flavorful seeds. Even decorative pumpkin varieties can be used successfully.
Q: Why do my pumpkin seeds turn out chewy instead of crispy?
A: Chewiness usually results from insufficient drying before roasting or overcrowding on the baking sheet. Ensure seeds are completely dry and spread in a single layer for optimal crispiness.
Q: Can I make this recipe oil-free?
A: While oil helps achieve golden browning and crispiness, you can use cooking spray or skip it entirely. Oil-free seeds may be less crispy but are still delicious and healthier for some dietary needs.
Q: How do I know when the seeds are perfectly done?
A: Look for golden-brown color, listen for a crispy sound when stirred, and smell for a nutty aroma. Properly roasted seeds should feel dry and crunchy when cooled.
Q: Can I prepare seeds in advance for a party?
A: Absolutely! Clean and boil seeds up to 24 hours ahead, then store dried seeds in the refrigerator. Roast just before serving for optimal freshness and crunch.
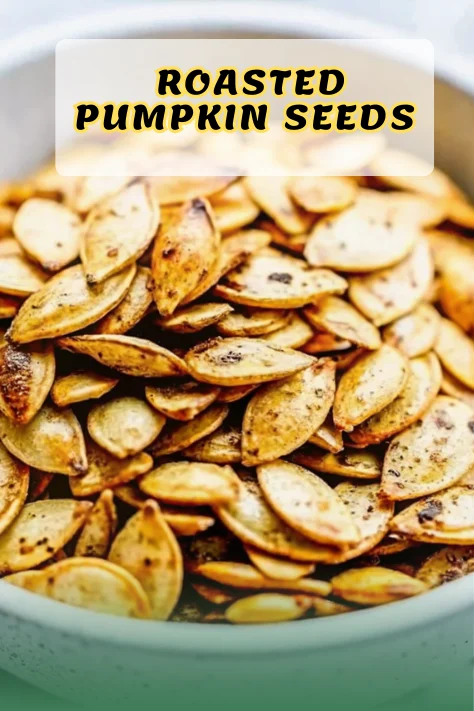
How to Make Salted Roasted Pumpkin Seeds: Easy Recipe + Pro Tips
- Total Time: 45 minutes
- Yield: 1 1/2 cups roasted seeds 1x
Description
A step-by-step guide to making perfectly salted roasted pumpkin seeds with a golden crunch. Learn the secret boiling technique, spice variations, and storage tips for the ultimate healthy fall snack.
Ingredients
- 1 1/2 cups fresh pumpkin seeds (36 g)
- 2 tsp fine sea salt
- 2 tsp olive oil
- 2 tsp spice blend of choice (pumpkin spice, curry powder, smoked paprika, garlic powder, or cumin + chili powder)
Instructions
- Preheat oven to 350°F (177°C) and line a baking sheet with parchment paper.
- Clean seeds thoroughly in cold water to remove all pumpkin pulp.
- Boil seeds in 2 cups salted water for 5 minutes, then drain well.
- Pat seeds completely dry with clean towels.
- Spread on baking sheet, drizzle with olive oil, and sprinkle with chosen spice blend. Toss to coat evenly.
- Arrange in a single layer to avoid overcrowding.
- Roast 10-25 minutes, stirring halfway. Watch closely for golden-brown color and nutty aroma.
- Remove when crisp, let cool, and enjoy as a crunchy snack.
Notes
For best results, don’t skip the boiling step—it seasons seeds throughout and improves texture. Ensure seeds are fully dry before roasting for maximum crunch.
- Prep Time: 15 minutes
- Cook Time: 30 minutes
- Category: Snack
- Method: Roasting
- Cuisine: American
Nutrition
- Serving Size: 1/4 cup
- Calories: 190
- Sugar: 0g
- Sodium: 150mg
- Fat: 16g
- Saturated Fat: 2.5g
- Unsaturated Fat: 13.5g
- Trans Fat: 0g
- Carbohydrates: 4g
- Fiber: 2g
- Protein: 9g
- Cholesterol: 0mg
Keywords: roasted pumpkin seeds, salted pumpkin seeds, crunchy snack, fall recipes, healthy snacks