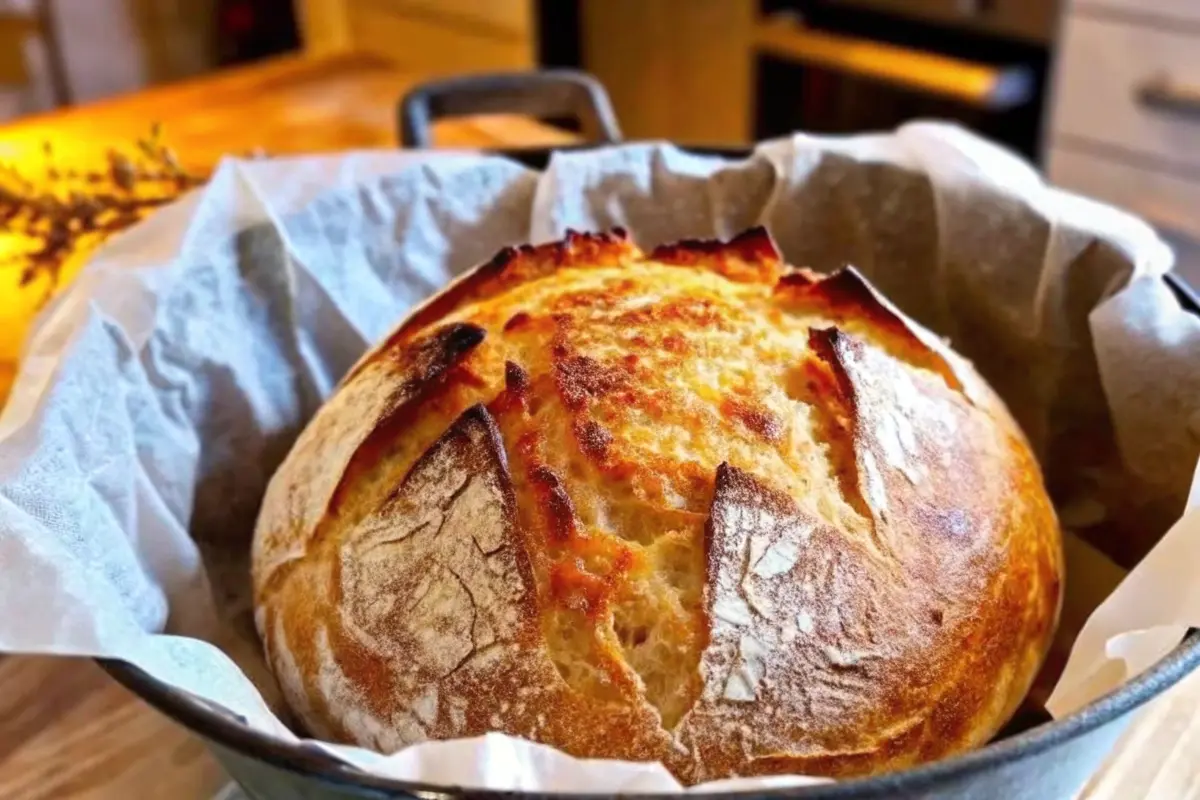
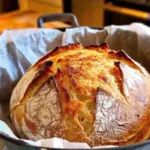
Did you know that the demand for unique, high-quality breads is on the rise, with consumers seeking out bakeries that offer specialty loaves with interesting flavors and textures? Yet here’s the fascinating part: you can create bakery-quality artisan bread at home with just four simple ingredients and zero kneading required! Dutch Oven No-Knead Crusty Bread has revolutionized home baking, allowing anyone to produce professional-level loaves with minimal effort and maximum flavor.
This incredible technique leverages the power of time and steam to develop complex flavors and achieve that coveted crispy crust with an airy, open crumb. The Dutch Oven No-Knead Crusty Bread method transforms your kitchen into a mini bakery, creating an environment that mimics what professional bakers have in a bakery: a moisture-sealed chamber with intense and mostly even radiative heat.
Ingredients List
Creating this spectacular Dutch Oven No-Knead Crusty Bread requires just four pantry staples, each playing a crucial role in developing flavor and texture:
Essential Ingredients:
- 1 packet active dry yeast (2.25 teaspoons) – The foundation of fermentation that creates those beautiful air pockets and develops complex flavors over time
- 1/2 tablespoon fine grain salt – Enhances flavor, strengthens gluten structure, and controls fermentation rate
- 3 1/4 cups all-purpose or bread flour (more if needed) – The backbone of your loaf; bread flour creates chewier texture while all-purpose yields tender crumb
- 1 1/2 cups warm water (about 100°F) – Activates yeast and hydrates flour to create the perfect dough consistency
Substitution Suggestions:
- Flour alternatives: Substitute up to 25% with whole wheat flour for nuttier flavor, or use bread flour for enhanced chewiness
- Salt options: Sea salt or kosher salt work beautifully; avoid iodized salt which can inhibit yeast activity
- Yeast substitutes: Instant or quick-rise yeast work identically; reduce quantity by 25% if using fresh yeast
- Water variations: Room temperature water works if you’re patient; filtered water produces cleaner flavors
Timing
Total Time: 4-5 hours (mostly hands-off)
- Active Preparation: 15 minutes
- First Rise: 2-3 hours
- Oven Preheating: 30 minutes
- Baking Time: 40-45 minutes
- Cooling Time: 30 minutes minimum
This timing represents approximately 75% less active work compared to traditional kneaded bread recipes, making it perfect for busy home bakers. The extended fermentation time develops incredible flavor complexity that would typically require days of sourdough cultivation.
Step-by-Step Instructions
Step 1: Create the Magic Mixture
In a large mixing bowl, combine warm water, yeast, and salt, whisking gently until completely dissolved. The water should feel comfortably warm against your wrist – too hot will kill the yeast, too cool will slow fermentation dramatically.
Step 2: Build Your Dough Foundation
Add the flour to your yeast mixture and stir with a wooden spoon or spatula until a sticky, shaggy dough forms. Don’t worry about smoothness – those rough edges will transform into silky texture during fermentation. Add flour tablespoon by tablespoon if too wet, or water if too dry.
Step 3: The Patient Rise
Cover your bowl tightly with plastic wrap or a damp kitchen towel and place in a warm, draft-free location. Let rise for 2-3 hours until doubled in size and covered with beautiful bubbles across the surface. This slow rise develops those complex, artisan flavors.
Step 4: Preheat Your Bread Oven
Place your Dutch oven with lid inside your regular oven and preheat to 450°F for at least 30 minutes. Preheating the Dutch oven is crucial – using a cold Dutch oven won’t give you the same oven spring and final loaf volume.
Step 5: Shape with Confidence
Turn your risen dough onto generously floured parchment paper. With floured hands, gently shape into a rough oval loaf. Make decorative slits across the top if desired – this creates those professional-looking scores and prevents random tearing.
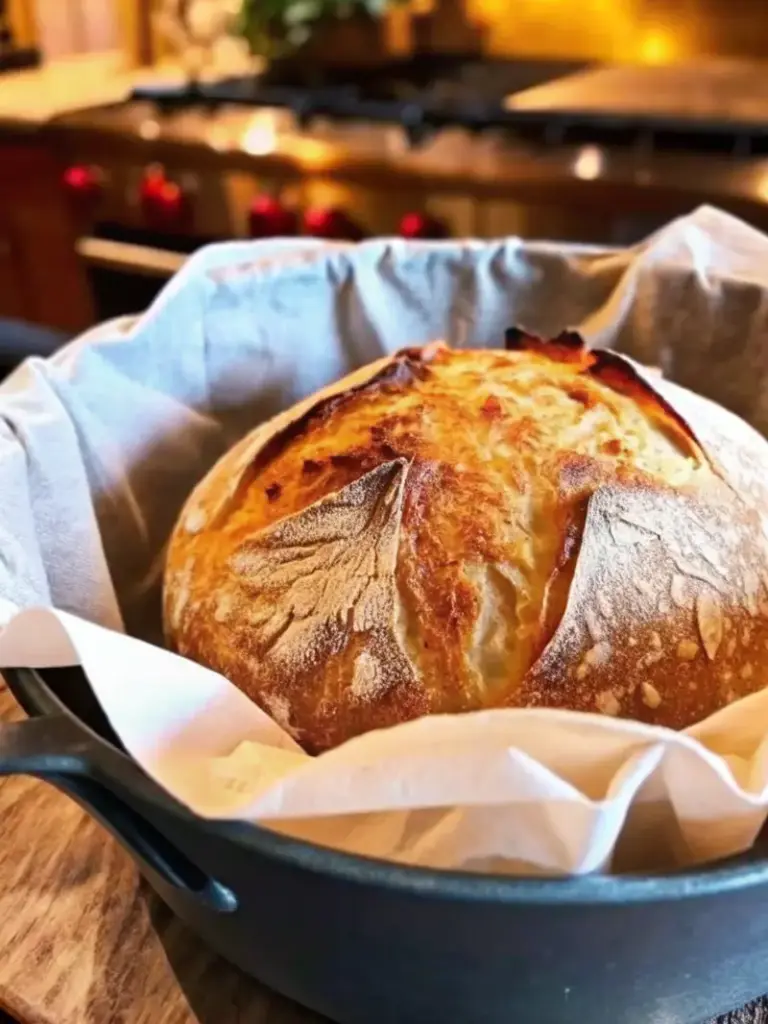
Step 6: The Dramatic Bake
Carefully remove the blazing hot Dutch oven from your oven using heavy oven mitts. Lower your shaped dough (still on parchment) into the pot, cover immediately, and return to oven. Bake covered for 35 minutes, then uncover and continue baking 5-10 minutes until deep golden brown.
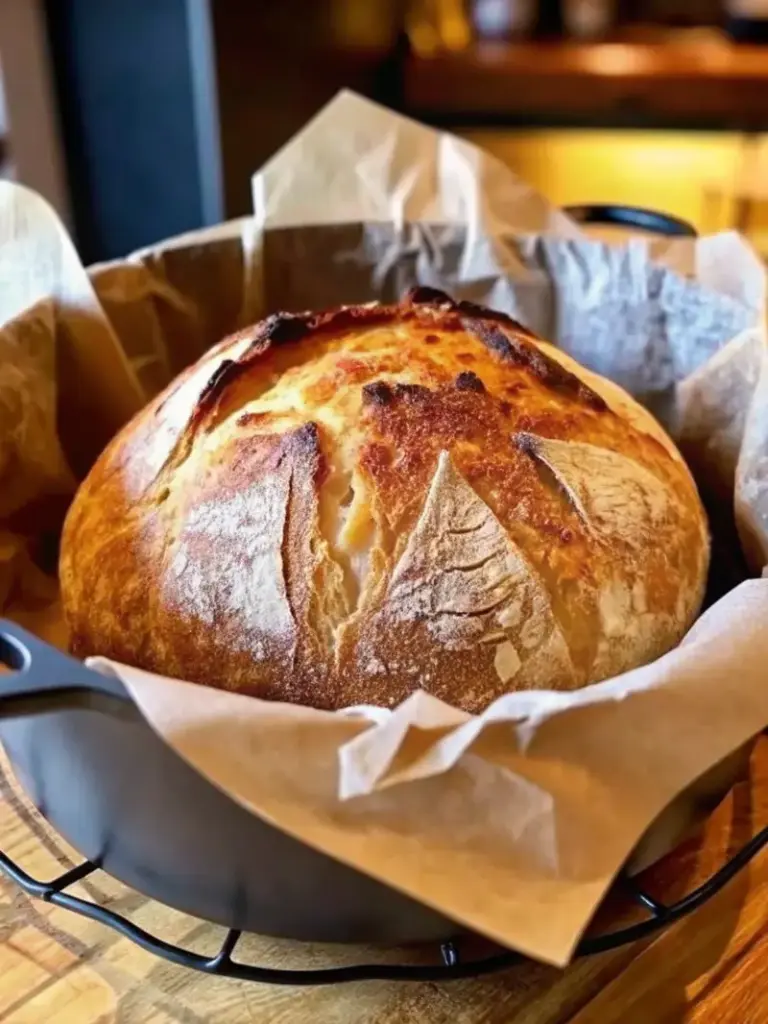
Step 7: The Hardest Part – Cooling
Remove your beautiful loaf and cool on a wire rack for at least 30 minutes before slicing. Although it’s difficult to do, let the bread completely cool before slicing into it. If you cut your bread too early, you may end up with a gummy loaf.
Nutritional Information
Each slice of this wholesome Dutch Oven No-Knead Crusty Bread delivers balanced nutrition:
Per Slice (makes 12 servings):
- Calories: 200
- Carbohydrates: 44g (15% DV)
- Protein: 6g (12% DV)
- Fiber: 2g (8% DV)
- Fat: 1g
- Sodium: 300mg (13% DV)
- Sugar: 0g
- Cholesterol: 0mg
This bread provides complex carbohydrates for sustained energy, moderate protein content, and zero added sugars or artificial ingredients. The fermentation process actually increases bioavailability of nutrients compared to quick-rise commercial breads.
Healthier Alternatives for the Recipe
Transform your Dutch Oven No-Knead Crusty Bread into a nutritional powerhouse with these creative modifications:
Fiber-Rich Variations:
Replace up to 1 cup all-purpose flour with whole wheat flour, adding 2-3 tablespoons extra water to maintain proper hydration. This boosts fiber content by 300% while adding nutty complexity.
Ancient Grain Power:
Substitute 1/2 cup flour with spelt, einkorn, or emmer flour for enhanced mineral content and unique flavor profiles. These ancient grains offer superior protein quality and digestibility.
Seed and Nut Enhancements:
Fold in 1/4 cup sunflower seeds, pumpkin seeds, or chopped walnuts during mixing for healthy fats, protein, and satisfying crunch. This addition increases protein content by 25%.
Reduced Sodium Option:
Cut salt by half and enhance flavor with 1 teaspoon dried herbs like rosemary, thyme, or oregano. Add 1/4 teaspoon garlic powder for savory depth without excess sodium.
Gluten-Free Adaptation:
Use a high-quality gluten-free flour blend (ensure it contains xanthan gum) and add 1 teaspoon apple cider vinegar to improve texture and rise.
Serving Suggestions
Your gorgeous Dutch Oven No-Knead Crusty Bread transforms any meal into a gourmet experience:
Breakfast Brilliance:
Toast thick slices and top with avocado, everything bagel seasoning, and a perfectly poached egg. The bread’s sturdy crust supports rich toppings without becoming soggy.
Soup’s Perfect Partner:
Serve alongside hearty stews, creamy soups, or rich bisques. The open crumb structure creates perfect pockets for soaking up every delicious drop.
Artisan Sandwich Base:
Create memorable sandwiches with layers of fresh mozzarella, heirloom tomatoes, fresh basil, and a drizzle of balsamic glaze. The bread’s flavor complexity elevates simple ingredients.
Mediterranean Mezze:
Slice and serve with high-quality olive oil, aged balsamic vinegar, fresh herbs, and artisanal cheeses for an elegant appetizer spread.
French Toast Revolution:
Day-old bread makes extraordinary French toast with its ability to absorb custard while maintaining structural integrity through cooking.
Common Mistakes to Avoid
Prevent disappointment by avoiding these frequent Dutch Oven No-Knead Crusty Bread pitfalls:
Temperature Troubles:
Using water that’s too hot (above 110°F) kills yeast instantly, while too-cool water (below 80°F) creates sluggish fermentation. Always test temperature on your wrist – it should feel like comfortable bathwater.
Flour Measurement Errors:
With the global bakery industry projected to reach $919.9 billion by 2032, precision matters more than ever in home baking. Measure flour by weight (1 cup = 120g) or use the spoon-and-level method to avoid dense, heavy loaves.
Impatient Rising:
Rushing the initial fermentation robs your bread of flavor development and proper texture. Trust the process – that 2-3 hour rise is where magic happens.
Skipping Preheat:
It’s important to preheat your Dutch oven to create the steam needed for good oven spring. Do not skip this step! A cold Dutch oven produces flat, disappointing loaves.
Premature Slicing:
Cutting into warm bread releases steam and creates gummy texture. Internal starches need cooling time to set properly for optimal slicing.
Storing Tips for the Recipe
Maximize freshness and maintain that spectacular crust with proper storage techniques:
Short-Term Storage (1-3 days):
Store completely cooled bread cut-side down on cutting board, covered with clean kitchen towel. This maintains crust crispiness while preventing interior from drying out.
Medium-Term Storage (4-7 days):
Wrap tightly in plastic wrap or store in airtight container. For crust restoration, reheat wrapped bread in 350°F oven for 10 minutes before serving.
Long-Term Preservation (up to 3 months):
Slice bread completely, wrap in plastic wrap, then aluminum foil, and freeze. Toast frozen slices directly from freezer for best texture and convenience.
Reviving Day-Old Bread:
Sprinkle slightly stale bread with water and heat in 400°F oven for 5-7 minutes to restore crust crispiness and internal moisture.
Pre-Baking Storage:
Shaped dough can refrigerate up to 24 hours for enhanced flavor development. Allow extra 15 minutes at room temperature before baking cold dough.
Conclusion
This Dutch Oven No-Knead Crusty Bread recipe delivers professional bakery results with minimal effort, creating golden loaves with crispy crusts and tender, airy interiors. The simple four-ingredient formula relies on time and proper technique rather than intensive labor, making artisan bread accessible to every home baker.
Ready to transform your kitchen into a boutique bakery? Try this foolproof Dutch Oven No-Knead Crusty Bread recipe today and experience the satisfaction of creating something truly extraordinary. Share your beautiful results in the comments below, subscribe for more game-changing recipes, and let us know how this recipe changes your home baking journey!
FAQs
Q: Can I make this bread without a Dutch oven?
A: While Dutch ovens produce superior results, you can bake this bread on a preheated baking stone or heavy baking sheet. Place a shallow pan of boiling water on the oven bottom to create steam during the first 20 minutes of baking.
Q: Why didn’t my bread rise properly?
A: Common causes include expired or improperly stored yeast, water temperature issues, or insufficient rising time. Ensure your yeast is fresh and foamy when dissolved, use properly warmed water, and allow full rising time even if it takes longer in cooler environments.
Q: How do I know when my bread is fully baked?
A: A free-form loaf should have an internal temperature of around 206° to 208°F (96° to 97°C) when fully baked. The bread should sound hollow when tapped on the bottom and display deep golden-brown color.
Q: Can I add ingredients like herbs or cheese?
A: Absolutely! Fold in up to 1/2 cup add-ins (dried herbs, shredded cheese, olives, or seeds) during initial mixing. Heavy additions may require slightly longer baking time.
Q: What’s the difference between active dry yeast and instant yeast?
A: Both work identically in this recipe. Active dry yeast requires dissolving in liquid first, while instant yeast can be mixed directly with flour. Use the same quantities for either type.
Q: How can I achieve a darker crust?
A: For darker crusts, some bakers preheat to 500°F and bake at 450°F for 20 minutes with the lid on and 20 minutes with the lid off. Monitor closely to prevent burning.
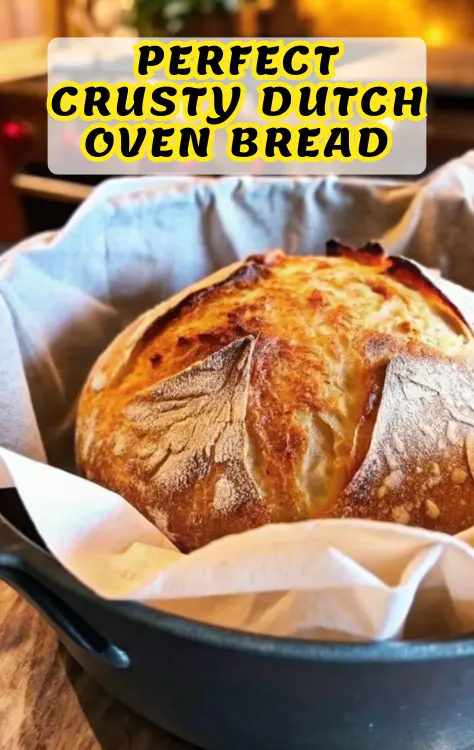
Perfect Crusty Dutch Oven Bread – Beginner-Friendly No-Knead Recipe
- Total Time: 5 hours
- Yield: 1 loaf (12 slices) 1x
- Diet: Vegan
Description
This easy, no-knead Dutch oven bread recipe delivers a golden, crispy crust and soft, airy interior — all with just four ingredients. Perfect for beginners, it creates bakery-quality artisan bread right in your home kitchen.
Ingredients
- 1 packet active dry yeast (2.25 teaspoons)
- ½ tablespoon fine grain salt
- 3¼ cups all-purpose or bread flour
- 1½ cups warm water (about 100°F)
Instructions
- In a large mixing bowl, whisk warm water, yeast, and salt until dissolved.
- Add flour and stir until a sticky dough forms. Adjust with small amounts of flour or water if needed.
- Cover bowl with plastic wrap or a damp towel and let rise 2–3 hours until doubled and bubbly.
- Place Dutch oven with lid inside oven and preheat to 450°F for at least 30 minutes.
- Turn dough onto floured parchment paper and shape into a rough oval or round loaf. Optional: score top with sharp knife.
- Carefully transfer dough (with parchment) into the hot Dutch oven. Cover and bake for 35 minutes.
- Remove lid and bake 5–10 more minutes until crust is deep golden brown.
- Cool on wire rack for at least 30 minutes before slicing.
Notes
For a nuttier flavor, substitute up to 25% of flour with whole wheat. Always preheat your Dutch oven — it’s essential for that perfect crust. Store bread cut-side down under a towel for up to 3 days.
- Prep Time: 15 minutes
- Cook Time: 45 minutes
- Category: Bread
- Method: Baked
- Cuisine: American
Nutrition
- Serving Size: 1 slice
- Calories: 200
- Sugar: 0g
- Sodium: 300mg
- Fat: 1g
- Saturated Fat: 0g
- Unsaturated Fat: 1g
- Trans Fat: 0g
- Carbohydrates: 44g
- Fiber: 2g
- Protein: 6g
- Cholesterol: 0mg
Keywords: no knead bread, dutch oven bread, artisan bread, crusty bread, homemade bread