Why This Recipe Stands Out
Okay, so you’re probably thinking: “Why bother making homemade fig bars when the store sells them already boxed up and ready?” Here’s my answer. You control the sweetness. You pick the figs. You skip the weird stuff on the label that you don’t recognize (I mean, who needs mystery oils or extra preservatives?). Plus, the smell of baking homemade fig bars is basically like getting a hug from your kitchen.
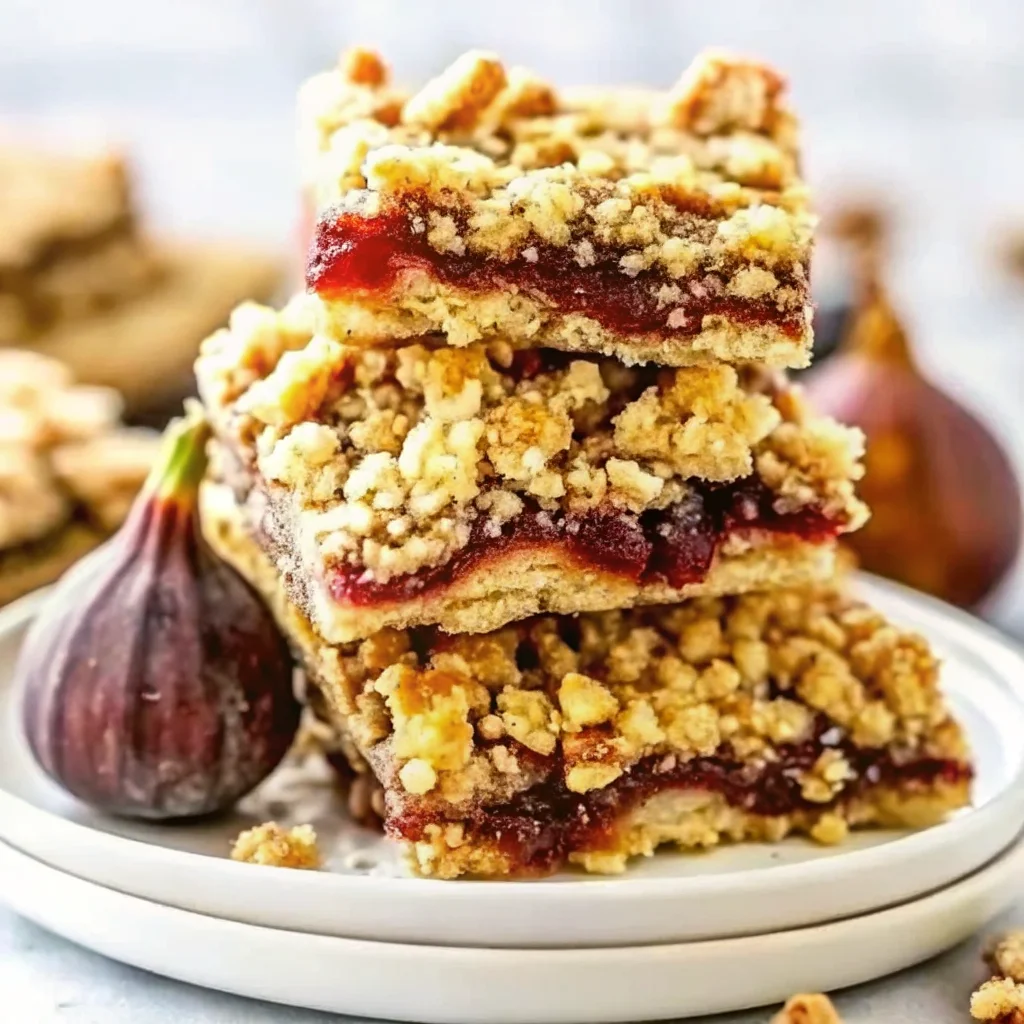
When I made these the first time, even the neighbors peeked over the fence to ask what was going on. No store snack ever got that reaction. Also, the texture is softer and chewier—think five-star restaurant brownie meets your grandma’s best cookie. It’s comforting in a nostalgic way, but way tastier than any box I’ve tried. If you want a new baking tradition, start here.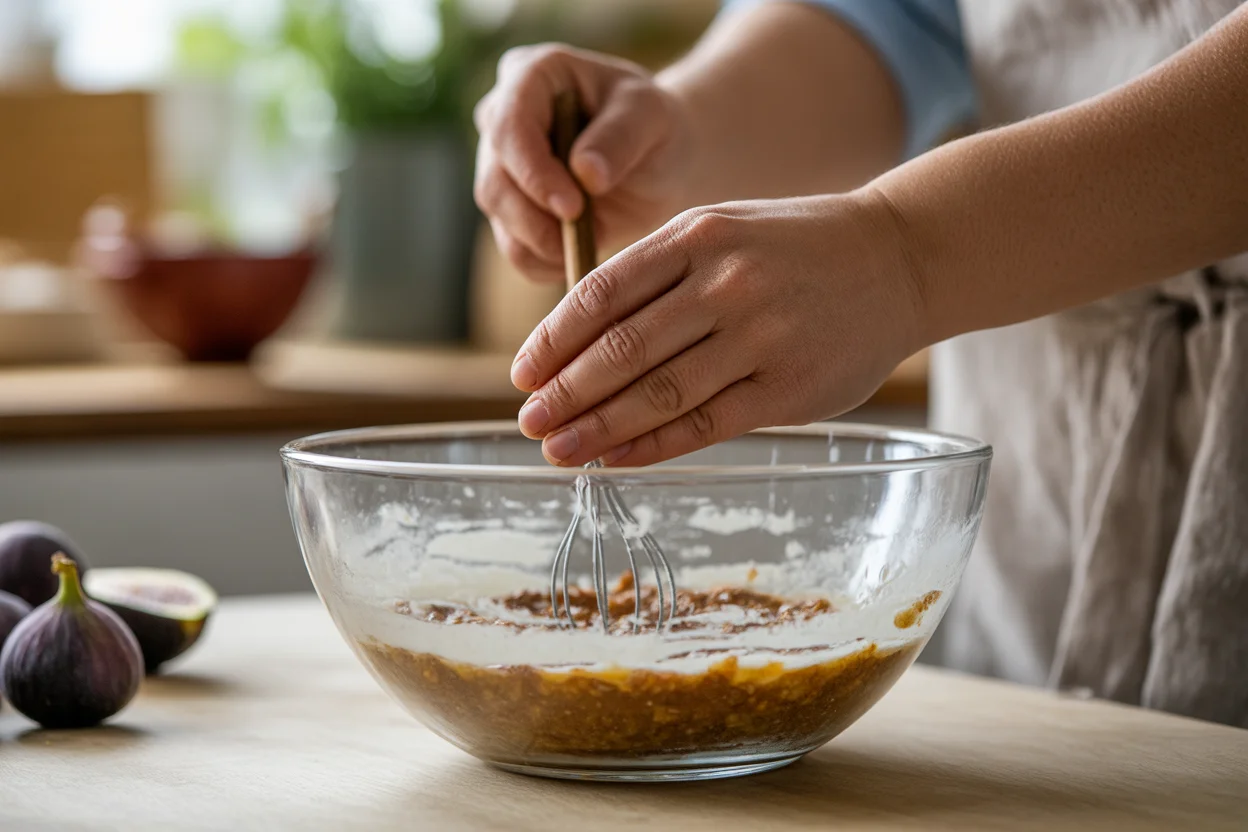
Key Ingredients for Homemade Fig Bars
You don’t need anything fancy to make these awesome snack bars. I’ll keep it to the basics, with a couple little notes:
- Dried Figs: Go with soft ones if you can snag ‘em. Turkish or mission figs are both solid picks.
- All-purpose Flour: Regular works fine. If you like things healthier, sub half with whole wheat—been there, still good.
- Brown Sugar: For depth and that molasses-y magic.
- Butter: Real butter, room temp. Makes all the difference.
- Egg: To stick everything together, plus a little richness.
- Orange Zest: Just a touch lifts everything.
- Vanilla Extract: Use the good stuff if you have it.
- Baking Powder and Salt: Can’t bake without those two.
- A splash of water: You might need it to loosen the filling if your figs are kind of stubborn.
Seriously, that’s about all you need. Toss in a sprinkle of cinnamon if you like a little spice—who’s gonna stop you? 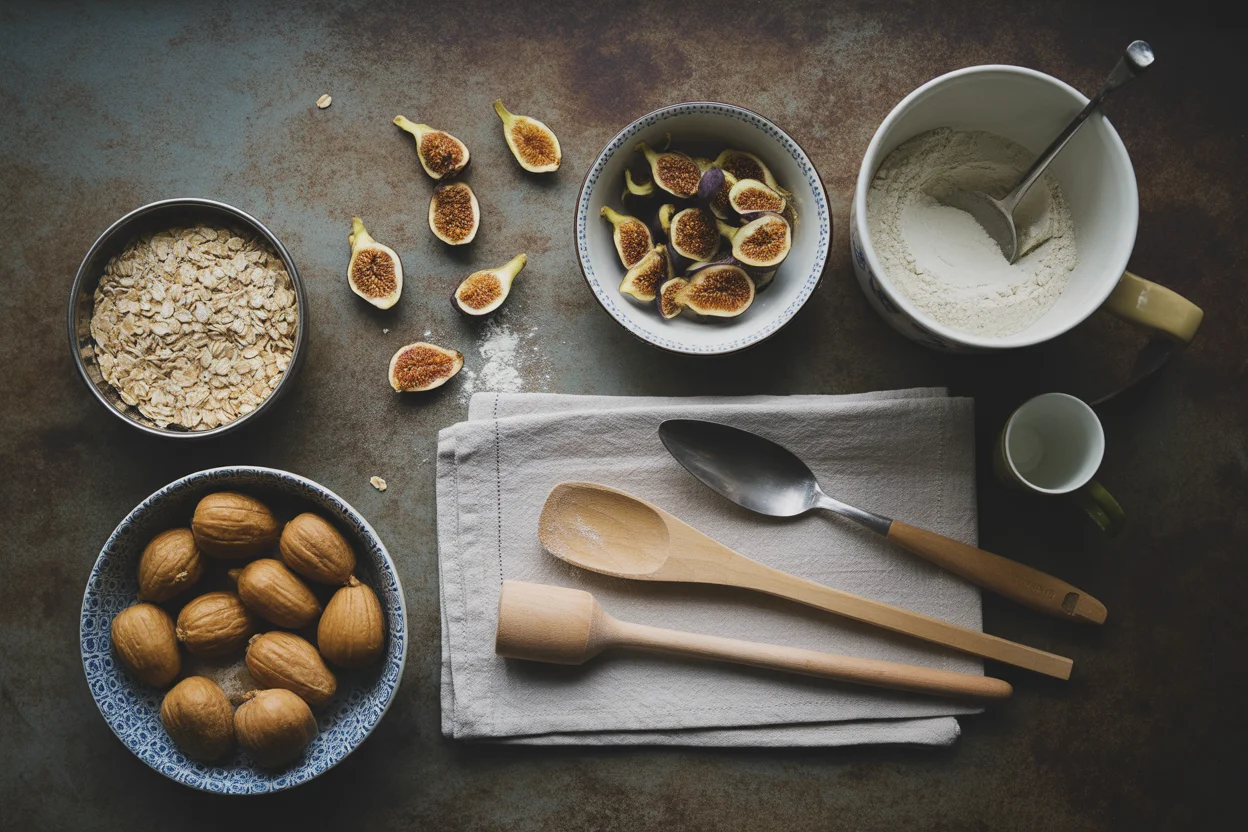
| Main Ingredient | Purpose | Suggested Substitute | Flavor Tip |
|---|---|---|---|
| Dried Figs | Sweet filling | Dates | Soften with orange juice |
| Flour | Bar structure | Gluten-free blend | Try half whole wheat |
| Butter | Moisture & richness | Coconut oil | Add a pinch of salt |
Substitutions and Variations You Can Try
Alright, so here’s where you get to play mad scientist in the kitchen (but, like, a fun and edible version). If you don’t have dried figs, you can totally swap in dates or even prunes. I’ve tried a date-heavy mix, and it tasted like dessert for breakfast—no complaints from me.
Can’t do gluten? Grab a 1:1 gluten-free flour blend. I’ve done it in a pinch, and it holds together better than you’d expect. Vegan? Switch out the butter for coconut oil and the egg for a flaxseed “egg” (1 tbsp flaxseed meal + 2.5 tbsp water, let it sit). Honestly, still delicious.
Extra flavor boosts? Try adding a spoonful of honey, a handful of chopped walnuts, or a pinch of nutmeg. Don’t hold yourself back here. I’ve even crumbled a few lazy girl pecan pie bars into the mix once just for fun—wild times, right?
The main point: Don’t be afraid to make mistakes. That’s sometimes where the magic happens.
Tips for Perfecting Your Fig Bars
First off, don’t rush your dough chilling. Pop your dough in the fridge for at least 30 minutes. Cheating makes sticky messes and sadness.
Make sure you spread the fig filling nice and even. Lumps are the enemy (unless you’re into surprises). If your filling feels too thick, spoon in a splash of orange juice or water. Layer everything gently, but firmly—no need to squish it like bad mashed potatoes.
Bake ‘em until the edges start to get golden. Don’t wait for the whole thing to darken, or you’ll end up with dry bars. And do not cut them while they’re hot. Trust me, that lesson only takes one gooey disaster.
If you want perfect slices, a serrated knife works best. Oh, and patience—lots of that.
Common Mistakes to Avoid
Let me save you from repeating my “learning experiences.” First? Don’t overbake. I know, it’s tempting to wait for big color changes, but these bars are better soft. If you let them go even five minutes too long, you’ll have fig jerky instead of dessert—yikes.
Second, don’t skip softening your figs ahead of time if they’re dry. Hard figs will fight your food processor and your fillings won’t taste as smooth or lush.
Lastly, don’t overfill. Too much fig filling will cause everything to ooze out the sides, and honestly, what a nightmare to clean up. Stick with a modest, even layer for the best bites every time.
“Okay, not trying to exaggerate but my family’s obsessed. I made these homemade fig bars for the first time last month and I’ve had to triple the batch every time since. They taste way better than the boxed ones—I’m never going back!” — Jamie, real-life snack lover
Serving Suggestions
Let’s talk about ways to make these fig bars shine:
- Slice into small squares for lunchboxes or after-school snacks.
- They pair perfectly with a hot cup of coffee or tea. Seriously, try it.
- Oh, and for dessert trays? Throw in a few pops of the best homemade eskimo pie popsicle recipe for variety.
Common Questions
Do I have to use dried figs?
Nope, but dried figs work best for texture and taste. If you use fresh, cook them down a bit first so you don’t get soggy bars.
Can I freeze homemade fig bars?
Absolutely. Wrap them in parchment and stash in a freezer bag. Thaw overnight for the best flavor—midnight snacking ready.
What if my dough is too sticky?
Just chill it a little longer. If it’s still tricky, dust your hands with flour while pressing it out.
How long do they keep?
In an airtight container, homemade fig bars stay fresh up to 5 days at room temp. For longer, use your freezer magic.
Can I use fig jam instead?
Sure, but make sure it’s not too runny or the bars might fall apart. If you want a homemade version, see my fig jam with vanilla and citrus for a killer twist.
Go Bake a Batch, Trust Me
Okay, so at the end of the day, making homemade fig bars really doesn’t take much more effort than a batch of cookies, and the payoff is huge. You’ll know exactly what’s inside, you can tweak them to your taste, and they blow most store-bought versions out of the water. For more ideas, you could always peek at these Homemade Fig Bars from Weelicious, check out another approach over at Homemade Fig Bars | Bunsen Burner Bakery, or even deep-dive into all the details at Homemade Fig Newtons Recipe from Serious Eats. So, if you’re looking for an easy, rewarding treat? Get in the kitchen—your future snack-loving self will thank
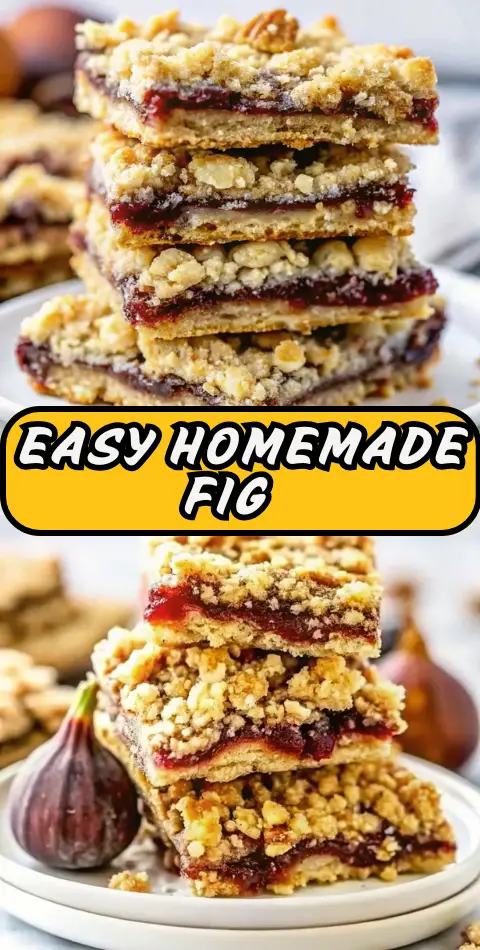
Deliciously Easy Homemade Fig Bars You’ll Love to Make
- Total Time: 45 minutes
- Yield: 16 bars 1x
Description
Homemade Fig Bars that blow store-bought out of the water—softer, chewier, and packed with real flavor. Customize the sweetness, switch up the filling, and bake a new snack-time favorite.
Ingredients
- 1 ½ cups dried figs (Turkish or mission)
- 1 cup all-purpose flour (sub half with whole wheat if desired)
- ½ cup brown sugar
- ½ cup butter, room temperature
- 1 large egg
- 1 tsp orange zest
- 1 tsp vanilla extract
- ½ tsp baking powder
- ¼ tsp salt
- Splash of water or orange juice (to loosen filling if needed)
- Optional: ¼ tsp cinnamon, chopped walnuts, honey
Instructions
- Preheat oven to 350°F (175°C) and line a baking dish with parchment paper.
- Soften dried figs in warm water for 10–15 minutes, then drain.
- In a food processor, blend figs with a splash of water or orange juice until smooth. Set aside.
- In a bowl, cream butter and brown sugar until fluffy. Beat in egg, vanilla extract, and orange zest.
- In a separate bowl, whisk flour, baking powder, salt, and optional cinnamon.
- Combine dry and wet ingredients to form dough. Chill for 30 minutes.
- Divide dough in half. Roll out one portion and press into prepared dish.
- Spread fig filling evenly on top.
- Roll out remaining dough and gently press over the filling.
- Bake for 20–25 minutes, or until edges are golden.
- Let cool completely before slicing with a serrated knife.
Notes
Don’t skip chilling the dough—it helps with handling and structure. Use a serrated knife for clean cuts and adjust fig thickness for your preferred sweetness.
- Prep Time: 20 minutes
- Cook Time: 25 minutes
- Category: Snack
- Method: Baking
- Cuisine: American
Nutrition
- Serving Size: 1 bar
- Calories: 180
- Sugar: 12g
- Sodium: 85mg
- Fat: 7g
- Saturated Fat: 4g
- Unsaturated Fat: 2g
- Trans Fat: 0g
- Carbohydrates: 27g
- Fiber: 2g
- Protein: 2g
- Cholesterol: 20mg
Keywords: fig bars, homemade snacks, dried figs, healthy treat, easy baking