Have you ever wondered why restaurant-quality caramelized onions taste so uniquely rich, sweet, and complex—yet your home-cooked versions sometimes end up burnt or bland? Mastering how to caramelize onions is more than just a kitchen trick—it’s a transformative culinary skill that can elevate burgers, pizzas, soups, and so much more. In this comprehensive guide, you’ll discover the science, secrets, and step-by-step methods to caramelize onions like a pro, using simple ingredients you already have at home.
Whether you’re a seasoned cook or a complete beginner, this ultimate caramelize onions tutorial will demystify the process, correct common myths, and reveal why patience (and technique) is the true ingredient to irresistible, deeply golden onions.
Table of Contents
Ingredients List
To begin your caramelized onion adventure, gather these aromatic, pantry-staple essentials:
- 2–3 large yellow or sweet onions
Yellow onions are classic, delivering a balanced, earthy sweetness. For a milder, floral note, try sweet onions (like Vidalia). Red onions are punchier but still work well. - 2 tablespoons butter or oil (or a mix)
Butter imparts a rich, creamy base, while oil (olive, avocado, or canola) prevents burning. Mix for the best of both worlds and deep flavor. - A pinch of salt
Salt draws out the onions’ natural moisture, helping them soften and brown evenly. - Optional: Splash of water, broth, or wine for deglazing
These help lift those flavorful caramel bits from the pan, enhancing sweetness and complexity.
Ingredient Substitutions
- Vegan? Use all olive oil or a vegan butter substitute.
- Watching fat intake? Reduce butter/oil to 1 tablespoon and add extra water as needed.
- No sweet onions? Regular yellow or even red onions caramelize beautifully.
Pro Tip: The type of onion will subtly change your flavor profile, so experiment to find your favorite!
Timing
- Prep Time: 5 minutes
- Cook Time: 45 minutes
- Total Time: 50 minutes
This method yields deeply caramelized onions in about 45 minutes—roughly 20% less than some recipes that call for 60 to 90 minutes of patient sauteing. A faster method risks burning and bitterness; a slower, even cook unlocks the deepest sweetness and melt-in-your-mouth texture similar to professional kitchens.
Step-by-Step Instructions
1. Prep and Slice (H3)
Slice your onions thin and even—ideally 1/8″ to 1/4″ thick. Uniformity is key, ensuring all slices cook at the same rate for consistent caramelization.
Pro Tip: Use a sharp chef’s knife or mandoline for the cleanest, safest slices.
2. Heat the Pan (H3)
Place a heavy-bottomed skillet (cast iron or stainless steel is ideal) over low-medium heat. Add butter, oil, or your chosen blend and let it gently melt, creating an inviting sizzle.
3. Add and Salt the Onions (H3)
Scatter the sliced onions evenly in the pan. Immediately sprinkle with a pinch of salt, which helps draw out natural water, ensuring a soft and even cook.
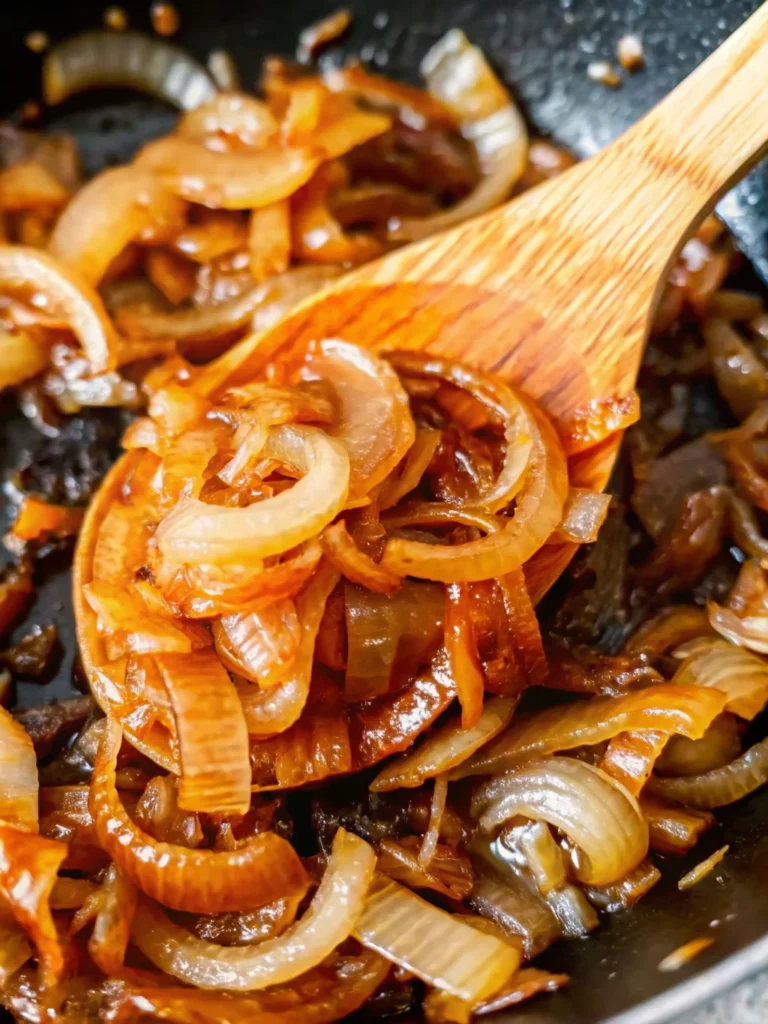
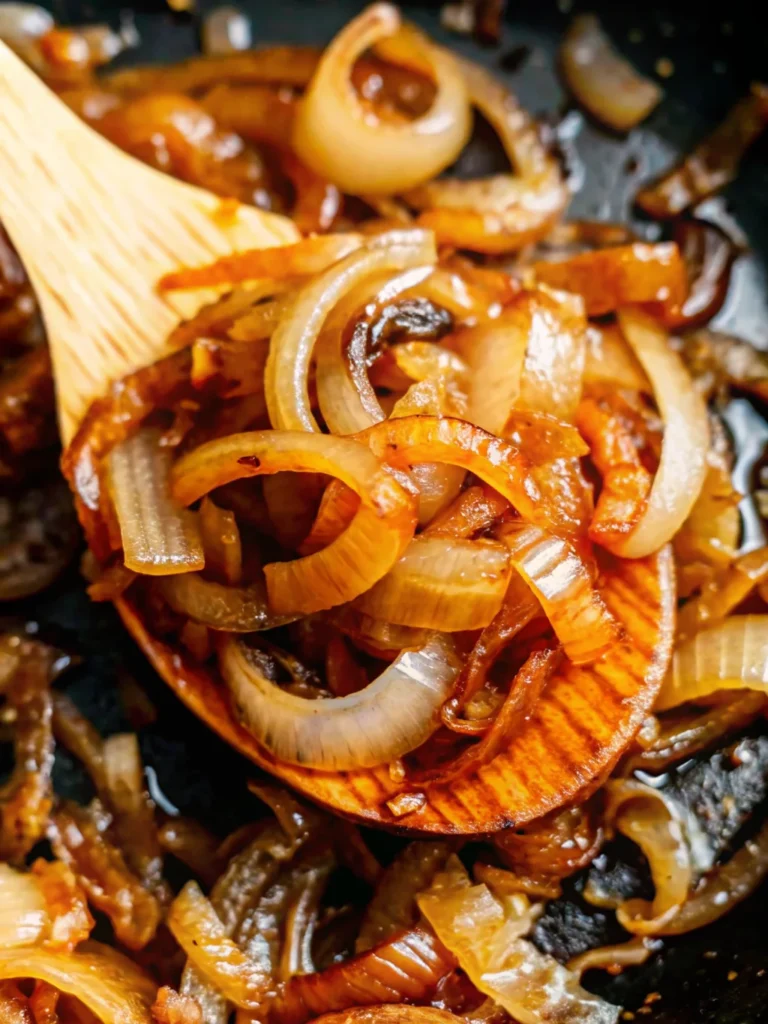
4. Slow Cook and Stir (H3)
Let onions cook, undisturbed, for a few minutes until they begin to soften and deepen in hue. Stir every 5 minutes—not constantly—so the onions have a chance to develop that prized golden crust (also called the “Maillard reaction”) before each stir.
5. Deglaze as Needed (H3)
If the onions begin to stick, brown too fast, or threaten to scorch, deglaze your pan with a splash of water, broth, or wine. This not only prevents burning but also infuses extra flavor.
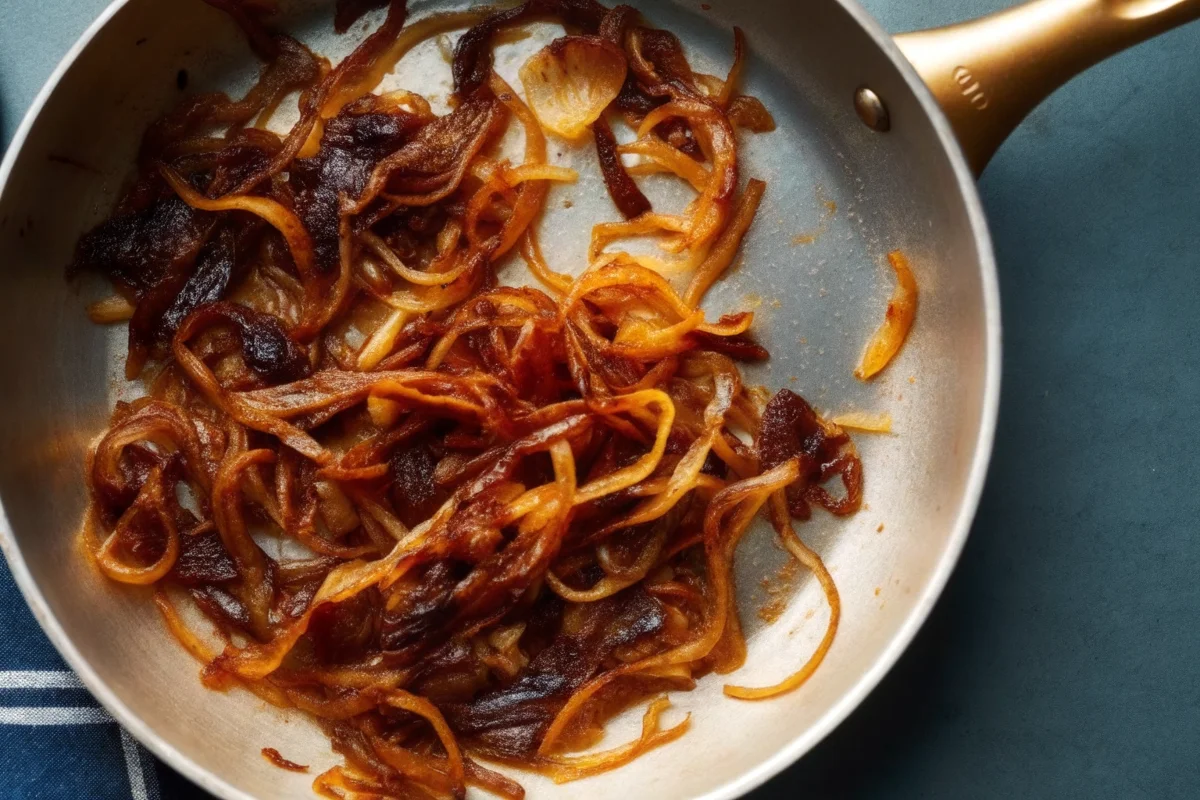
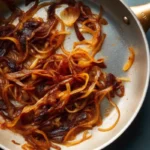
6. Achieve the Perfect Color (H3)
Continue this gentle cooking and stirring cycle for 30–60 minutes, depending on your pan, onions, and heat level. You’ll know you’re done when the onions are deep golden brown, sticky-sweet, and irresistibly aromatic.
Chef’s Insight: Don’t rush or crank the heat! True caramelization is a slow transformation—impatience leads to charred, bitter onions.
Nutritional Information
Here’s a nutritional snapshot for 2 tablespoons of caramelized onions:
| Nutrient | Amount |
|---|---|
| Calories | 45 |
| Sugar | 2g |
| Sodium | 60mg |
| Fat | 3g |
| Saturated Fat | 1.5g |
| Unsaturated Fat | 1.5g |
| Trans Fat | 0g |
| Carbohydrates | 4g |
| Fiber | 1g |
| Protein | 0g |
| Cholesterol | 5mg |
These onions are low in calories and fat, making them a guilt-free, flavor-packed addition to any meal.
Healthier Alternatives for the Recipe
Want to enjoy caramelized onions with even more healthful benefits? Consider these smart swaps:
- Reduce fat: Use 1 tablespoon oil plus 1–2 tablespoons water, adding more water as onions cook to prevent sticking.
- Dairy-free/Vegan: Skip butter and use only heart-healthy oils like olive or avocado.
- Low Sodium: Minimize or omit salt, relying on the onion’s inherent sweetness.
- Add herbs/spices: Toss in thyme, rosemary, or a pinch of smoked paprika for added depth, without added calories.
- Sugar-Free: No added sugar needed—onions deliver all the sweetness naturally!
Serving Suggestions
Caramelized onions are versatile and elevate a wide range of dishes. Try these creative serving suggestions:
- Spoon atop grilled burgers or veggie patties for gourmet flavor.
- Mix into savory omelets or scrambled eggs.
- Layer on flatbreads, pizzas, or sandwiches—delicious with goat cheese or feta!
- Stir into soups (especially French onion), savory pies, or baked casseroles.
- Toss with pasta, risotto, or grains for a rich, sweet accent.
- Pair with roasted meats, atop grilled vegetables, or as part of a cheese board.
Personalized Tip: In Karachi, caramelized onions (“birista”) are a secret ingredient for authentic biryani or haleem—just fold them in for depth and subtle sweetness.
Common Mistakes to Avoid
Caramelizing onions isn’t difficult, but these common pitfalls can ruin your efforts. Here’s what to sidestep:
- Using high heat: Leads to burnt, bitter onions instead of sweet, jammy goodness.
- Crowding the pan: Onions steam rather than brown; use a large enough skillet.
- Impatience: The process takes time (30–60min); shortcuts lead to subpar results.
- Over-stirring: Prevents crust formation; stir only every few minutes.
- No deglazing: Skipping this step means losing out on pan “fond”—those flavor-rich brown bits.
- Poor slice size: Uneven slices = uneven cooking. Aim for 1/8″–1/4″ thickness for best results.
Storing Tips for the Recipe
Extend the enjoyment of your caramelized onions with these pro storage strategies:
- Refrigerator: Store cooled onions in an airtight container for up to 5 days. Perfect for meal prep!
- Freezer: Place portions in small containers or ice cube trays. Once solid, transfer to a freezer bag for up to 3 months.
- Reheat Gently: Warm on the stovetop with a splash of water, or microwave in short bursts to restore moisture.
- Make Ahead: Caramelized onions’ flavor deepens overnight—make a batch and use throughout the week.
Tip: Always cool completely before storing to prevent condensation and sogginess.
Conclusion
Mastering how to caramelize onions unlocks a world of sweet, savory, and complex flavors. With just a few ingredients and some patient technique, you’ll be adding golden onions to elevate almost any dish. Try this caramelize onions recipe today—don’t forget to leave your feedback in the review section or comment below, and subscribe for more delicious kitchen inspiration!
FAQs
How long should I cook onions to caramelize them?
Usually, 30–60min on low-medium heat is perfect. Slower is better for full flavor and sweetness.
Can I use red or white onions for caramelizing?
Yes! Yellow and sweet onions are classic, but red or white onions also yield delicious results with slightly different flavor profiles.
Why are my onions burning?
Burning happens with excessively high heat, insufficient stirring, or using too little fat. Cook low and slow, add liquid if needed, and use a heavy-bottomed pan.
Can I caramelize onions ahead of time?
Absolutely! They store well in the fridge (up to 5 days) or freezer (up to 3 months), making them a great meal prep addition.
Are caramelized onions healthy?
Yes! They’re low in calories, contain some heart-healthy compounds, and provide big flavor with minimal fat and sugar.
What’s the best way to slice onions for caramelizing?
Slice onions into thin, even slices (about 1/8″ to 1/4″ thick)—evenness is crucial for uniform caramelization.
Do I need to add sugar to caramelize onions?
No. The natural sugars in onions are all you need for that deep golden, sweet flavor.
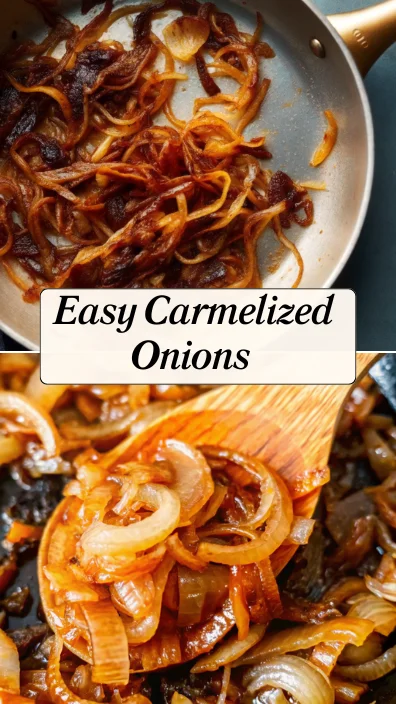
Easy Carmelized Onions
- Total Time: 50 minutes
- Yield: 4 servings 1x
- Diet: Vegetarian
Description
Master the art of how to caramelize onions with this foolproof guide—unlock sweet, rich, golden onions that elevate any dish, from burgers to biryani.
Ingredients
- 2–3 large yellow or sweet onions
- 2 tablespoons butter or oil (or a mix)
- A pinch of salt
- Optional: Splash of water, broth, or wine for deglazing
Instructions
- Slice onions into thin, even slices (about 1/8″ to 1/4″ thick) for uniform cooking.
- Heat a heavy-bottomed skillet over low-medium heat and add butter, oil, or both.
- Add onions and sprinkle with a pinch of salt to help them release moisture.
- Cook slowly, stirring every 5 minutes to allow the onions to brown evenly without burning.
- Deglaze with a splash of water, broth, or wine if onions begin to stick or brown too quickly.
- Continue cooking and gently stirring for 30–60 minutes until onions are deep golden brown, soft, and sticky-sweet.
Notes
Use yellow onions for balanced flavor or sweet onions like Vidalia for extra sweetness. Don’t rush—low and slow is key to perfect caramelization. Store leftovers for up to 5 days or freeze in small portions for easy use later.
- Prep Time: 5 minutes
- Cook Time: 45 minutes
- Category: Cooking Basics
- Method: Stovetop
- Cuisine: Universal
Nutrition
- Serving Size: 2 tablespoons
- Calories: 45
- Sugar: 2g
- Sodium: 60mg
- Fat: 3g
- Saturated Fat: 1.5g
- Unsaturated Fat: 1.5g
- Trans Fat: 0g
- Carbohydrates: 4g
- Fiber: 1g
- Protein: 0g
- Cholesterol: 5mg
Keywords: caramelize onions, golden onions, how to caramelize onions, cooking basics