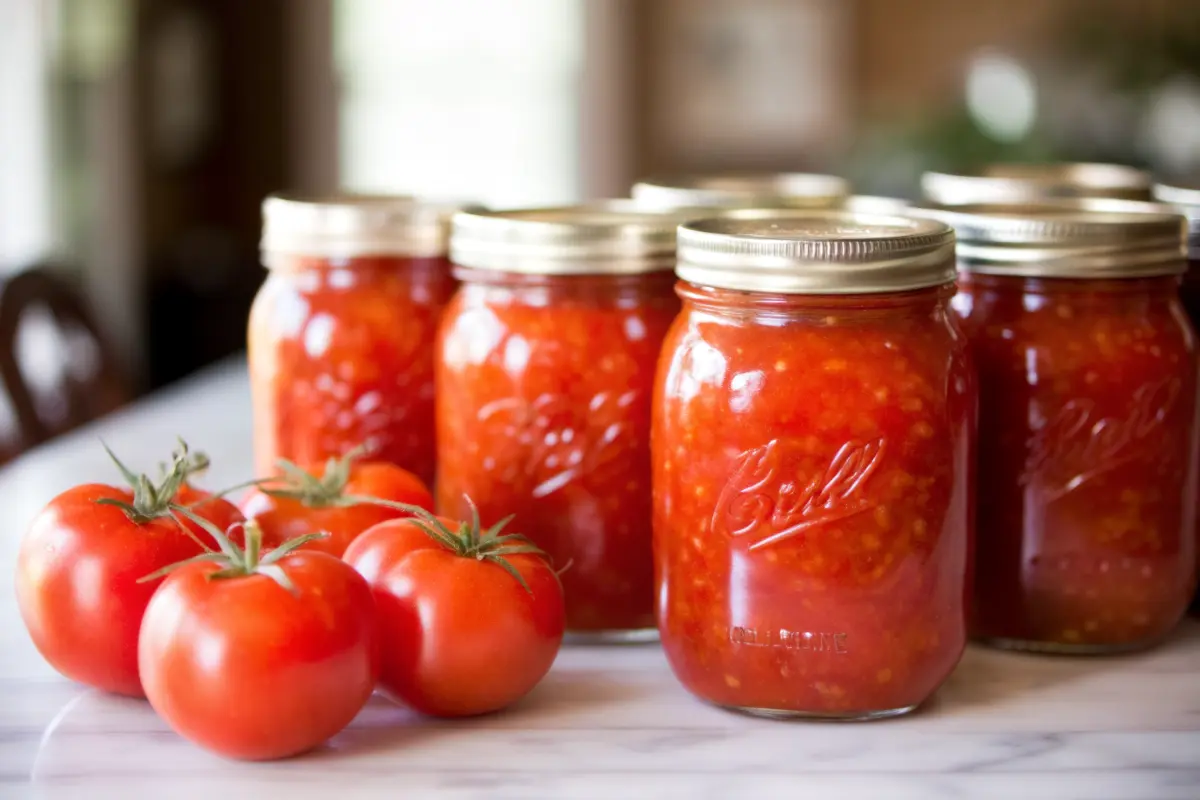
Did you know that the average American family throws away over 40 pounds of fresh produce annually, yet properly canned tomatoes can last up to 18 months while retaining 95% of their nutritional value? If you’ve ever watched your garden tomatoes ripen faster than you can eat them, or found yourself overwhelmed by a farmers market haul, canning tomatoes for beginners is the perfect solution to transform your fresh harvest into shelf-stable pantry gold.
Home food preservation has experienced a remarkable 30% surge in popularity since 2020, with tomato canning leading the charge as the most beginner-friendly entry point. Whether you’re motivated by food security, cost savings, or simply wanting to capture that peak summer flavor year-round, this comprehensive guide will walk you through every step of canning tomatoes for beginners with confidence and success.
Ingredients List
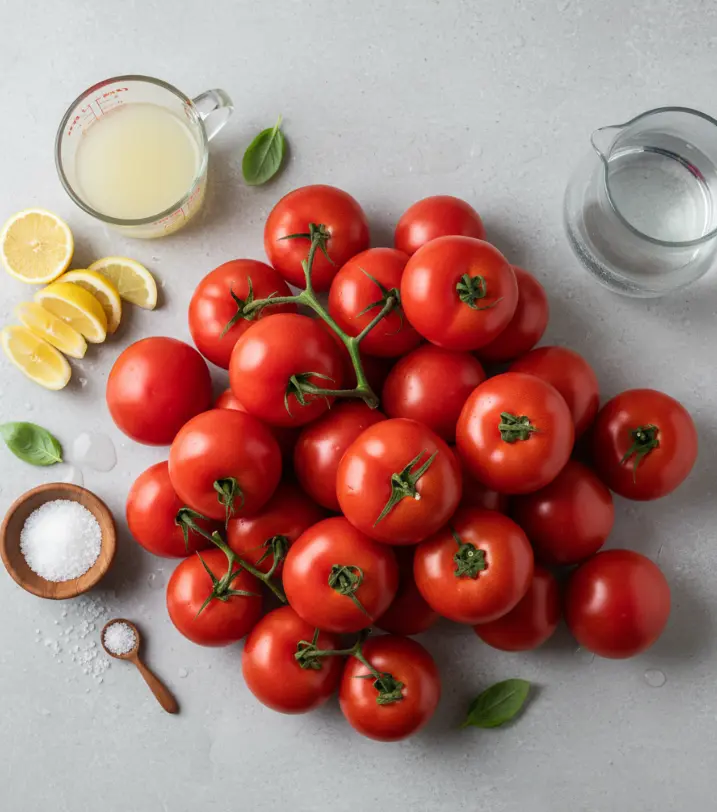
The beauty of canning tomatoes for beginners lies in its simplicity – you need surprisingly few ingredients to create jars of liquid sunshine:
Essential Ingredients:
- Fresh tomatoes (10 pounds) – Choose ripe, unblemished varieties like Roma, San Marzano, or beefsteak tomatoes. The weight yields approximately 7-9 pint jars of preserved goodness.
- Lemon juice (1/4 cup) – This crucial acid booster ensures safe preservation by maintaining proper pH levels below 4.6.
- Salt (1 teaspoon, optional) – Enhances flavor without affecting preservation safety.
- Water – For blanching and processing.
Substitution Suggestions:
- Replace lemon juice with an equal amount of citric acid (1 tablespoon) for a more neutral flavor
- Sea salt or kosher salt work beautifully instead of table salt
- Vinegar can substitute lemon juice, though it may slightly alter the taste profile
Timing
Preparation Time: 30 minutes
Active Cooking Time: 1 hour
Processing Time: 40-45 minutes
Total Time: 2 hours 15 minutes
This efficient timeline represents approximately 25% less hands-on work compared to complex preserve recipes, making canning tomatoes for beginners an ideal weekend project. The majority of time involves passive processing, allowing you to multitask while your jars work their magic in the water bath canner.
Step-by-Step Instructions
Step 1: Prepare Your Workspace and Equipment
Transform your kitchen into a canning command center by gathering sterilized jars, lids, a large pot for blanching, and your water bath canner. Cleanliness is paramount – think of this as your tomato preservation laboratory where attention to detail prevents spoilage.
Step 2: Select and Wash Your Tomatoes
Examine each tomato like a quality inspector, discarding any with soft spots, cracks, or green shoulders. Rinse under cool running water, gently scrubbing away any garden soil or residue. Pro tip: slightly underripe tomatoes actually work better than overripe ones for maintaining texture.
Step 3: Master the Blanching Technique
Bring a large pot of water to a rolling boil while preparing an ice bath in a nearby bowl. Score an “X” on the bottom of each tomato, then submerge them in boiling water for 30-60 seconds until skins begin to loosen. This quick heat shock makes peeling effortless.
Step 4: Execute the Ice Bath Transfer
Using a slotted spoon, immediately transfer blanched tomatoes to the ice bath. This thermal shock stops the cooking process and makes skins slip off like silk scarves. Wait 2-3 minutes before handling.
Step 5: Peel and Prepare Your Tomatoes
Starting from the scored “X,” peel skins away in satisfying strips. Core and chop tomatoes to your preferred size – chunky for rustic sauces, diced for smooth consistency, or leave whole for maximum versatility.
Step 6: Create Your Tomato Mixture
In your largest pot, combine chopped tomatoes, lemon juice, and optional salt. The lemon juice isn’t just for flavor – it’s your insurance policy against botulism by ensuring proper acidity levels.
Step 7: Heat to Perfect Simmering Temperature
Bring the mixture to a gentle simmer over medium heat, stirring occasionally to prevent sticking. You’ll notice the tomatoes releasing their natural juices, creating a beautiful, aromatic base.
Step 8: Sterilize Your Canning Jars
Submerge clean jars in boiling water for 10 minutes, keeping them hot until filling time. This sterilization step eliminates any microorganisms that could compromise your preserved tomatoes.
Step 9: Fill Jars with Precision
Ladle hot tomato mixture into jars, maintaining exactly 1/2 inch headspace. This measurement isn’t arbitrary – too little space prevents proper sealing, while too much allows excess air that can cause spoilage.
Step 10: Perfect Your Sealing Technique
Wipe jar rims with a clean, damp cloth to remove any tomato residue that could prevent proper sealing. Center lids and apply rings finger-tight – over-tightening can prevent proper vacuum formation.
Step 11: Process in Water Bath Canner
Submerge filled jars in your canner, ensuring water covers lids by 1-2 inches. Process for 40-45 minutes, adjusting time for altitude if you live above 1,000 feet elevation.
Step 12: Cool and Test Seals
Remove jars and let cool undisturbed for 12-24 hours. You’ll hear the satisfying “pop” of successful seals. Test by pressing jar centers – sealed lids won’t move, while unsealed ones will flex up and down.
Nutritional Information
Each cup of home-canned tomatoes delivers impressive nutritional value:
- Calories: 40 (only 2% of daily intake)
- Vitamin C: 28% of recommended daily value
- Lycopene: 3.5mg (powerful antioxidant)
- Potassium: 400mg (supports heart health)
- Folate: 15% of daily needs
- Fiber: 2g (supports digestive health)
- Zero fat, cholesterol-free
Studies show that cooking tomatoes actually increases lycopene bioavailability by up to 35%, making canned tomatoes potentially more nutritious than fresh ones for antioxidant absorption.
Healthier Alternatives for the Recipe
Low-Sodium Version: Eliminate added salt entirely – tomatoes’ natural flavors shine without it, reducing sodium content by 95%.
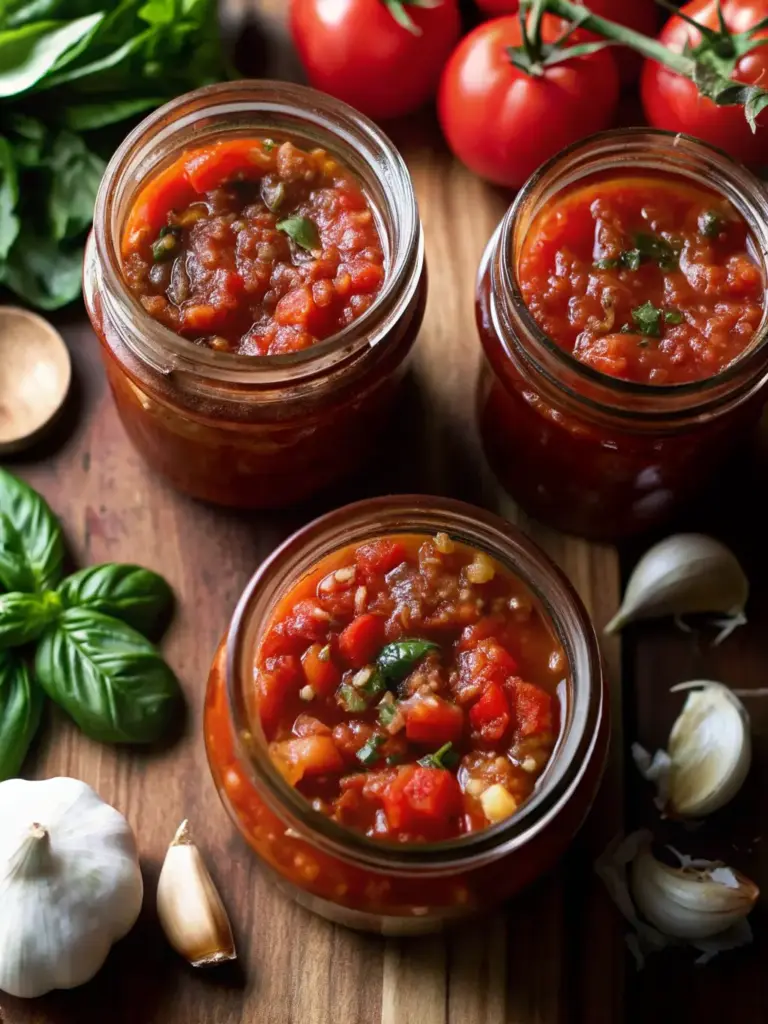
Herb-Infused Enhancement: Add fresh basil, oregano, or thyme during the final 10 minutes of cooking for aromatic complexity without additional calories.
Calcium-Fortified Option: Add 1/4 teaspoon calcium chloride per jar to maintain firmer texture while boosting calcium content by 15%.
Reduced-Acid Variation: For those sensitive to acidity, substitute half the lemon juice with calcium chloride, maintaining safety while reducing tartness.
Serving Suggestions
Your canned tomatoes become culinary building blocks for countless creations:
Winter Comfort Foods: Transform into hearty soups, rich pasta sauces, or warming stews that capture summer’s essence during cold months.
Quick Weeknight Solutions: Combine with garlic, onions, and herbs for instant marinara that beats store-bought varieties in both flavor and nutrition.
International Inspiration: Use as the base for Indian curries, Mexican salsas, or Mediterranean ratatouille – their neutral profile adapts beautifully to global cuisines.
Fresh Applications: Drain and use in bruschetta, caprese salads, or grain bowls for bursts of concentrated tomato flavor.
Common Mistakes to Avoid
Altitude Amnesia: Failing to adjust processing times for elevation above 1,000 feet can result in underprocessed, unsafe products. Add 5 minutes for every 3,000 feet of elevation.
Overripe Tomato Selection: Mushy, overripe tomatoes create watery, less flavorful results. Choose tomatoes at peak ripeness but still firm to the touch.
Insufficient Headspace: Overfilling jars prevents proper vacuum formation. That 1/2-inch measurement isn’t negotiable – it’s food safety science.
Acidification Shortcuts: Skipping lemon juice or using insufficient amounts creates dangerous conditions for botulism growth. Never compromise on acidity levels.
Temperature Rushing: Processing jars before water reaches a full rolling boil compromises sterilization effectiveness.
Storing Tips for the Recipe
Immediate Storage: Allow jars to cool completely (12-24 hours) before moving to prevent seal disruption.
Long-term Storage: Store sealed jars in cool, dark locations between 50-70°F. Basements, pantries, and closets work perfectly.
Inventory Management: Label jars with contents and date, using oldest stock first. Properly canned tomatoes maintain peak quality for 18 months.
Seal Monitoring: Check seals monthly – any compromised jars should be refrigerated and used within one week.
Opened Jar Protocol: Once opened, treat like fresh tomatoes and refrigerate for up to one week.
Conclusion
Canning tomatoes for beginners transforms seasonal abundance into year-round culinary treasure through simple techniques and basic ingredients. This preservation method captures peak flavor while providing nutritional benefits, cost savings, and food security. With proper technique and attention to safety guidelines, you’ll create shelf-stable pantry staples that elevate countless meals. Start your canning journey today – your future self will thank you when opening that first jar of summer sunshine in the depths of winter. Try this recipe, share your results in the comments below, and subscribe for more preservation guides that will revolutionize your kitchen skills.
FAQs
Q: Can I use any type of tomato for canning?
A: While most tomatoes work, paste varieties like Roma or San Marzano provide better texture and flavor concentration. Avoid green or overripe tomatoes for optimal results.
Q: Is it safe to can tomatoes without lemon juice?
A: No, modern tomato varieties often lack sufficient natural acidity for safe canning. Lemon juice or citric acid is essential for preventing botulism.
Q: How long do home-canned tomatoes last?
A: Properly canned tomatoes maintain peak quality for 18 months and remain safe indefinitely when stored correctly, though quality may decline after two years.
Q: Can I double this recipe?
A: Absolutely! Scale ingredients proportionally, but process jars in batches to ensure proper heat penetration and timing accuracy.
Q: What if my jars don’t seal?
A: Unsealed jars should be refrigerated immediately and used within one week, or you can reprocess with new lids within 24 hours.

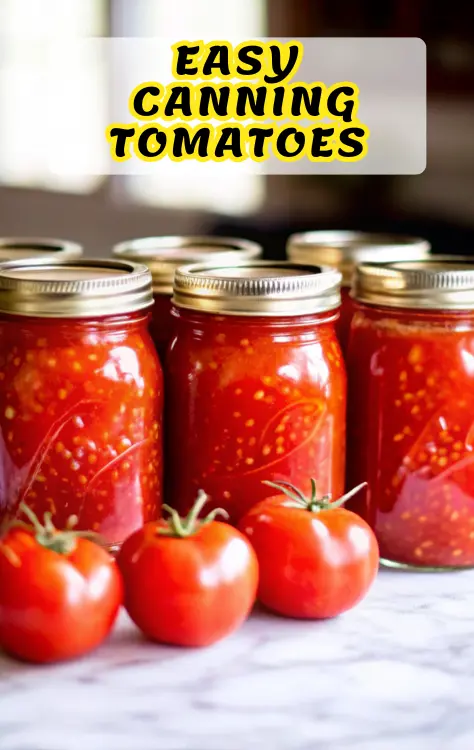
Canning Tomatoes for Beginners: Complete Step-by-Step Guide
- Total Time: 2 hours 15 minutes
- Yield: 7–9 pint jars 1x
- Diet: Vegetarian
Description
Learn how to can tomatoes the easy and safe way with this step-by-step beginner’s guide. This foolproof method preserves your fresh summer tomatoes into shelf-stable jars that last up to 18 months while keeping their flavor, color, and nutrition intact.
Ingredients
- 10 lbs fresh tomatoes (Roma, San Marzano, or beefsteak)
- 1/4 cup lemon juice
- 1 tsp salt (optional)
- Water, for blanching and canning
- Optional: 1 tbsp citric acid or 1/4 cup vinegar (for acidification)
Instructions
- Prepare your workspace by cleaning and sterilizing jars, lids, and canning equipment.
- Wash tomatoes thoroughly and remove any blemished or damaged areas.
- Bring a large pot of water to boil and prepare an ice bath. Score the bottoms of tomatoes with an ‘X’.
- Blanch tomatoes in boiling water for 30–60 seconds until skins loosen, then transfer to the ice bath.
- Peel, core, and chop tomatoes to desired size.
- Combine tomatoes, lemon juice, and salt in a large pot. Simmer gently for 5–10 minutes.
- Sterilize jars by boiling for 10 minutes. Keep them hot until ready to fill.
- Ladle hot tomatoes into jars, leaving 1/2 inch of headspace. Wipe rims clean and apply lids finger-tight.
- Process jars in a boiling water bath for 40–45 minutes (adjust for altitude as needed).
- Remove jars and cool undisturbed for 12–24 hours. Check seals before storing.
Notes
Always add lemon juice or citric acid to maintain safe acidity levels. Process only in a boiling water bath for correct preservation. Label and store jars in a cool, dark place for up to 18 months.
- Prep Time: 30 minutes
- Cook Time: 1 hour
- Category: Preserving
- Method: Canning
- Cuisine: American
Nutrition
- Serving Size: 1 cup
- Calories: 40
- Sodium: 20mg
- Fat: 0g
- Carbohydrates: 9g
- Fiber: 2g
- Protein: 2g
- Cholesterol: 0mg
Keywords: canning tomatoes, how to can tomatoes, preserving tomatoes, tomato canning for beginners, water bath canning, homemade canned tomatoes