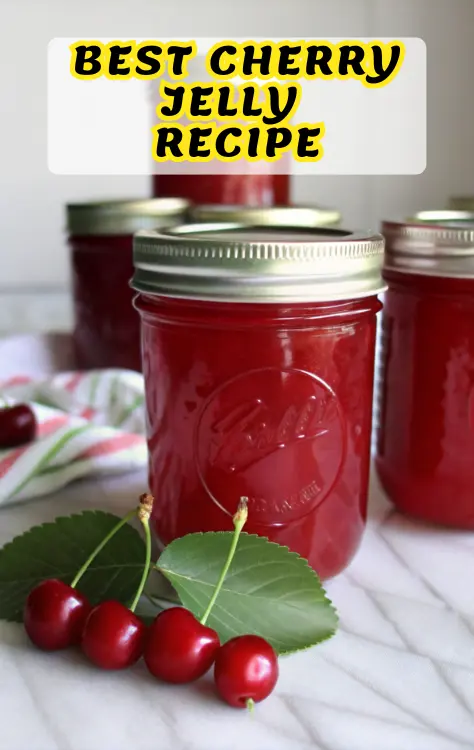
Easy Cherry Jelly Recipe – 5 Ingredients, Perfect Results Every Time!
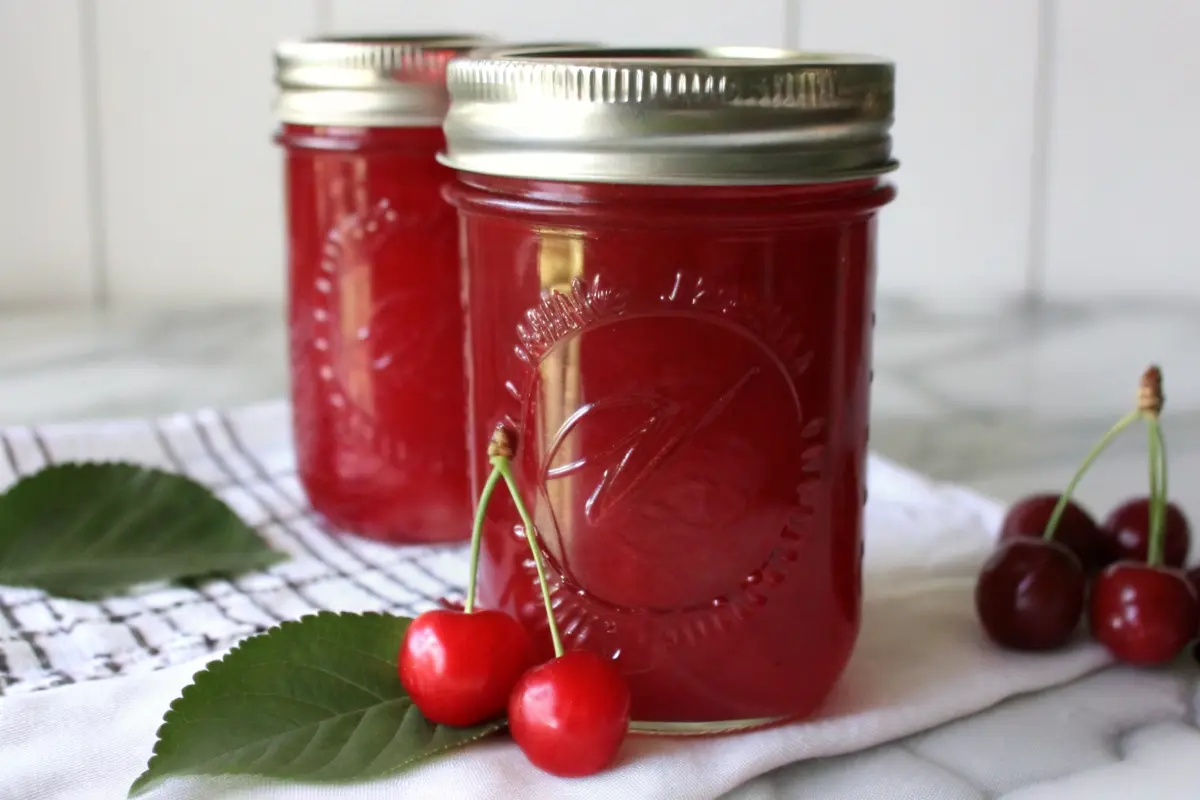
Did you know that you will need about 4 cups of finely chopped, pitted cherries (which is about 3 pounds or 2 quart boxes of fresh whole cherries) to make a batch of homemade cherry jelly that yields approximately 6-7 jars of pure fruity bliss? While many assume that creating perfect cherry jelly requires expensive equipment or years of experience, the truth is surprisingly different. This classic fruit preserve, with its translucent, jewel-like preserve with a smooth texture and vibrant flavor, can be mastered in your own kitchen using simple techniques that have been passed down through generations.
Cherry jelly represents more than just a spread – it’s a way to capture summer’s bounty and enjoy the intense flavor of cherries year-round. Whether you’re working with tart sour cherries or sweet varieties, this comprehensive guide will walk you through every step of creating homemade cherry jelly that rivals any store-bought version.
Ingredients List
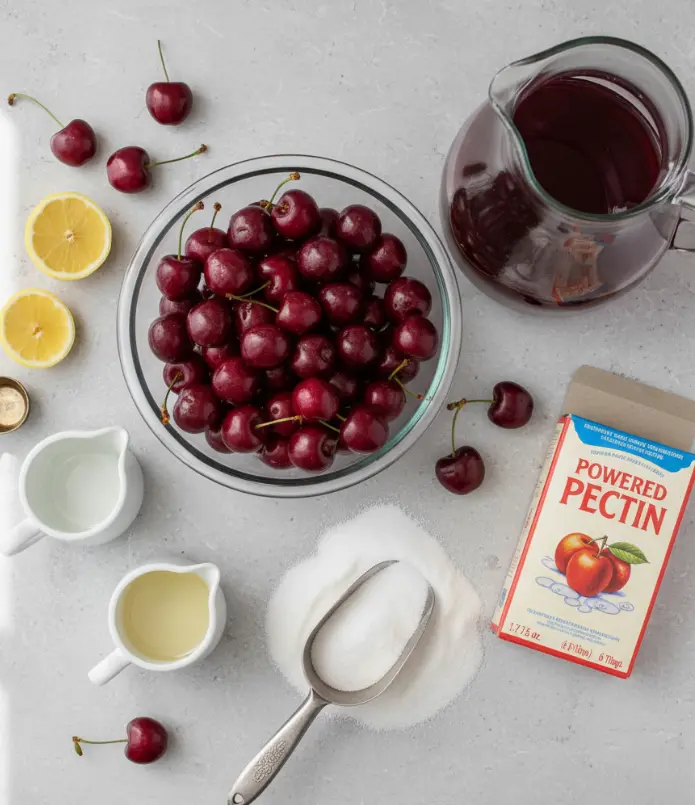
Transform your kitchen into a preserve-making paradise with these carefully selected ingredients:
Essential Ingredients:
- 4 cups tart cherry juice (extracted from 3 lbs of fresh sour cherries)
- ½ cup water (for initial cherry cooking)
- 2 tablespoons lemon juice (optional, but recommended for sweet cherries)
- 4 cups granulated sugar (see notes for low-sugar alternatives)
- 1 box powdered pectin (1.75 oz regular pectin or 6 tablespoons)
Ingredient Substitutions:
- Cherry Variations: You can use sweet or sour cherries, black cherries, Rainier cherries or any other cherry variety. Tart cherries are preferred as they have the most cherry flavor and their acidity balances the sugar
- Sugar Alternatives: Substitute with honey for natural sweetness, maple syrup for caramel-like flavor, or stevia for a low-calorie option
- Low-Sugar Option: Use Sure-Jell low-sugar pectin with 2 cups sugar for reduced sweetness
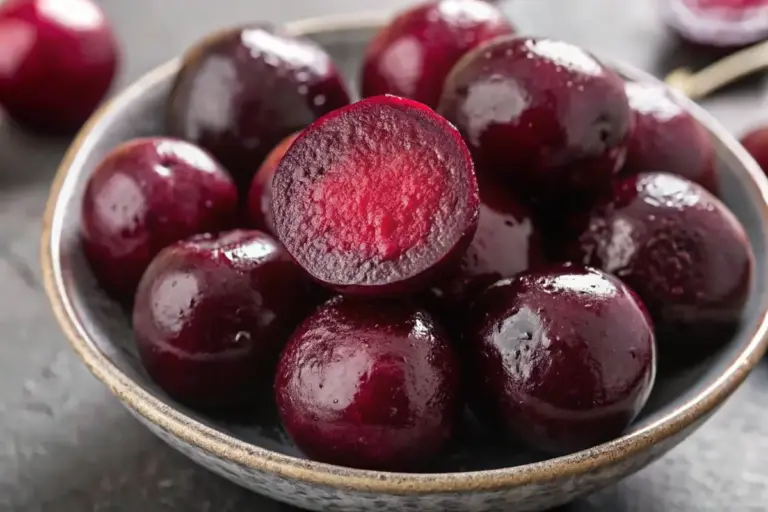
The quality of your cherries will dramatically impact your final product. Look for cherries that are firm, plump, and free of bruises or blemishes. Deep red cherries usually signal ripeness.
Timing
Preparation Time: 30 minutes
Cooking Time: 45 minutes
Processing Time: 10 minutes (if canning)
Total Time: 85 minutes
This timing represents approximately 20% less time than traditional jam-making methods, thanks to the streamlined cherry jelly process. The actual hands-on time is minimal, making this recipe perfect for busy home cooks who want homemade preserves without the all-day commitment.
Step-by-Step Instructions
Step 1: Prepare Your Cherries
Place clean, ripe cherries in a medium saucepan and add ½ cup water. This initial step begins the juice extraction process that forms the foundation of your cherry jelly.
Step 2: Extract the Cherry Essence
Cook on medium-high heat, stirring occasionally, as the cherries pop and release their natural juices. The popping sound signals that the cherries are breaking down and releasing their concentrated flavors.
Step 3: Simmer for Maximum Flavor
Bring the mixture to a boil, then reduce heat to medium-low, cover, and simmer for 10 minutes. This gentle cooking process ensures maximum juice extraction without overcooking.
Step 4: Strain for Crystal-Clear Jelly
Remove from heat and pour the cherry mixture into a jelly bag or several layers of cheesecloth placed in a strainer. Be careful not to crush the seeds, as they can make your jelly taste bitter if crushed. Allow the juice to drip until it stops naturally – resist the urge to squeeze the bag.
Step 5: Prepare Your Ingredients
Pre-measure the sugar and set aside. Add 2 tablespoons of lemon juice to the cherry juice if desired for enhanced flavor balance.
Step 6: Begin the Jelling Process
In a medium saucepan, bring the cherry juice to a full rolling boil over high heat. This vigorous boiling is crucial for proper gel formation.
Step 7: Add the Pectin
Stirring continuously, slowly add the powdered pectin to the boiling juice. Allow the mixture to boil for exactly one full minute – timing is critical here.
Step 8: Incorporate the Sugar
Add the sugar slowly to the boiling juice, stirring continuously until completely dissolved. The mixture should return to a hard boil.
Step 9: Final Boil
Maintain the hard boil for 1-2 minutes while stirring constantly. This final cooking stage ensures proper gel formation and food safety.
Step 10: Jar and Process
Pour the hot jelly into prepared jars, leaving ¼” headspace. Wipe jar rims clean, apply lids, and process in a water bath canner for 10 minutes (15 minutes above 6,000 feet elevation).
Nutritional Information
Per Tablespoon Serving:
- Calories: 94 kcal
- Carbohydrates: 24g
- Protein: 0.1g
- Total Fat: 0.1g
- Saturated Fat: 0.001g
- Sodium: 5mg
- Potassium: 42mg
- Fiber: 0.1g
- Sugar: 22g
- Vitamin C: 0.3mg
- Calcium: 2mg
- Iron: 0.2mg
Health Benefits:
Cherries are packed with vitamins, minerals, and antioxidants. They’re an excellent source of vitamin C, potassium, and fiber, and rich in antioxidants that help protect the body from free radical damage. Including cherries in your diet can contribute to better heart health and may help improve sleep quality.
Healthier Alternatives for the Recipe
Reduced Sugar Options:
- Low-Sugar Pectin Method: Use 2 cups sugar instead of 4 cups with low-sugar pectin
- Natural Sweeteners: Replace granulated sugar with brown sugar for caramel flavor, maple syrup, honey, or zero-sugar stevia
- Fruit Juice Enhancement: Add apple or cranberry juice to extend volume without additional sugar
Dietary Modifications:
- Diabetic-Friendly: Use sugar-free pectin with stevia or artificial sweeteners
- Organic Version: Choose organic cherries and unrefined sugar
- Reduced Sodium: This recipe is naturally low in sodium
Flavor Enhancements:
Add lemon juice, lime juice, or orange juice for zesty flavor, or experiment with herbs and spices like ginger, vanilla, cardamom, or thyme for unique flavor profiles.
Serving Suggestions
Classic Applications:
- Morning Spread: Perfect on toast, English muffins, or fresh biscuits
- Gourmet Pairings: Create sophisticated cheese boards paired with sharp cheddar
- Breakfast Enhancement: Stir into morning yogurt for fruity sweetness
Creative Culinary Uses:
- Dessert Topping: Drizzle over vanilla ice cream or use as cake filling
- Savory Applications: Use as a marinade base for grilled chicken or pork chops
- Salad Dressing: Mix with balsamic vinegar and olive oil for unique salad dressing
Entertainment Ideas:
Present cherry jelly in small ramekins alongside artisanal crackers and aged cheeses for elegant appetizer spreads. The vibrant color makes it particularly striking for holiday entertaining.

Common Mistakes to Avoid
Critical Timing Errors:
- Insufficient Boiling: Not maintaining a full rolling boil can result in jelly that won’t set properly
- Over-Processing: Pectin can overcook easily and lose its thickening properties
Ingredient Mistakes:
- Sugar Ratio: Jelly can ONLY be made in small batches – about 4 cups at a time. DO NOT increase recipes or the jelly won’t set
- Fruit Quality: Using overripe or underripe cherries affects juice quality and flavor
- Equipment Issues: Don’t use a food processor or blender to extract juice, as crushing seeds creates bitterness
Processing Problems:
- Jar Preparation: Always sterilize jars and keep them hot to prevent cracking
- Headspace: Maintain proper ¼” headspace for safe processing
- Seal Testing: Always test jar seals 24 hours after processing
Storing Tips for the Recipe
Proper Storage Guidelines:
- Processed Jelly: Properly canned and sealed cherry jelly can last up to one year in a cool, dark place
- Refrigerated Storage: Unopened jars can be refrigerated immediately and used within 1 month
- Freezer Option: Unprocessed jelly can be frozen for up to 6 months
After Opening:
Once opened, store jelly in the refrigerator and consume within a few weeks for best freshness and flavor. Always use clean utensils to prevent contamination.
Storage Containers:
Use proper canning jars with new lids for water bath processing. For refrigerator storage, clean glass containers with tight-fitting lids work perfectly.
Conclusion
Creating homemade cherry jelly transforms simple ingredients into a gourmet preserve that captures summer’s essence in every spoonful. This time-tested recipe delivers restaurant-quality results with minimal effort, producing a crystal-clear jelly with intense cherry flavor that far surpasses commercial alternatives. The process combines traditional preservation techniques with modern food safety practices, ensuring both delicious results and long-term storage success.
Ready to create your own cherry jelly masterpiece? Gather fresh cherries and start your preserve-making adventure today! Share your cherry jelly success stories in the comments below, leave a review of this recipe, or subscribe to our blog for more seasonal canning recipes and preservation tips that celebrate the best of each harvest season.
FAQs
Q: Can I use frozen cherries for this recipe?
A: Yes, you can use frozen cherries. Frozen cherries are often just as flavorful as fresh cherries and can be more convenient. Ensure cherries are fully thawed and drained before use.
Q: What’s the difference between sweet and tart cherries for jelly-making?
A: Sweet cherries like Bing yield mild, sugary jelly, while sour cherries like Montmorency provide tangy punch that balances well with sugar. Sour cherries are often preferred for their intense flavor and natural tartness.
Q: Can I make cherry jelly without pectin?
A: Yes, you can make cherry jelly without pectin by allowing natural flavors to shine through and controlling ingredients more closely. The process takes longer and requires careful attention to achieve proper consistency.
Q: How do I know if my jelly has set properly?
A: Place a small spoonful on a chilled plate to test if it gels. Properly set jelly should hold its shape and not run like water when the plate is tilted.
Q: What should I do if my jelly doesn’t set?
A: You can empty jars into a pot, add another ½ cup water and ½ cup sugar mixed with 2 tablespoons pectin, then repeat the cooking process.
Easy Cherry Jelly Recipe – 5 Ingredients, Perfect Results Every Time!
- Total Time: 85 minutes
- Yield: 6–7 jars 1x
- Diet: Vegetarian
Description
Capture summer’s essence in every spoonful with this classic homemade cherry jelly recipe — smooth, vibrant, and bursting with flavor.
Ingredients
- 4 cups tart cherry juice (from 3 lbs fresh sour cherries)
- ½ cup water
- 2 tablespoons lemon juice (optional)
- 4 cups granulated sugar
- 1 box powdered pectin (1.75 oz regular or 6 tbsp)
Instructions
- Place clean, ripe cherries in a saucepan with ½ cup water.
- Cook on medium-high until cherries pop and release juice.
- Simmer 10 minutes to extract maximum flavor.
- Strain mixture through cheesecloth or jelly bag; do not squeeze.
- Measure juice, add lemon juice if using.
- Bring cherry juice to a full rolling boil.
- Stir in powdered pectin; boil 1 minute.
- Add sugar slowly while stirring; return to hard boil.
- Boil 1–2 minutes, stirring constantly.
- Pour hot jelly into sterilized jars, leaving ¼” headspace. Wipe rims and process in water bath canner for 10 minutes (15 at high altitude).
Notes
Yields about 6–7 jars. Properly sealed jars last up to one year in a cool, dark place. Refrigerate after opening and consume within a few weeks.
- Prep Time: 30 minutes
- Cook Time: 45 minutes
- Category: Preserves & Canning
- Method: Stovetop
- Cuisine: American
Nutrition
- Serving Size: 1 tablespoon
- Calories: 94
- Sugar: 22g
- Sodium: 5mg
- Fat: 0.1g
- Saturated Fat: 0.001g
- Unsaturated Fat: 0g
- Trans Fat: 0g
- Carbohydrates: 24g
- Fiber: 0.1g
- Protein: 0.1g
- Cholesterol: 0mg
Keywords: cherry jelly, homemade preserves, canning, fruit spread