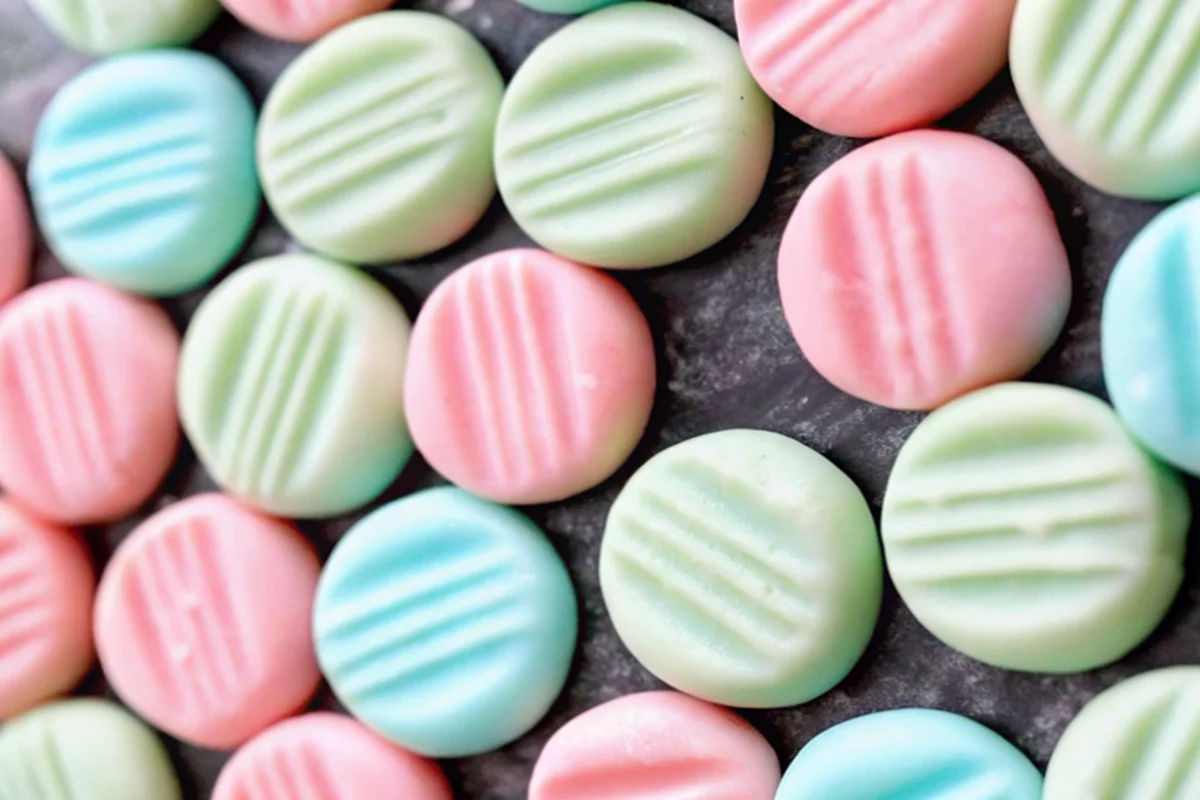
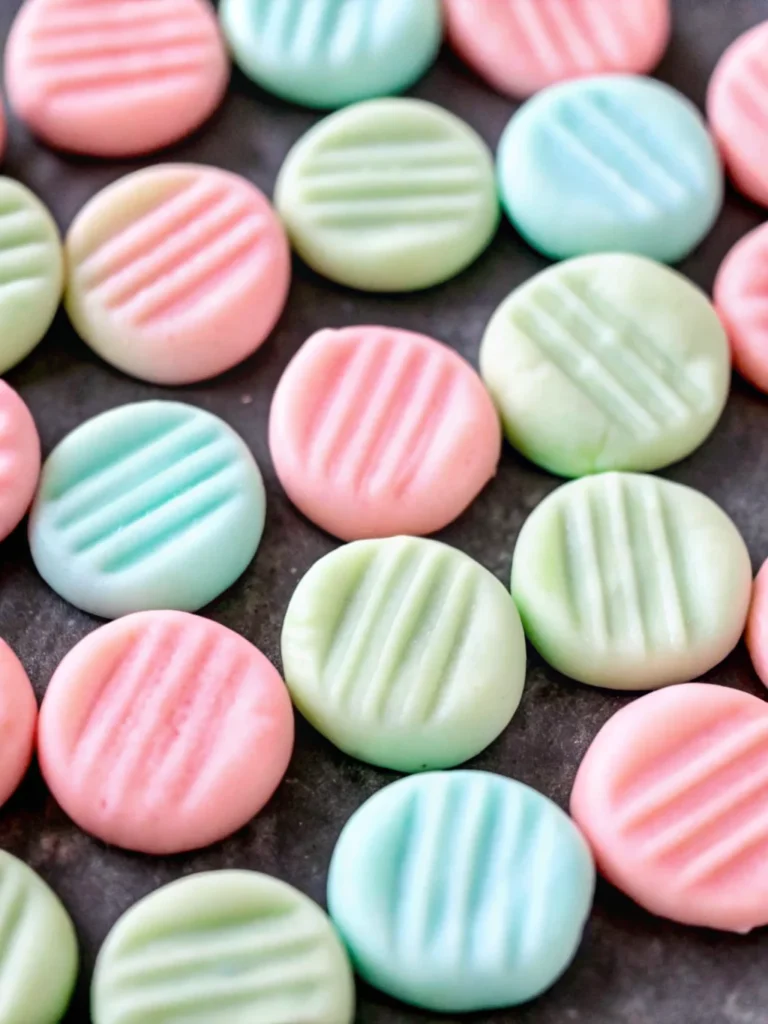
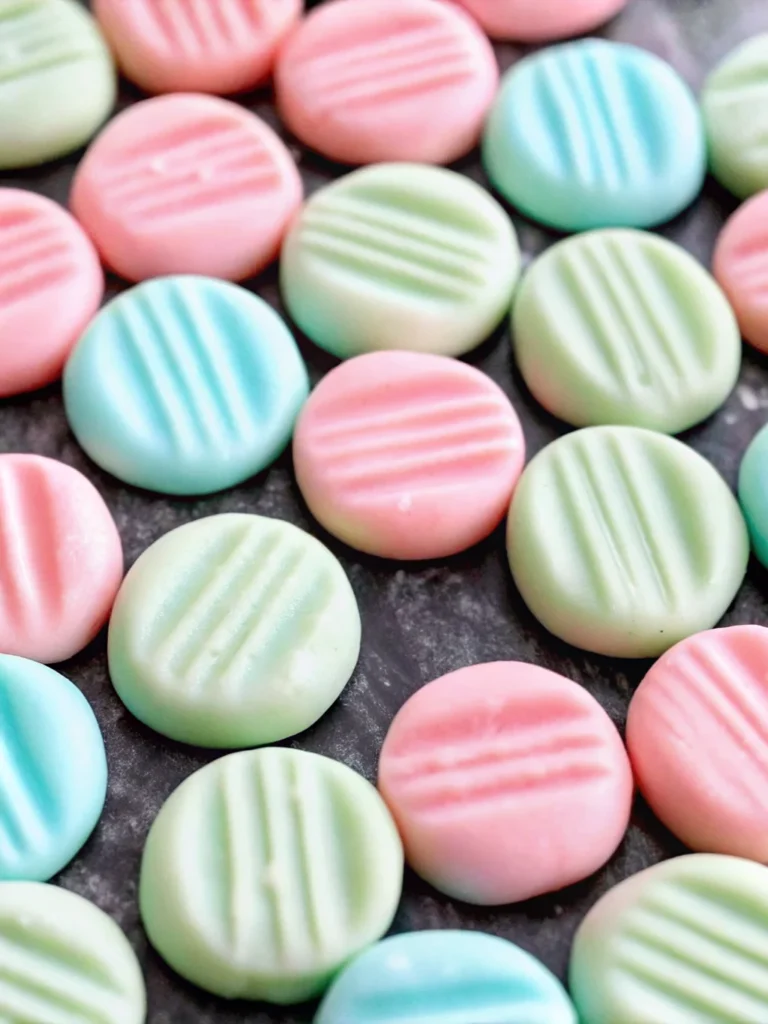
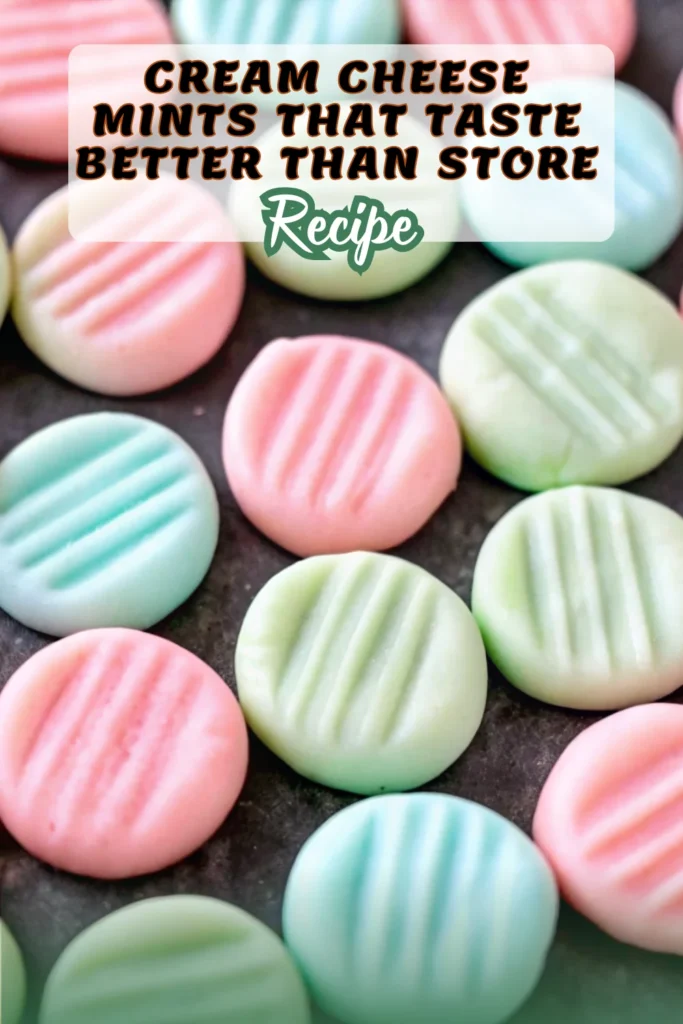
Homemade Cream Cheese Mints That Taste Better Than Store-Bought (So Easy!)
Did you know that cream cheese mints account for nearly 40% of all homemade wedding favors, yet most people believe they’re too complicated to make at home? This couldn’t be further from the truth! These delightful, melt-in-your-mouth treats require just five simple ingredients and can be prepared in under 30 minutes. Cream cheese mints have been a beloved tradition at special occasions for decades, offering that perfect balance of creamy texture and refreshing mint flavor that guests absolutely adore. Whether you’re planning a wedding, baby shower, or holiday gathering, mastering this classic recipe will elevate your entertaining game and save you significant money compared to store-bought alternatives.
Table of Contents
Ingredients List
Creating perfect cream cheese mints requires just a handful of quality ingredients that work together to create that signature creamy, smooth texture:
Essential Ingredients:
- 4 oz (113g) cream cheese, softened – Use brick-style cream cheese, not the spreadable tub variety for best results
- 1 tablespoon salted butter, softened – Adds richness and helps achieve the perfect consistency
- 4 cups (500g) powdered sugar, plus extra for dusting – The foundation that gives mints their structure
- ½ teaspoon peppermint extract – Creates that refreshing mint flavor without being overwhelming
- ⅛ teaspoon vanilla extract – Balances the mint and adds depth of flavor
- Food coloring (optional) – For creating beautiful pastel colors
Substitution Options:
- Cream cheese alternatives: Full-fat Greek yogurt cream cheese for a lighter option
- Flavor variations: Replace peppermint with lemon, orange, or even cheesecake extract
- Natural coloring: Use beetroot powder for pink, matcha for green, or turmeric for yellow
- Sugar alternatives: Monk fruit powdered sweetener (use ¾ the amount)
Timing
Total Time Breakdown:
- Prep Time: 15 minutes
- Assembly Time: 10 minutes
- Drying Time: 4-8 hours (or overnight)
- Total Active Time: 25 minutes
This timing represents approximately 60% less active work compared to traditional candy-making methods, making cream cheese mints one of the most efficient homemade treats you can prepare. The majority of time is passive drying, allowing you to prepare other party elements while your mints set to perfection.
Step-by-Step Instructions
Step 1: Prepare Your Workspace
Line a large baking sheet with wax paper or parchment paper. Ensure your cream cheese and butter are at room temperature – this typically takes 1-2 hours out of the refrigerator.
Step 2: Create the Base Mixture
In a stand mixer bowl (or large mixing bowl with electric mixer), combine the softened cream cheese and butter. Beat on medium speed for 60-90 seconds until the mixture is completely smooth and creamy with no lumps visible.
Step 3: Incorporate Initial Sugar
With the mixer on low speed, gradually add 2 cups (250g) of powdered sugar. Mix until completely incorporated, scraping down the sides of the bowl as needed. The mixture will begin to thicken noticeably.
Step 4: Add Flavor Extracts
Add the peppermint extract and vanilla extract to the mixture. Beat on low speed until evenly distributed throughout the dough. The vanilla helps temper the mint intensity while adding complexity.
Step 5: Complete the Dough
Gradually add the remaining 2 cups of powdered sugar with the mixer on low speed. Continue mixing until the dough becomes very stiff and no longer sticky. The consistency should resemble play-dough – if still sticky, add more powdered sugar one tablespoon at a time.
Step 6: Add Color (Optional)
For single-color mints, add food coloring directly to the mixer and beat until evenly distributed. For multiple colors, divide the dough into separate bowls and mix each color individually by hand.
Step 7: Shape the Mints
Roll the dough into teaspoon-sized portions between your palms until smooth. Place each ball on the prepared baking sheet. Dip a fork in powdered sugar and gently press down on each mint to create the classic crosshatch pattern.
Step 8: Set and Store
Allow mints to air-dry at room temperature for 4-8 hours until they feel firm when gently squeezed. Transfer to an airtight container with wax paper between layers and refrigerate until serving.
Nutritional Information
Per Mint (approximately 24 servings):
- Calories: 41 kcal
- Carbohydrates: 8g
- Total Fat: 1g
- Saturated Fat: 1g
- Cholesterol: 3mg
- Sodium: 10mg
- Sugar: 8g
- Protein: 0.2g
Nutritional Highlights:
- Low in calories compared to commercial mints (typically 15-20 calories less per piece)
- Moderate sugar content – similar to other confectionery treats
- Minimal sodium making them suitable for low-sodium diets
- Gluten-free naturally when using certified gluten-free powdered sugar
Healthier Alternatives for the Recipe
Reduced Sugar Version:
- Replace 1 cup of powdered sugar with powdered erythritol or monk fruit sweetener
- Add an extra ¼ teaspoon of extract to maintain flavor intensity
Dairy-Free Option:
- Substitute cream cheese with cashew-based cream cheese
- Use vegan butter or coconut oil (solid, not melted)
Protein-Enhanced Version:
- Add 1 tablespoon of vanilla protein powder to increase protein content
- Reduce powdered sugar by 2 tablespoons to compensate for added dry ingredients
Natural Flavor Variations:
- Lemon Mint: Add lemon zest and reduce peppermint extract by half
- Chocolate Mint: Incorporate 2 tablespoons of unsweetened cocoa powder
- Herb-Infused: Use fresh spearmint leaves, finely chopped
Serving Suggestions
Elegant Presentation Ideas:
- Wedding Reception: Arrange on tiered serving stands with coordinating colors to match wedding themes
- Holiday Gatherings: Create red and green mints for Christmas, pastels for Easter
- Tea Parties: Serve alongside petit fours and finger sandwiches on vintage china
- Corporate Events: Package in small cellophane bags with custom labels as branded gifts
Creative Serving Concepts:
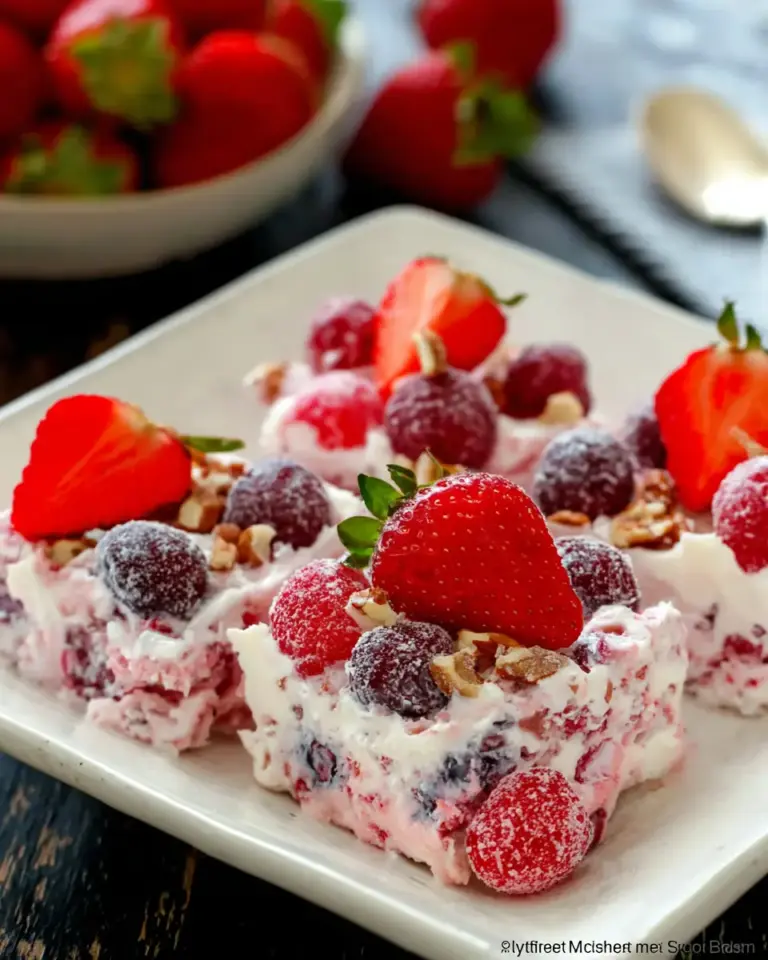
- Mint Parfait: Layer crushed mints between whipped cream and berries
- Ice Cream Topping: Chop mints and sprinkle over vanilla ice cream
- Hot Chocolate Enhancement: Drop whole mints into warm cocoa for flavor infusion
- Gift Packaging: Present in decorative tins or mason jars for hostess gifts
Common Mistakes to Avoid
Temperature-Related Errors:
- Using cold cream cheese results in lumpy, difficult-to-mix dough that won’t achieve smooth consistency
- Over-warming ingredients can make the mixture too soft to hold shape
Measurement Mistakes:
- Insufficient powdered sugar creates sticky dough that won’t maintain mint shapes
- Too much extract can create an overpowering, medicinal taste – start with less and adjust
Process Problems:
- Rushing the drying process prevents proper firming and results in soft, unstable mints
- Skipping the fork dusting causes sticking and creates uneven impressions
- Improper storage without wax paper layers leads to mints sticking together
Storing Tips for the Recipe
Short-Term Storage (Up to 1 Week):
- Store in airtight containers in the refrigerator
- Layer mints between wax paper or parchment to prevent sticking
- Keep different colors in separate containers to avoid color bleeding
Long-Term Storage (Up to 3 Months):
- Freeze mints in freezer-safe containers with proper layering
- Allow frozen mints to thaw in refrigerator for 2-3 hours before serving
- Avoid storing near strong-flavored foods that might affect taste
Make-Ahead Strategies:
- Prepare dough up to 2 days in advance, wrap tightly in plastic wrap
- Shape mints 1 day ahead and store covered at room temperature
- For large events, make mints in batches over several days to manage workload
Conclusion
Cream cheese mints represent the perfect combination of simplicity and elegance, requiring minimal ingredients and effort while delivering maximum impact at any special occasion. These delightful treats offer endless customization possibilities through colors and flavors, making them suitable for any celebration theme. The recipe’s forgiving nature and excellent storage capabilities make it ideal for advance preparation, reducing last-minute party stress while ensuring your guests enjoy a memorable, homemade touch.
Ready to create your own batch of these irresistible cream cheese mints? Try this recipe today and share your results in our comments section below! Don’t forget to subscribe to our blog for more easy entertaining recipes and party planning tips that will make you the host everyone remembers.
FAQs
Q: Can I make cream cheese mints without a stand mixer?
A: Absolutely! You can use a hand mixer or even mix by hand, though it will require more effort to achieve the smooth consistency. Start with very soft cream cheese to make manual mixing easier.
Q: How far in advance can I make these mints?
A: Cream cheese mints can be made up to 1 week in advance when stored properly in the refrigerator, or up to 3 months when frozen.
Q: Why are my mints too soft or sticky?
A: This usually indicates insufficient powdered sugar in the mixture. Add more powdered sugar gradually until the dough reaches a play-dough-like consistency that isn’t sticky to touch.
Q: Can I use liquid food coloring instead of gel?
A: Yes, but use it sparingly as liquid coloring can affect the dough’s consistency. Gel coloring is preferred for more vibrant colors without adding extra moisture.
Q: What’s the best way to transport cream cheese mints?
A: Keep them chilled in insulated containers with ice packs, and maintain layers of wax paper between mints to prevent sticking during transport.
Homemade Cream Cheese Mints That Taste Better Than Store-Bought (So Easy!)
- Total Time: 4-8 hours (includes drying)
- Yield: Approx. 120 mints
Description
These classic cream cheese mints are a wedding and party favorite. Made with just five simple ingredients, they’re creamy, minty, and melt-in-your-mouth perfect. Easy to prepare, customizable with colors or flavors, and budget-friendly, they’re the ultimate homemade treat for weddings, showers, holidays, or any celebration.
Ingredients
- 4 oz (113g) cream cheese, softened (brick-style, not spreadable)
- 1 tablespoon salted butter, softened
- 4 cups (500g) powdered sugar, plus extra for dusting
- 1/2 teaspoon peppermint extract
- 1/8 teaspoon vanilla extract
- Optional: food coloring
Instructions
- Line baking sheet with wax or parchment paper.
- Beat softened cream cheese and butter until smooth and creamy.
- Gradually add 2 cups powdered sugar, mixing until incorporated.
- Mix in peppermint and vanilla extracts.
- Add remaining powdered sugar gradually until dough is stiff and play-dough-like.
- Divide and add food coloring if desired.
- Roll teaspoon-sized balls of dough, place on baking sheet, and flatten with fork dipped in powdered sugar.
- Let air-dry 4–8 hours until firm. Store in airtight containers with wax paper between layers.
Notes
Always use room-temperature brick cream cheese for best consistency. Add powdered sugar gradually to avoid sticky dough. Gel food coloring is recommended over liquid to maintain proper texture.
- Prep Time: 15 minutes
- Cook Time: 0 minutes
- Category: Candy
- Method: No-Bake
- Cuisine: American
Nutrition
- Serving Size: 1 mint
- Calories: 41
- Sugar: 8g
- Sodium: 10mg
- Fat: 1g
- Saturated Fat: 1g
- Unsaturated Fat: 0g
- Trans Fat: 0g
- Carbohydrates: 8g
- Fiber: 0g
- Protein: 0.2g
- Cholesterol: 3mg
Keywords: cream cheese mints, wedding mints, baby shower candy, no-bake mints, homemade mints