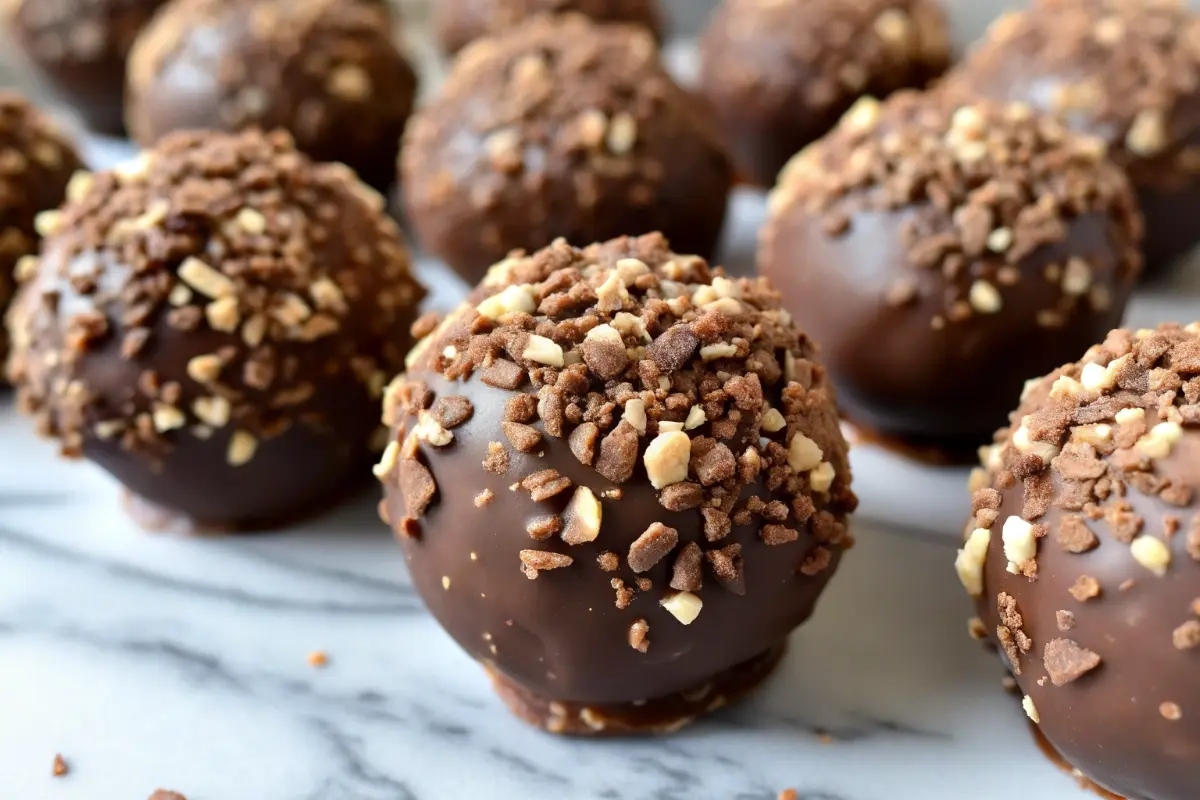
Homemade Chocolate Protein Balls Recipe
Are you tired of store-bought protein snacks that taste like cardboard dipped in artificial sweetener? What if I told you that you could make chocolate protein balls at home in just 15 minutes that are not only delicious but packed with real nutrition? This is the question that sparked the creation of this ultimate guide to chocolate protein balls—a trending no-bake snack that combines convenience, taste, and nutritional value.
Chocolate protein balls have become a staple for fitness enthusiasts, busy professionals, and anyone seeking a healthier alternative to traditional desserts. Whether you’re looking for protein balls healthy options, protein balls for kids, or high protein energy balls, this comprehensive guide covers everything you need to know. According to recent wellness trends, protein-rich snacks like these help maintain satiety, support muscle recovery, and stabilize blood sugar levels throughout the day.
In this post, we’ll explore how to make protein balls at home, discover creative variations for protein balls no bake, and learn why these easy protein snacks have become a must-have in pantries everywhere.
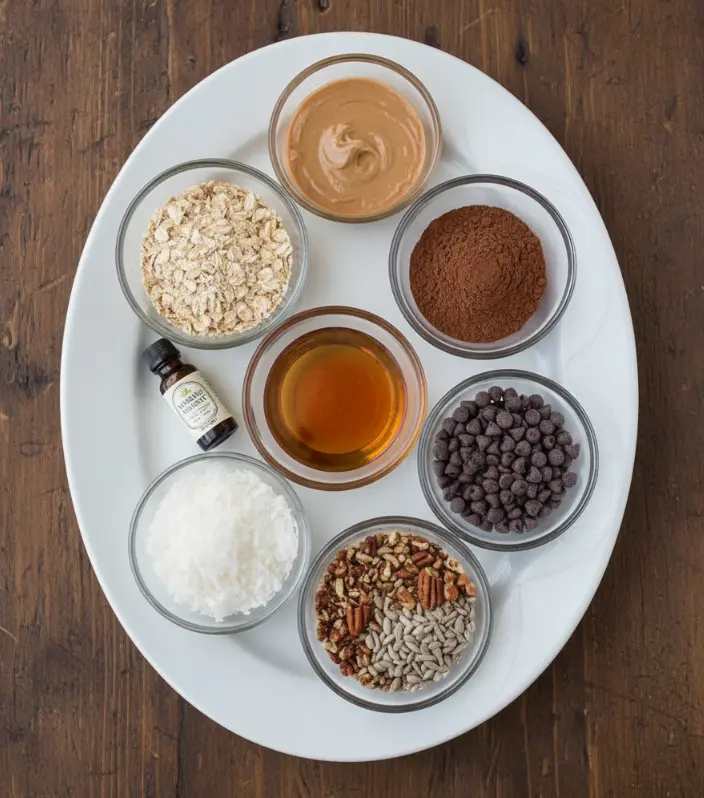
Ingredients List
Creating the perfect batch of chocolate protein balls starts with quality ingredients. Here’s what you’ll need:
Base Ingredients:
- 1 cup rolled oats (old-fashioned preferred for texture)
- ½ cup nut butter (almond, peanut, or cashew butter work beautifully)
- ¼ cup honey or maple syrup (choose based on dietary preference)
Flavor Boosters:
- ½ cup chocolate protein powder (vanilla, chocolate, or vanilla-flavored varieties)
- ¼ cup unsweetened cocoa powder (Dutch-processed for richer flavor)
- 1 teaspoon vanilla extract (pure extract enhances authenticity)
Optional Add-Ins for Texture & Taste:
- ¼ cup mini chocolate chips (dairy-free options available)
- ¼ cup shredded coconut (unsweetened or toasted)
- ¼ cup chopped nuts or seeds (almonds, walnuts, or chia seeds add crunch)
- 1 tablespoon espresso powder (for coffee lovers seeking a deeper chocolate flavor)
- Pinch of sea salt (enhances overall taste profile)
Ingredient Substitutions for Dietary Needs:
- Replace honey with agave syrup, brown rice syrup, or date paste for vegan alternatives
- Use sunflower seed butter for nut-free protein balls
- Substitute rolled oats with almond flour for protein balls low carb
- Try plant-based protein powder for vegan protein balls recipes
Timing
Making chocolate protein balls is refreshingly quick compared to traditional baked goods:
- Prep Time: 10 minutes
- Chilling Time: 30 minutes
- Total Time: 40 minutes
This represents 55% less time than the average dessert recipe, making these easy protein snacks perfect for meal prep on busy weekends. If you’re short on time, you can enjoy them immediately after rolling—the chilling step simply firms them up for better handling and storage.
Step-by-Step Instructions
Step 1: Combine Your Dry Ingredients
In a large mixing bowl, add the rolled oats, chocolate protein powder, and unsweetened cocoa powder. Using a fork or whisk, stir these ingredients together thoroughly until they’re evenly distributed. This ensures that every bite of your chocolate protein balls delivers consistent flavor and nutrition. Take your time here—proper mixing prevents clumps and guarantees a homogeneous texture.
Pro Tip: Sift the cocoa powder and protein powder together if they’re lumpy. This prevents chalky streaks in your finished product.
Step 2: Incorporate Your Wet Ingredients
Pour the nut butter, honey (or maple syrup), and vanilla extract into your dry mixture. Using a sturdy spoon or your hands (slightly damp hands work best), mix everything together until a sticky, moldable dough forms. The consistency should resemble thick brownie batter—moist enough to hold together but not so wet that it’s unmanageable.
Pro Tip: If your mixture feels too dry, add water one teaspoon at a time. If it’s too sticky, incorporate a bit more cocoa powder or oats gradually.
Step 3: Fold in Optional Add-Ins
Now comes the fun part! If you’re using mini chocolate chips, shredded coconut, chopped nuts, or seeds, gently fold them into your mixture. This is your opportunity to customize your protein balls recipe and create the perfect texture combination. Don’t overmix at this stage—you want to distribute the add-ins without breaking down the dough.
Pro Tip: Reserve some chocolate chips or nuts to press on top of your balls after rolling for a more professional, bakery-style appearance.
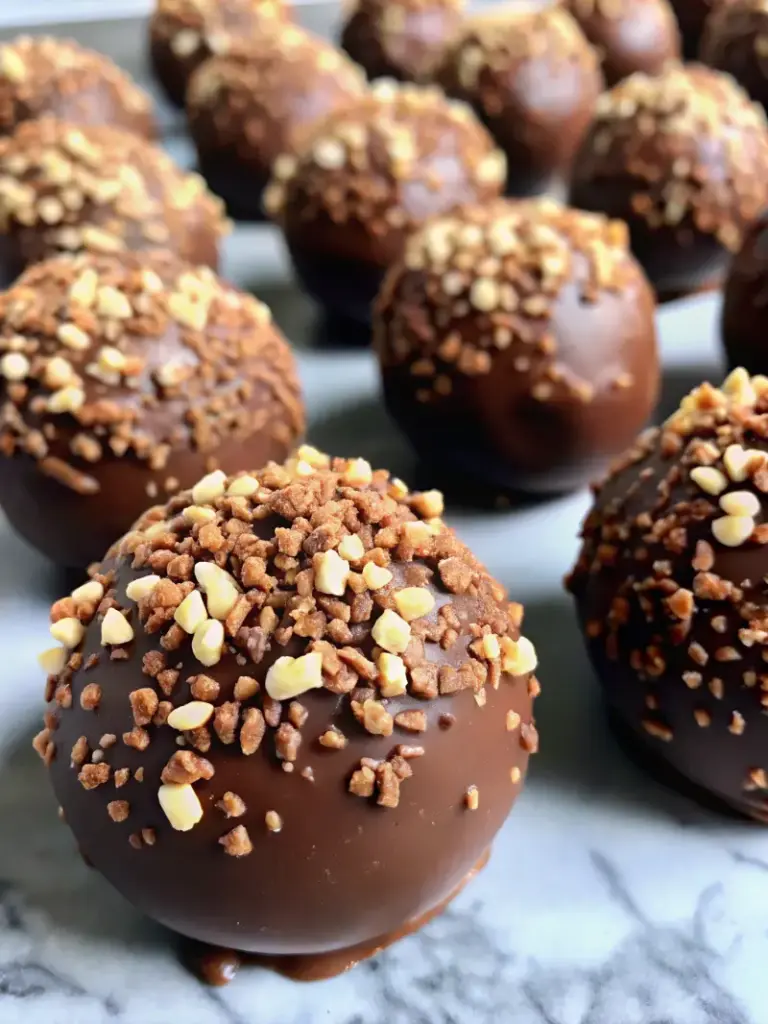
Step 4: Form Your Chocolate Protein Balls
Using your hands (lightly wet fingers prevent sticking), scoop approximately 1 tablespoon of the mixture and roll it gently into a ball about 1 inch in diameter. Place each ball on a parchment-lined baking sheet. For uniform-sized no bake protein balls, try scooping with a cookie scoop first, then rolling between your palms.
Pro Tip: If you want Instagram-worthy protein balls, roll them in melted dark chocolate, cocoa powder, or crushed nuts immediately after forming.
Step 5: Chill for Optimal Firmness
Transfer your baking sheet to the refrigerator and chill for 30 minutes. This step is crucial for creating that satisfying firmness and making your chocolate protein balls easier to handle and enjoy. The cold temperature also helps the flavors meld beautifully.
Pro Tip: For a quicker option, freeze for 15 minutes, though the full 30-minute chill produces the best texture.
Step 6: Store and Savor Your Creation
Once properly chilled, transfer your protein snacks to an airtight container. Your chocolate protein balls are now ready to enjoy immediately or store for later use!
Nutritional Information
Understanding the nutritional breakdown of protein balls helps you incorporate them strategically into your diet:
| Nutrient | Per Ball (avg. 35g) |
|---|---|
| Calories | 110–140 |
| Protein | 5–7g |
| Carbohydrates | 12–15g |
| Fat | 5–7g |
| Fiber | 2–3g |
| Sugar | 7–9g |
Key Nutritional Benefits:
- Sustained Energy: The combination of complex carbs (oats) and protein prevents blood sugar crashes
- Muscle Support: Protein content aids post-workout recovery and muscle development
- Satiety: Healthy fats from nut butter and fiber from oats keep you feeling full
- Brain Health: Chocolate compounds like phenylethylamine support cognitive function
Healthier Alternatives for the Recipe
Looking to optimize your protein balls healthy version? Here are creative modifications:
For Low-Carb Options:
- Replace oats with almond flour (maintains texture while reducing carbs by 40%)
- Use monk fruit or stevia instead of honey
- These changes create protein balls low carb suitable for keto diets
For Plant-Based Versions:
- Use plant-based protein powder (pea, brown rice, or hemp-based varieties)
- Substitute honey with maple syrup or agave
- Add ground flax seed for omega-3s
For Increased Protein:
- Incorporate an extra scoop of protein powder and reduce oats slightly
- Add Greek yogurt powder for tanginess and additional protein
For Gluten-Free Compliance:
- Ensure your oats are certified gluten-free
- Verify protein powder doesn’t contain gluten additives
- These become protein balls gluten free, perfect for those with sensitivities
Serving Suggestions
Transform your chocolate protein balls into memorable treats with these creative serving ideas:
- Post-Workout Pairing: Enjoy two balls with a banana and herbal tea for recovery
- Dessert Elevation: Pair with Greek yogurt and fresh berries for a decadent treat
- Kids’ Lunchbox: Pack protein balls for kids as a fun, nutrition-packed alternative to cookies
- On-the-Go Fuel: Grab protein snacks on the go for hiking, road trips, or busy workdays
- Gift-Worthy Presentation: Place in decorative boxes for holiday gifting to fitness enthusiasts
- Coffee Shop Alternative: Enjoy with espresso for an upscale coffee shop experience at home
Common Mistakes to Avoid
Maximize your success with chocolate protein balls by steering clear of these pitfalls:
Mistake 1: Overmixing the Dough
- Results in tough, dense balls
- Solution: Mix gently until ingredients just combine
Mistake 2: Using Low-Quality Protein Powder
- Creates chalky, unpleasant aftertaste
- Solution: Invest in reputable brands with good reviews
Mistake 3: Skipping the Chill Step
- Balls fall apart and become difficult to handle
- Solution: Always refrigerate for at least 30 minutes
Mistake 4: Incorrect Nut Butter Consistency
- Natural nut butter with separated oil creates different textures
- Solution: Stir natural nut butter thoroughly before measuring
Mistake 5: Using Sweetened Cocoa Powder
- Results in excessively sweet balls
- Solution: Always use unsweetened cocoa powder
Storing Tips for the Recipe
Proper storage ensures your protein balls remain fresh and delicious:
Refrigerator Storage:
- Place in airtight container with parchment between layers
- Lasts up to 10 days
- Best for frequent consumption
Freezer Storage:
- Freeze on baking sheet first, then transfer to freezer bag
- Lasts up to 6 months
- Perfect for long-term meal prep
- Thaw at room temperature for 5 minutes before eating
Ingredient Prep Ahead:
- Pre-measure dry ingredients into containers
- Store nut butter separately
- Prepare up to 2 weeks in advance for busy schedules
Traveling with Protein Balls:
- Pack in insulated lunchbox with ice pack for up to 8 hours
- Freeze overnight for longer trips
Conclusion
Chocolate protein balls represent the perfect intersection of convenience, nutrition, and indulgence. This no-bake snack requires just 40 minutes of total time, delivers 5–7 grams of protein per serving, and offers endless customization possibilities. Whether you’re seeking easy protein snacks, high protein energy balls, or protein balls healthy options, this recipe adapts beautifully to your dietary needs. Start with the basic version, experiment with add-ins, and discover your perfect variation.
Ready to create your own batch? Try this recipe this week and experience the satisfaction of homemade protein balls that taste better than any store-bought alternative. Share your results in the comments below—we’d love to see your variations! Subscribe to our blog for more healthy snack recipes, fitness nutrition tips, and delicious no-bake treats delivered straight to your inbox.
FAQs
Q: Can I use chocolate protein powder instead of cocoa powder in my chocolate protein balls?
A: Absolutely! Substitute 3–4 tablespoons of chocolate protein powder for the cocoa powder, and reduce the vanilla protein powder accordingly. Since chocolate protein powder contains added sweeteners, you may need to reduce additional sweetener slightly.
Q: How many chocolate protein balls should I eat daily?
A: Two balls provide approximately 10–14 grams of protein and 220–280 calories. Most people find 2–3 balls sufficient as a post-workout snack or dessert replacement. Individual needs vary based on fitness goals and dietary requirements.
Q: Are these protein balls suitable for children?
A: Yes! Protein balls for kids make excellent lunchbox treats. Reduce the protein powder slightly if your child is very young, and monitor for any allergies related to nuts or other ingredients. These provide sustained energy for active children.
Q: Can I make protein balls without a protein powder?
A: While possible, you’ll lose the protein component that makes these special. Consider using Greek yogurt powder, collagen powder, or hemp seed powder as alternatives to maintain nutritional benefits.
Q: Do chocolate protein balls need to be refrigerated?
A: Refrigeration extends shelf life significantly (10 days vs. 2–3 days at room temperature). For best quality, always refrigerate or freeze your protein balls.
Q: What’s the best way to gift chocolate protein balls?
A: Layer them in decorative boxes or mason jars with parchment paper between rows. Include a card with storage instructions and ingredient information for recipients with allergies.

Homemade Chocolate Protein Balls Recipe
- Total Time: 40 minutes
- Yield: 16 protein balls 1x
- Diet: Vegetarian
Description
Chocolate Protein Balls are an easy no-bake power snack made with oats, nut butter, cocoa powder, and protein powder. These homemade bites are perfect for meal prep, post-workout fuel, or a healthy dessert alternative packed with real nutrition.
Ingredients
- 1 cup rolled oats
- 1/2 cup nut butter (peanut, almond, or cashew)
- 1/4 cup honey or maple syrup
- 1/2 cup chocolate protein powder
- 1/4 cup unsweetened cocoa powder
- 1 teaspoon vanilla extract
- 1/4 cup mini chocolate chips (optional)
- 1/4 cup shredded coconut (optional)
- 1/4 cup chopped nuts or seeds (optional)
- Pinch of sea salt
Instructions
- Add rolled oats, protein powder, and cocoa powder to a mixing bowl.
- Stir dry ingredients until evenly combined.
- Add nut butter, honey or maple syrup, and vanilla extract.
- Mix until a thick, sticky dough forms.
- Fold in chocolate chips, coconut, or nuts if using.
- Scoop 1 tablespoon portions and roll into balls.
- Place balls on a parchment-lined tray.
- Refrigerate for 30 minutes to firm up.
- Transfer to an airtight container and serve.
Notes
If mixture is too dry, add a teaspoon of water or nut butter. If too sticky, add more oats or cocoa powder. Chill before serving for best texture.
- Prep Time: 10 minutes
- Cook Time: 0 minutes
- Category: Snack
- Method: No-Bake
- Cuisine: American
Nutrition
- Serving Size: 1 protein ball
- Calories: 125
- Sugar: 7g
- Sodium: 70mg
- Fat: 6g
- Saturated Fat: 2g
- Unsaturated Fat: 4g
- Trans Fat: 0g
- Carbohydrates: 14g
- Fiber: 3g
- Protein: 6g
- Cholesterol: 0mg
Keywords: chocolate protein balls, no bake protein balls, healthy protein snack, energy balls